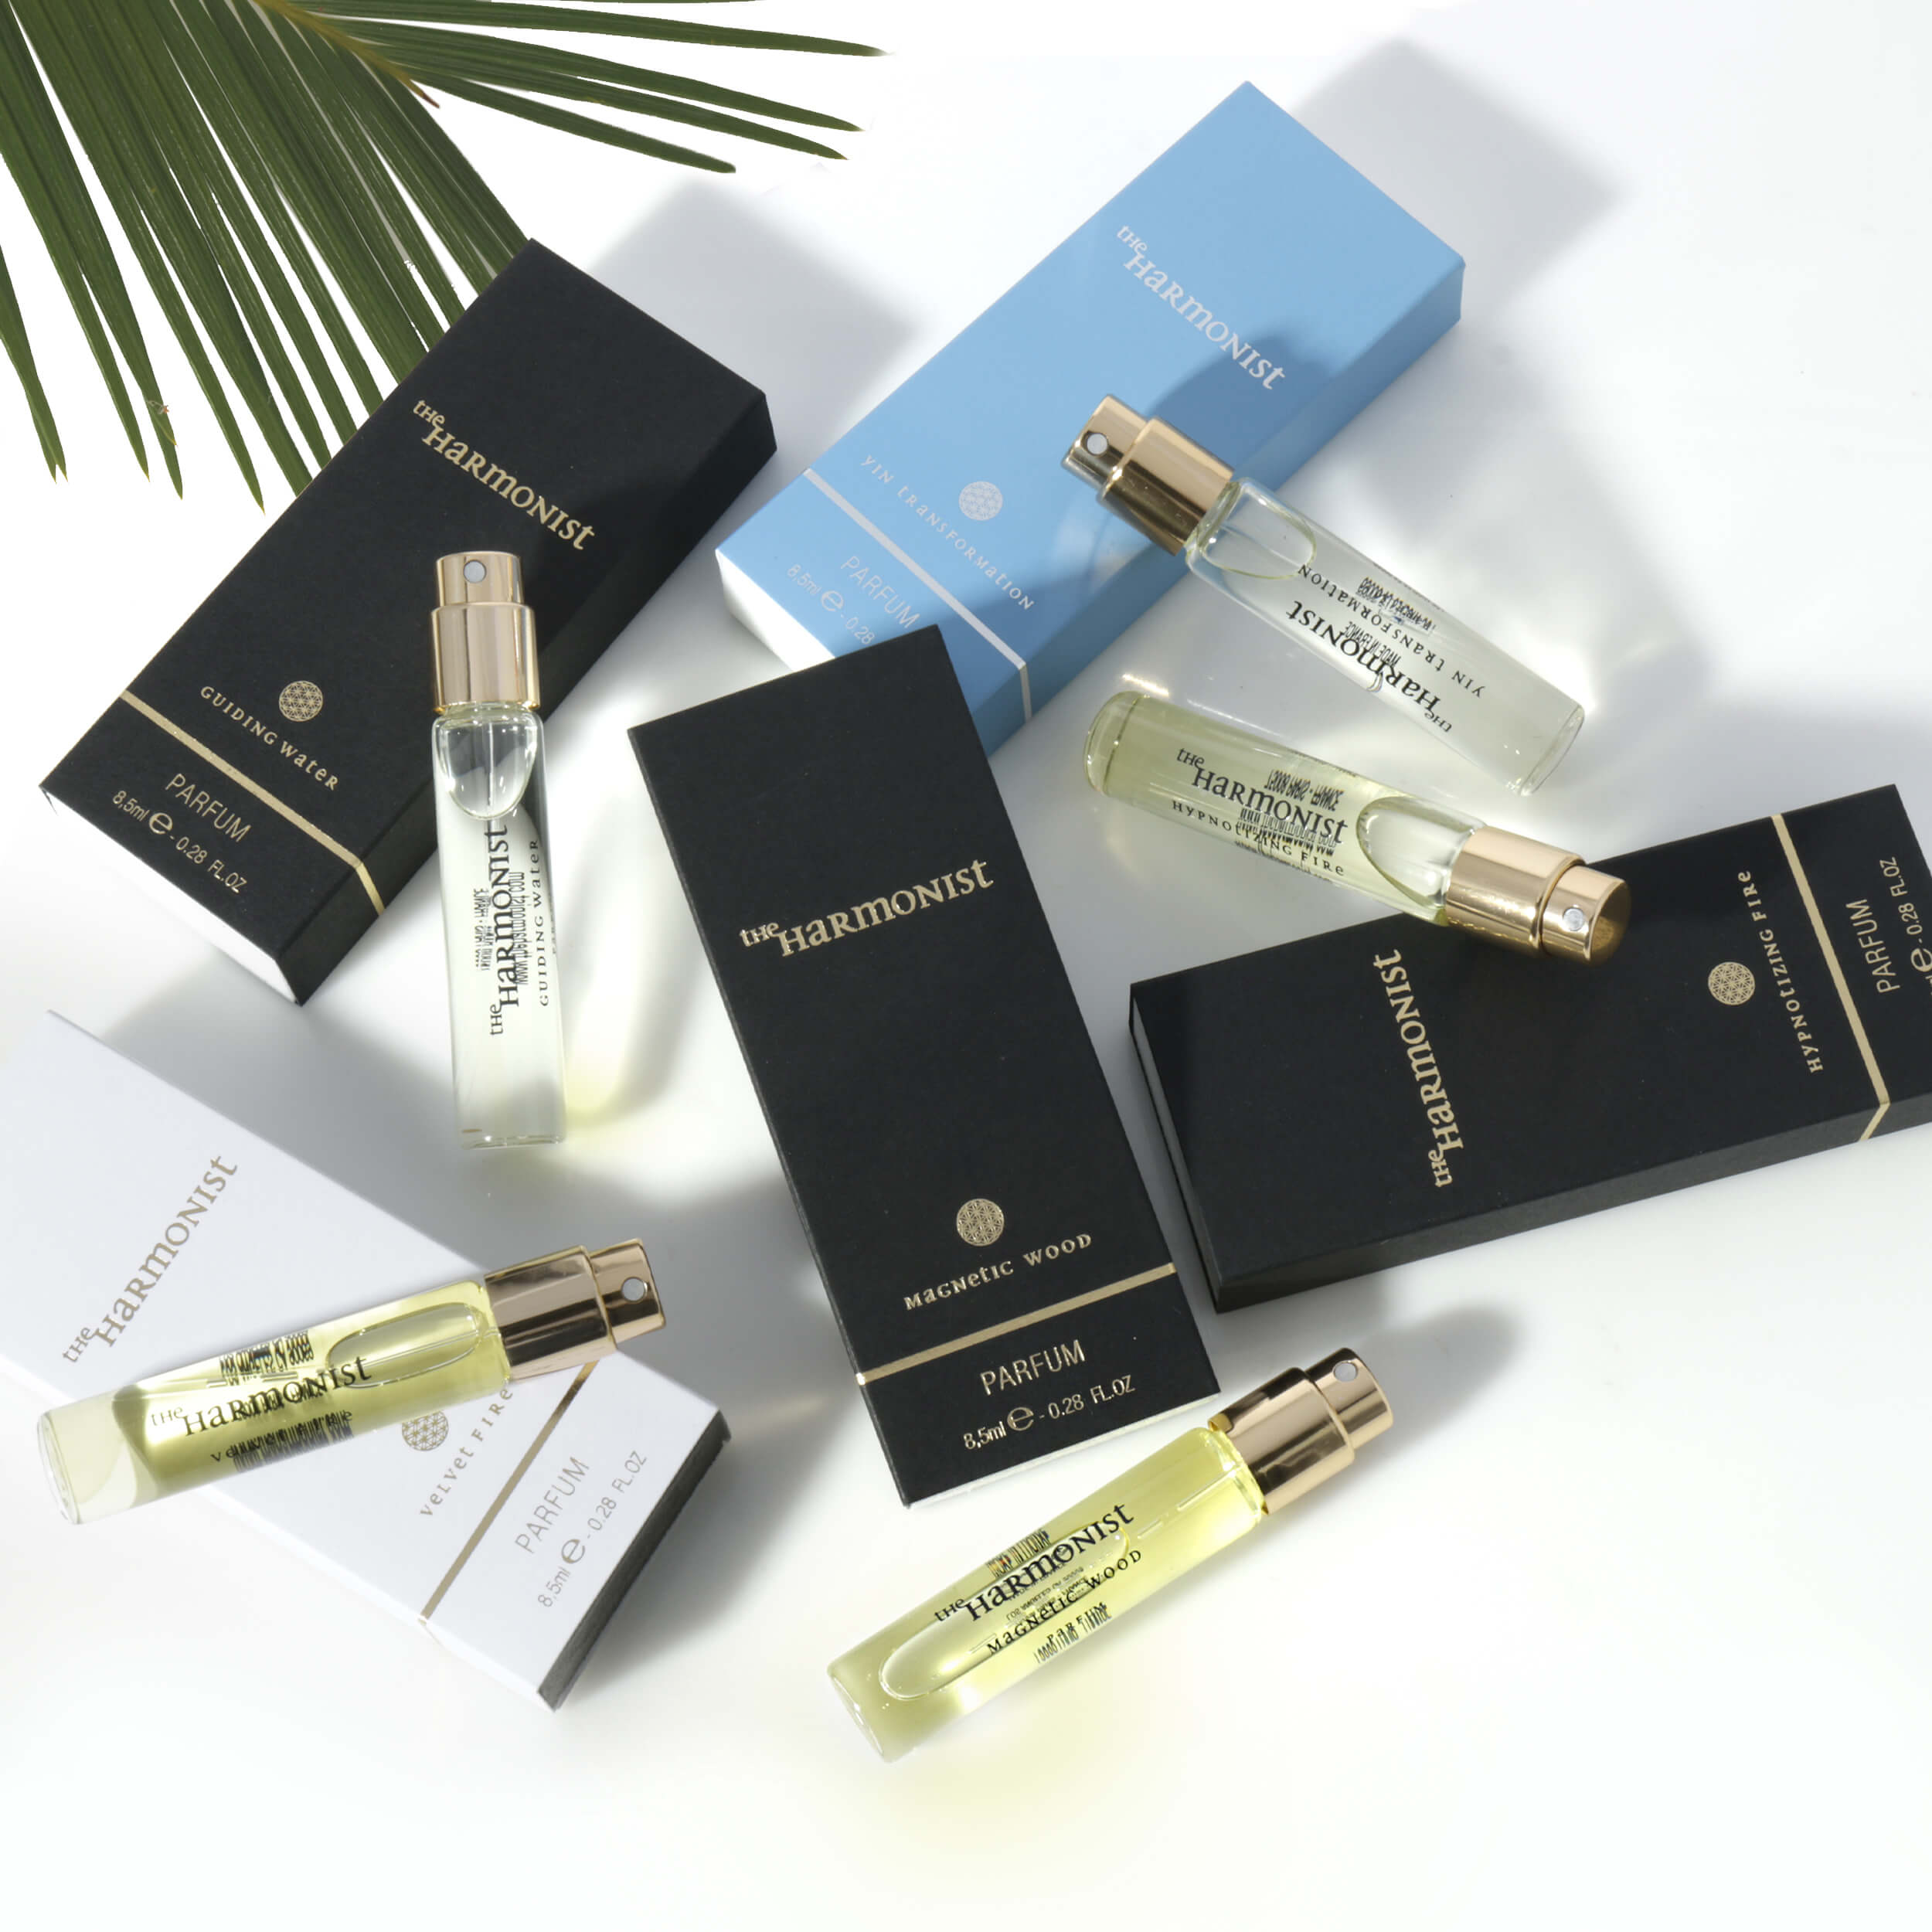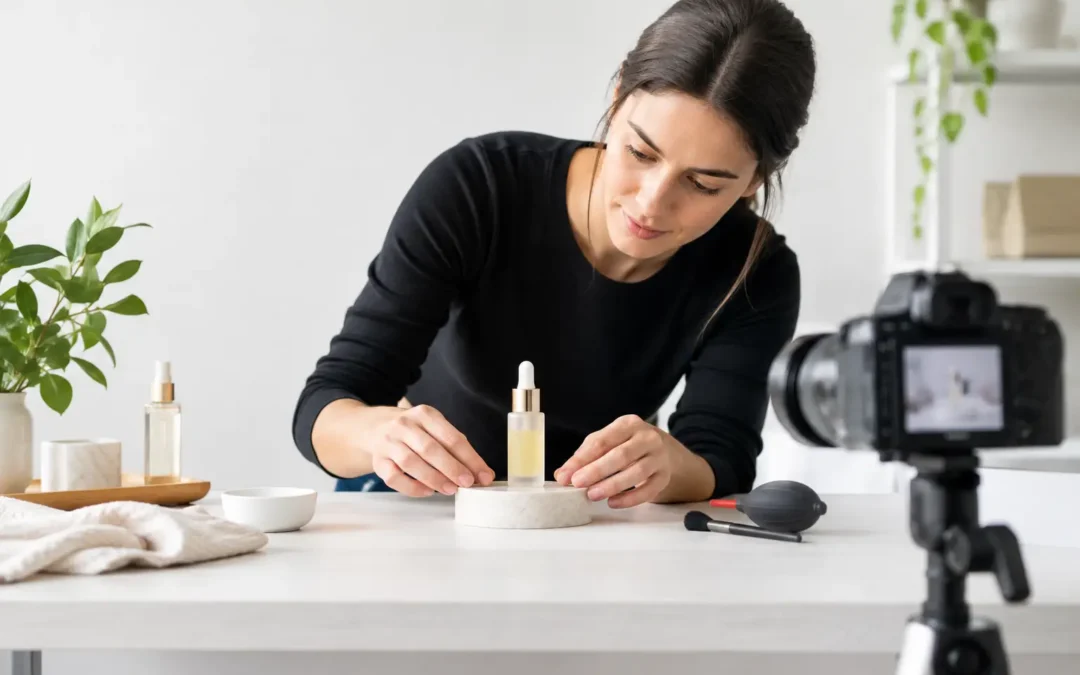
A fingerprint on a watch face, a bent apparel tag, or a beauty bottle with a half-peeled label can turn an otherwise strong product image into a costly retouching project. Knowing how to prepare products for photoshoot day helps your studio work faster, keeps your images consistent, and gives customers the polished presentation they expect before they click Add to Cart.
For ecommerce, Amazon listings, catalogs, and paid ads, preparation is part of visual merchandising. The goal is not simply to send an item to a photographer. It is to make sure every product arrives clean, complete, camera-ready, and aligned with the way you plan to sell it.
How to Prepare Products for Photoshoot Day
Start with the exact products you want photographed
Send final, sale-ready inventory whenever possible. Product samples often change between early development and production: packaging is updated, logos move, finishes vary, and accessories are added or removed. If the image will represent the item customers receive, the photographed sample should match that item exactly.
Before shipping or dropping off products, compare every sample with its live product page, packaging artwork, and SKU information. Confirm color, size, model number, included components, and branding. This is especially important for products with small visual differences, such as electronics, cosmetics, supplements, jewelry, watches, and bundled goods.
If you need more than one version photographed, clearly identify each one. A black 16-ounce bottle and a charcoal 20-ounce bottle may look similar on a studio table, but they require separate naming and shot instructions. Clear identification prevents incorrect images from being matched with the wrong listings later.
Clean every surface before it reaches the studio
Professional retouching can remove dust and minor imperfections, but it cannot efficiently fix preventable problems across dozens of images. Clean products photograph better from the start and allow more time for detail work that adds real value.
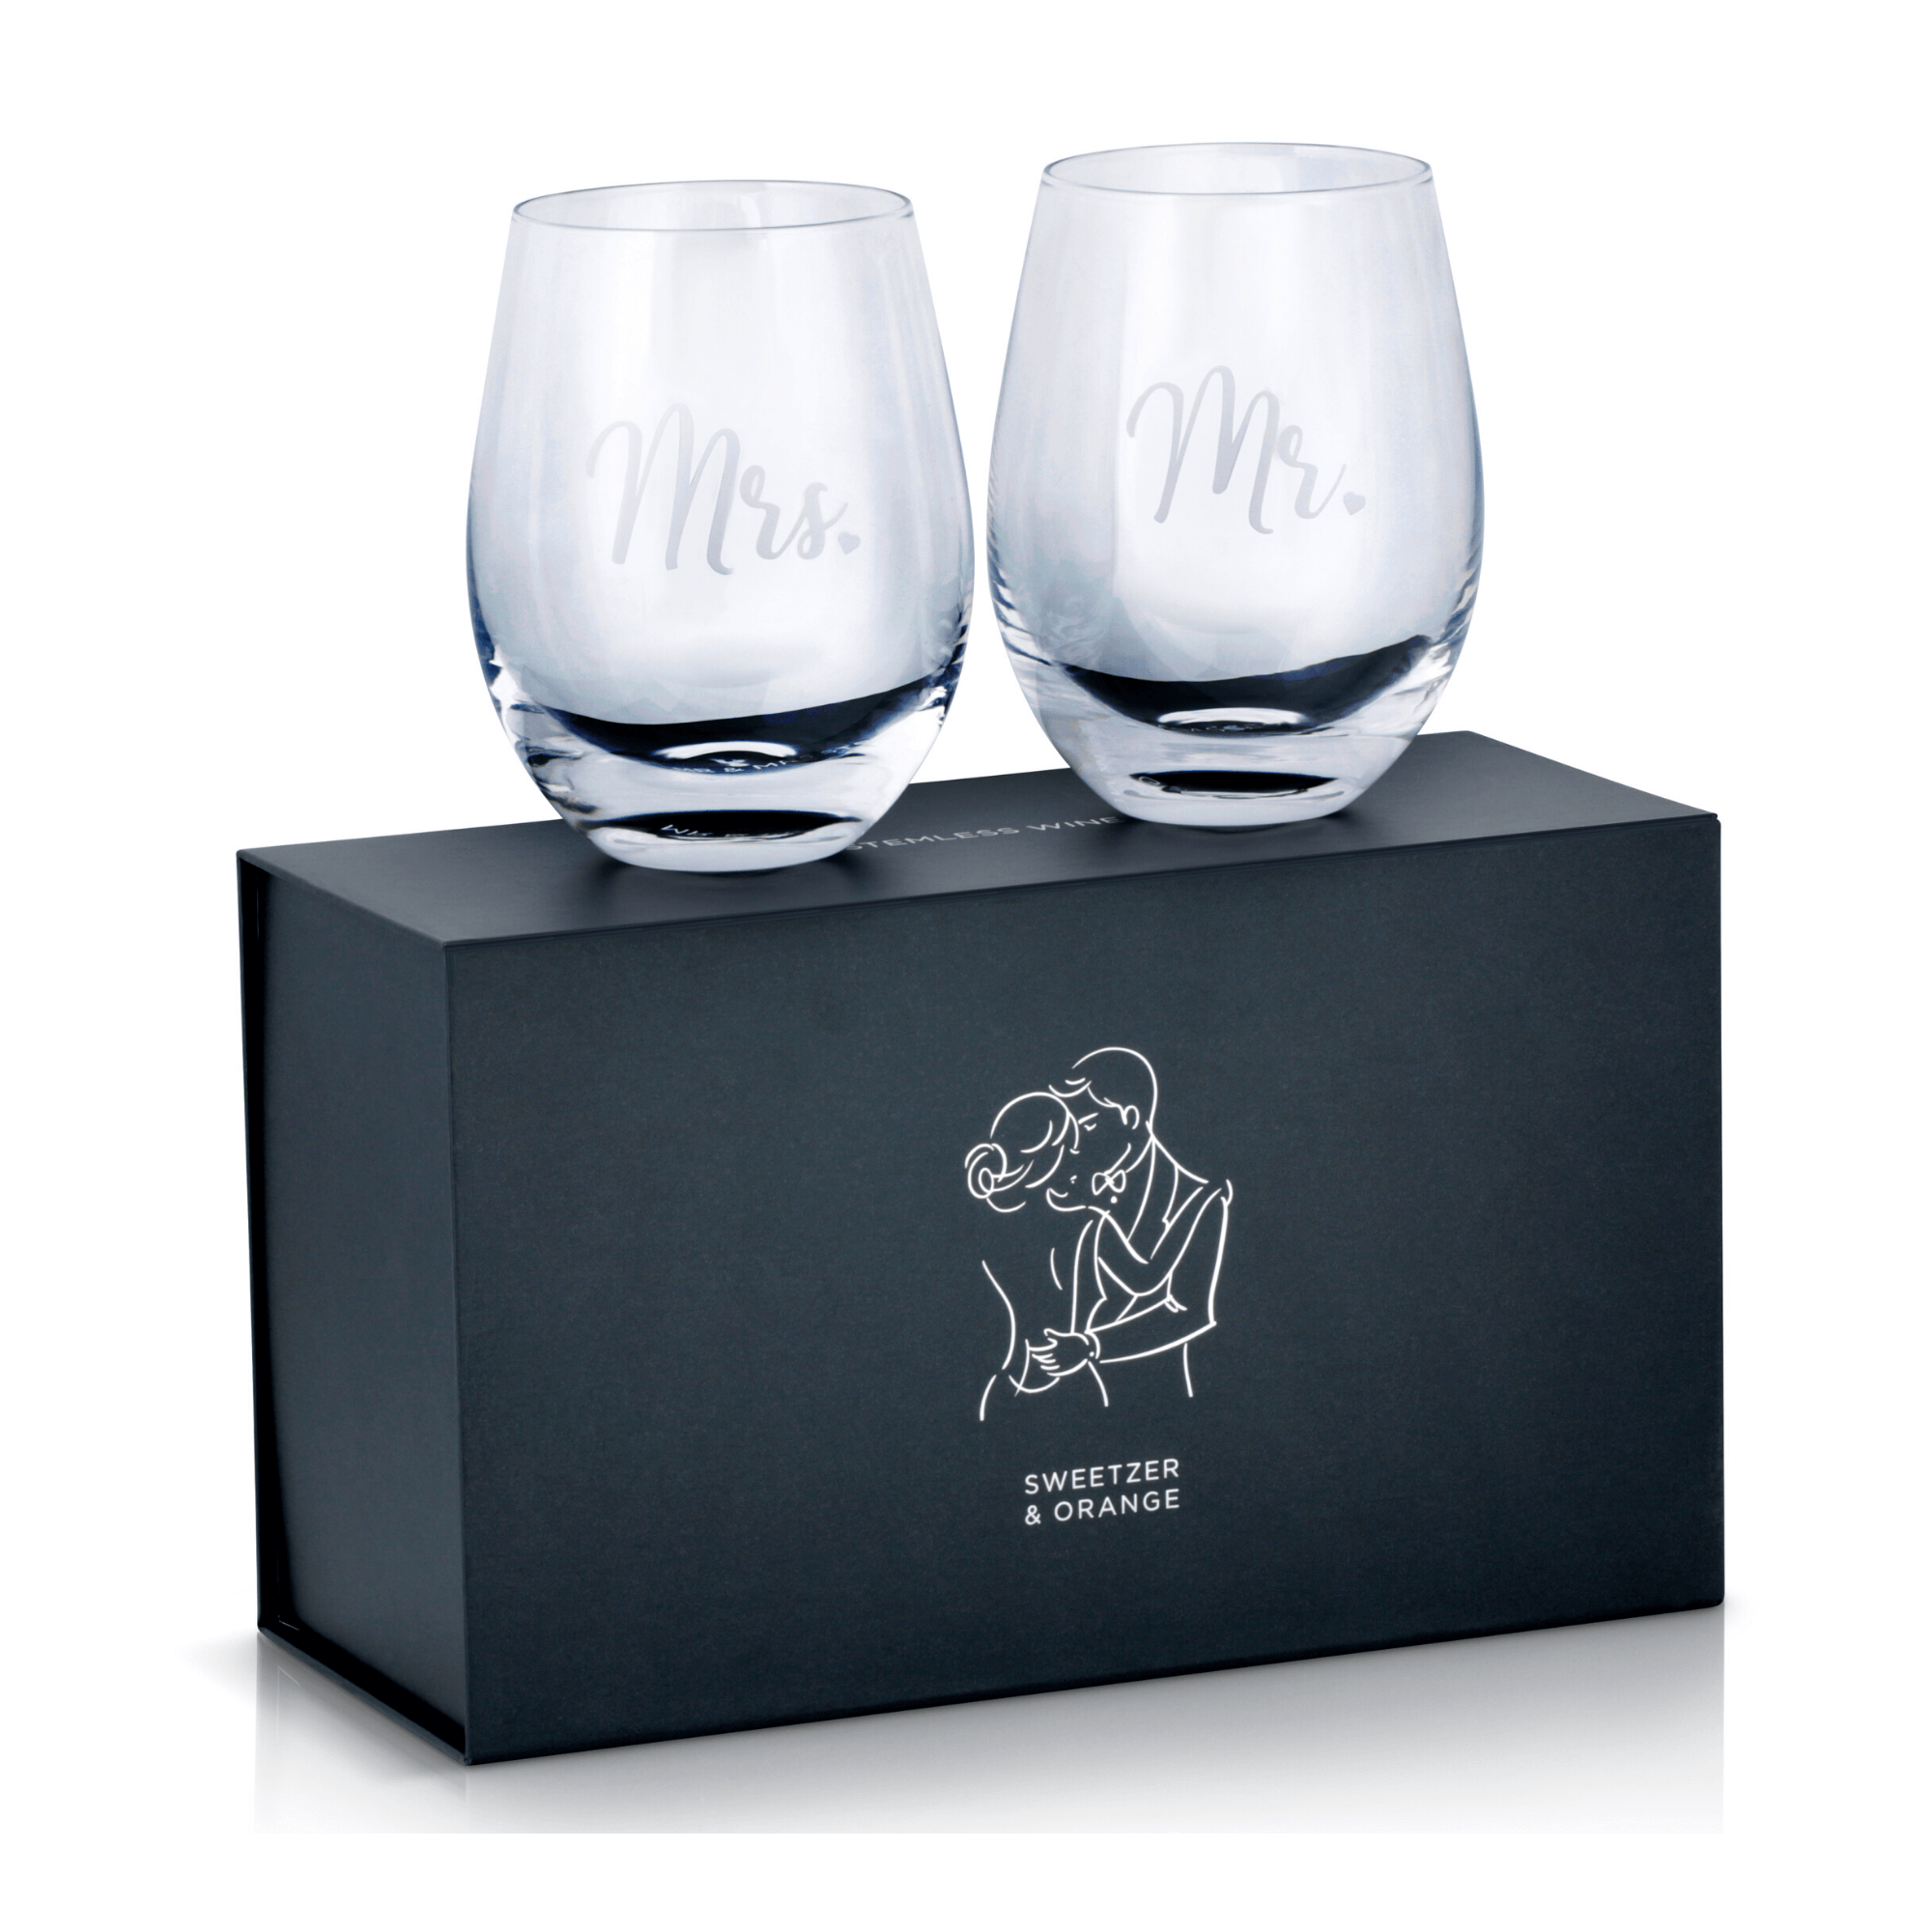
Use the right cleaning method for the material. Glassware, glossy packaging, and screens should be wiped with a clean microfiber cloth. Jewelry and watches need special care to avoid residue, scratches, or damage to delicate settings. Apparel should be lint-rolled, steamed, and checked for loose threads. Beauty products should have clean caps, pumps, and labels, with no product buildup around the opening.
Avoid using harsh cleaning products right before the shoot. Some sprays leave streaks or a cloudy finish, particularly on acrylic, polished metal, coated paper, and high-gloss packaging. If a product has a protective film that should not appear in the final listing, remove it carefully before delivery. If the film must stay on, let the photographer know.
Inspect labels, logos, and packaging from the camera angle
Your customers will notice crooked labels, wrinkles in cartons, dented corners, and inconsistent branding. A product can look acceptable in hand but appear flawed in a high-resolution image, especially when customers zoom in on a marketplace listing.
Check that labels are straight, barcode stickers are removed when appropriate, and front-facing logos are clean and readable. Replace damaged packaging rather than expecting a crushed box or scuffed bottle to be repaired in post-production. For a product line with several variants, make sure label placement is consistent across all units.
This is also the right time to decide whether seals, warning labels, inserts, or stickers belong in the final images. Some are legally required or expected by buyers. Others distract from the product. The right choice depends on where the image will be used and what customers need to see before purchasing.
Prepare products in their intended selling condition
The strongest commercial images show products the way customers will use, wear, receive, or unbox them. That means assembling items that arrive assembled, including standard components, and making sure movable features work properly.
For example, a handbag may need its strap attached and shaped, with tissue placed inside to hold its structure. A beverage bottle may need a fresh cap and a clean label. A desk lamp should be photographed with the correct cord, bulb, and switch position. If a toy comes with several pieces, confirm which components are included in the purchase and which are only optional accessories.
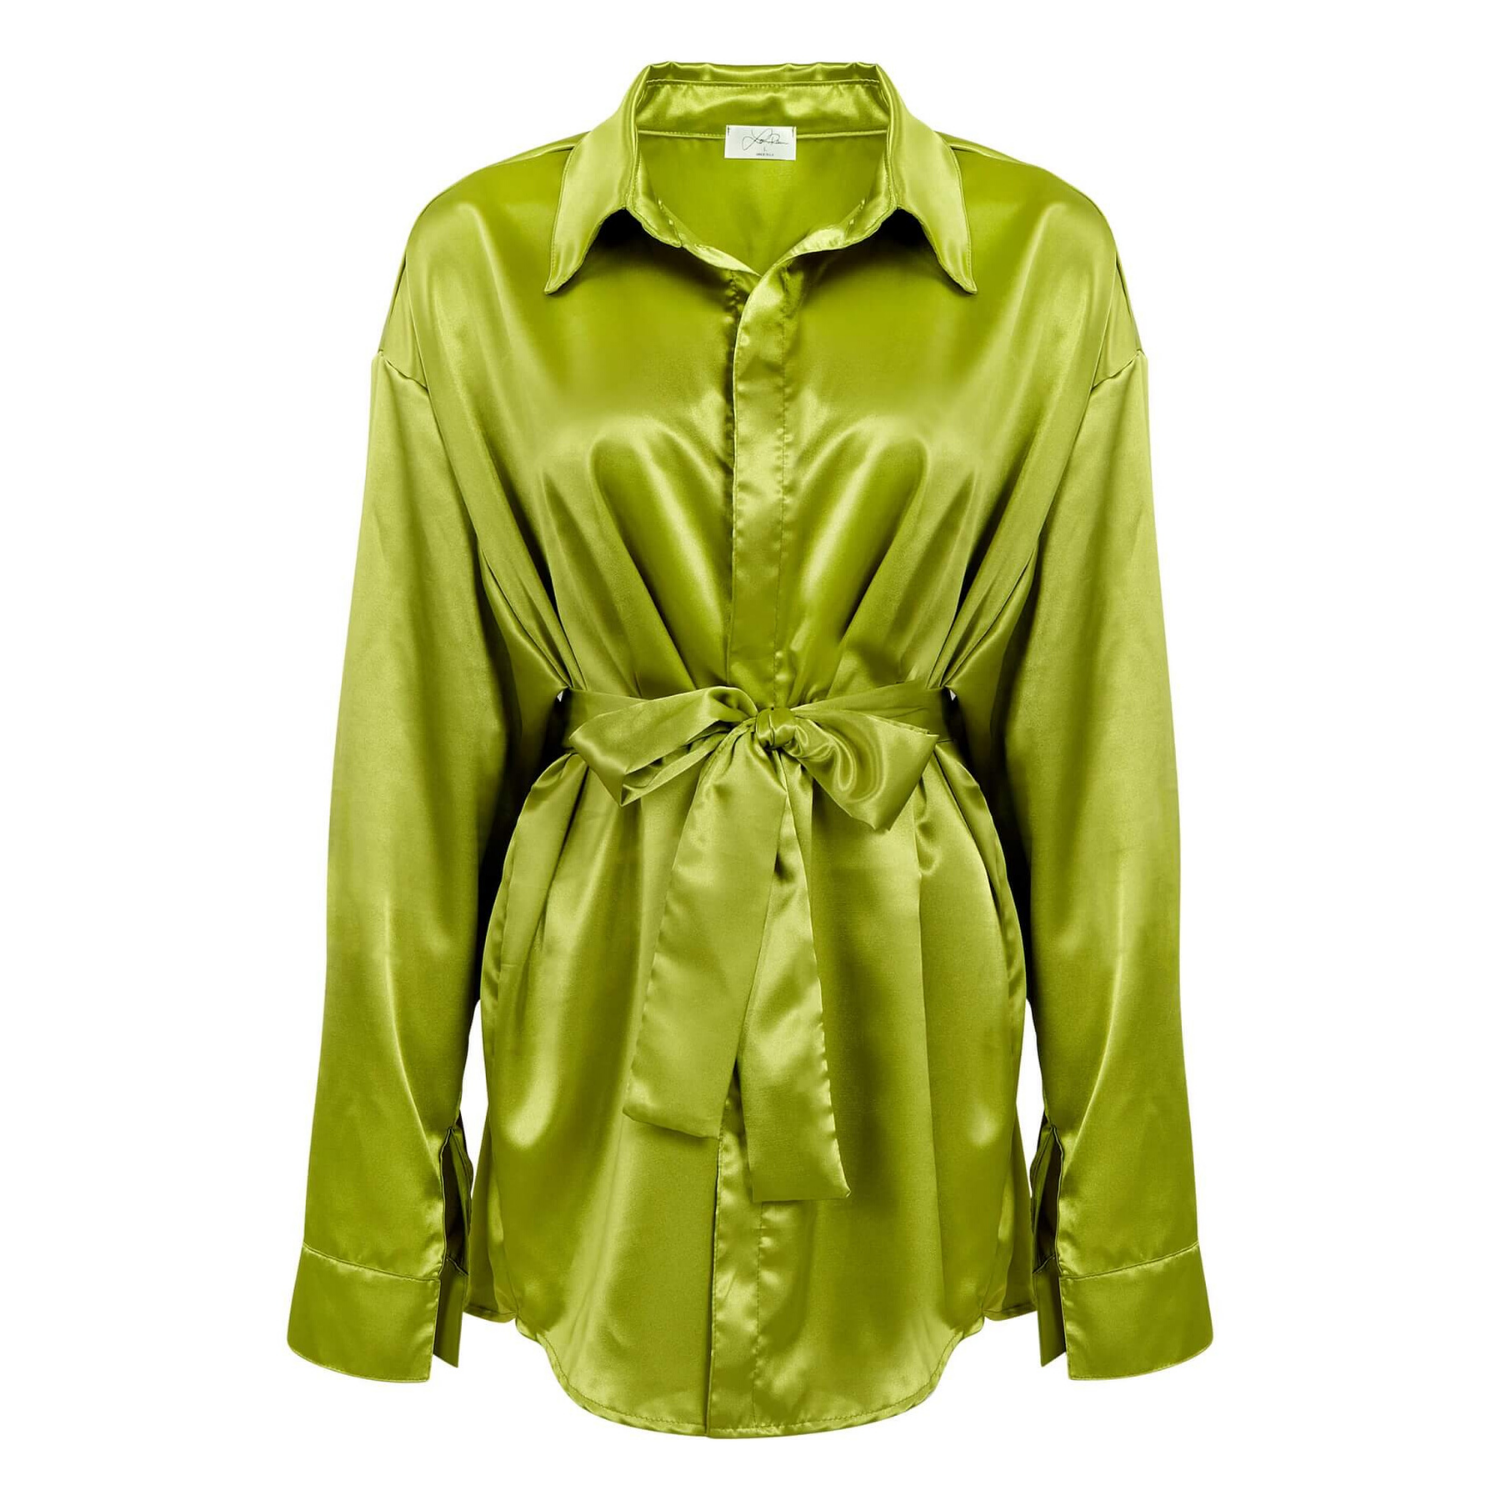
For apparel, send the garment in the exact fit and finish you want represented. Steam or press it beforehand, button it correctly, and include matching belts, ties, or removable parts. If a garment needs a specific shape for flat lay, mannequin, or ghost mannequin photography, provide notes and reference images. Accurate color is critical, but so are drape, texture, neckline shape, and fit.
Build a practical shot list before production starts
A shot list keeps the project focused on business goals instead of creating images that look good but do not answer buyer questions. Start with the sales channel. Amazon main images have different requirements than a brand lookbook, wholesale catalog, or social ad campaign.
For each SKU, identify the required views: front, back, side, top, detail, packaging, scale, or in-use. Specify where each image will be used and whether it needs a white background, a transparent background, a lifestyle setting, or a consistent color backdrop. This direction helps the photography team plan lighting, framing, and post-production correctly.
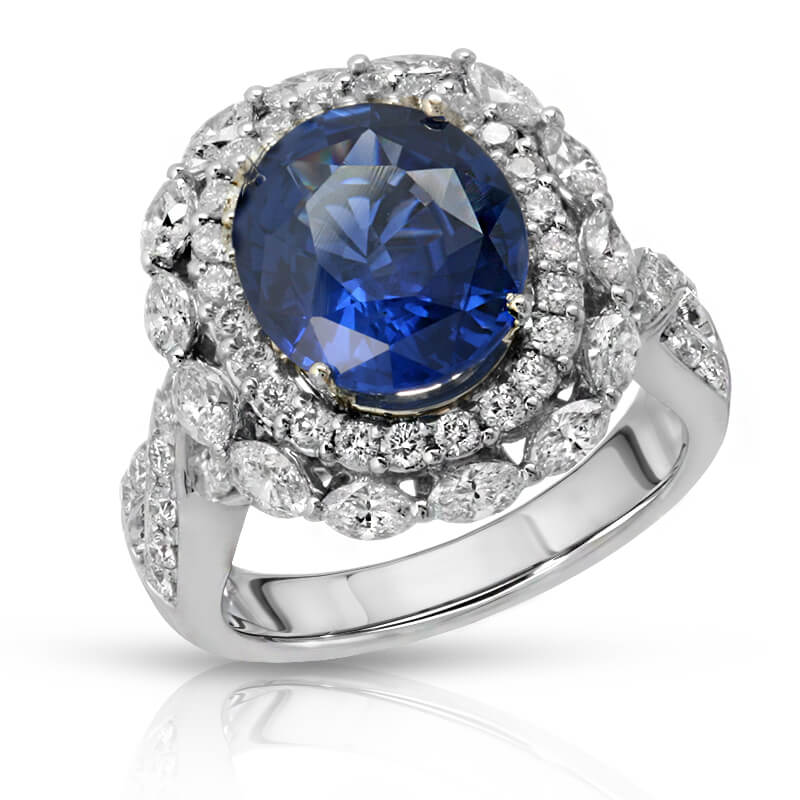
Include any features that need close attention. Jewelry buyers may need to see clasp construction, gemstone details, engraving, or earring backs. For electronics, customers may need port layouts, controls, connection points, screen details, and included accessories. A beauty brand may need clean texture images, ingredient callouts, or a close view of a pump applicator.
Avoid requesting every possible angle just because it is available. More images are useful only when they reduce purchase hesitation or support a specific marketing use. Prioritize the views that improve clarity, comparison, and conversion.
Prepare Products for Photoshoot Styling and Consistency
Product styling should support the brand, not compete with the item. Decide in advance whether you want clean ecommerce photography, elevated editorial imagery, or lifestyle content. Each approach needs different preparation.
For a clean marketplace listing, consistency matters most. Products should be positioned the same way, photographed at similar scale, and delivered with matching backgrounds. For an editorial or lifestyle shoot, provide approved props, packaging, surfaces, and color references that fit your brand standards. A premium skincare line may require minimal, refined styling, while a playful snack brand may benefit from bolder color and motion.
If props are essential, send them early and label them clearly. Do not assume a photographer will know whether a particular bowl, ribbon, tool, or accessory is a required product component or simply a styling piece. Separate saleable inventory from props so nothing is misplaced during production.
Color references are equally valuable. Product color can shift under different lighting conditions, and online shoppers often return items when expectations do not match reality. Provide physical color standards, approved packaging, or previous imagery that represents the intended color direction. This is particularly useful for apparel, cosmetics, paint, gemstones, and products with metallic or iridescent finishes.
Pack products to arrive in camera-ready condition
The way products are packed affects the quality and speed of the shoot. Wrap fragile pieces individually, protect polished surfaces, and prevent garments from being crushed in transit. Use rigid boxes for products that can dent, crease, or lose their shape.
Include a packing list with product names, SKUs, quantities, and any required accessories. For collections with similar items, label each unit directly or place it in a clearly marked bag. This simple step reduces delays and makes it easier to confirm that every product has been photographed and returned.
Send spare units when possible. A backup is useful if a product arrives damaged, has a defect, or needs to be opened for an unboxing image. For products with consumable contents, such as food, beauty products, or beverages, extras allow the team to create clean hero shots without risking your only sample.
Give the studio the details that affect the final image
A photographer can light and compose the product, but your team knows the product’s selling points. Share the information that cannot be seen immediately: what makes the finish special, which side is the primary selling view, whether a logo must face forward, or which detail distinguishes one model from another.
Also communicate any non-negotiable requirements before shooting begins. These may include marketplace image specifications, crop ratios, approved background colors, file naming conventions, and delivery deadlines. If the images must match an existing catalog or campaign, provide examples so the new work fits the established visual system.
At Product Photography Studio, clear product preparation and clear direction help keep turnaround fast while allowing the team to focus on high-resolution capture, precise color, and professional retouching.
Run a Final Quality Check Before Sending Products
Before products leave your office, warehouse, or fulfillment center, inspect each item one more time under bright light. Look for dust, scratches, loose threads, dents, residue, crooked labels, missing accessories, and shipping damage. Then compare your box contents against the shot list and packing list.
This final check is where many expensive reshoots are avoided. It is easier to replace a flawed sample before the shoot than to discover the issue after images are delivered and a listing is ready to launch.
Well-prepared products give your photography budget more power. When the camera sees a clean, accurate, sale-ready item, the final image can do what it is supposed to do: build confidence quickly and move a shopper closer to buying.