A shopper cannot touch the fabric, check the fit, or compare the true color from a product page. Your images have to do that work in seconds. Learning how to take product shots of clothing is less about owning an expensive camera and more about creating clear, consistent visuals that make the item easy to understand and easy to buy.
For ecommerce brands, Amazon sellers, and catalog teams, the goal is not simply a beautiful photo. It is an image set that answers purchase questions before they become objections: What does the garment look like from every angle? How does the material hang? Is the color accurate? Where are the details? Strong apparel photography drives more confident clicks and reduces the gap between what customers expect and what arrives at their door.
Start With the Right Clothing Photography Style
The first decision is how the apparel should be presented. The right approach depends on the product category, sales channel, brand position, and budget.
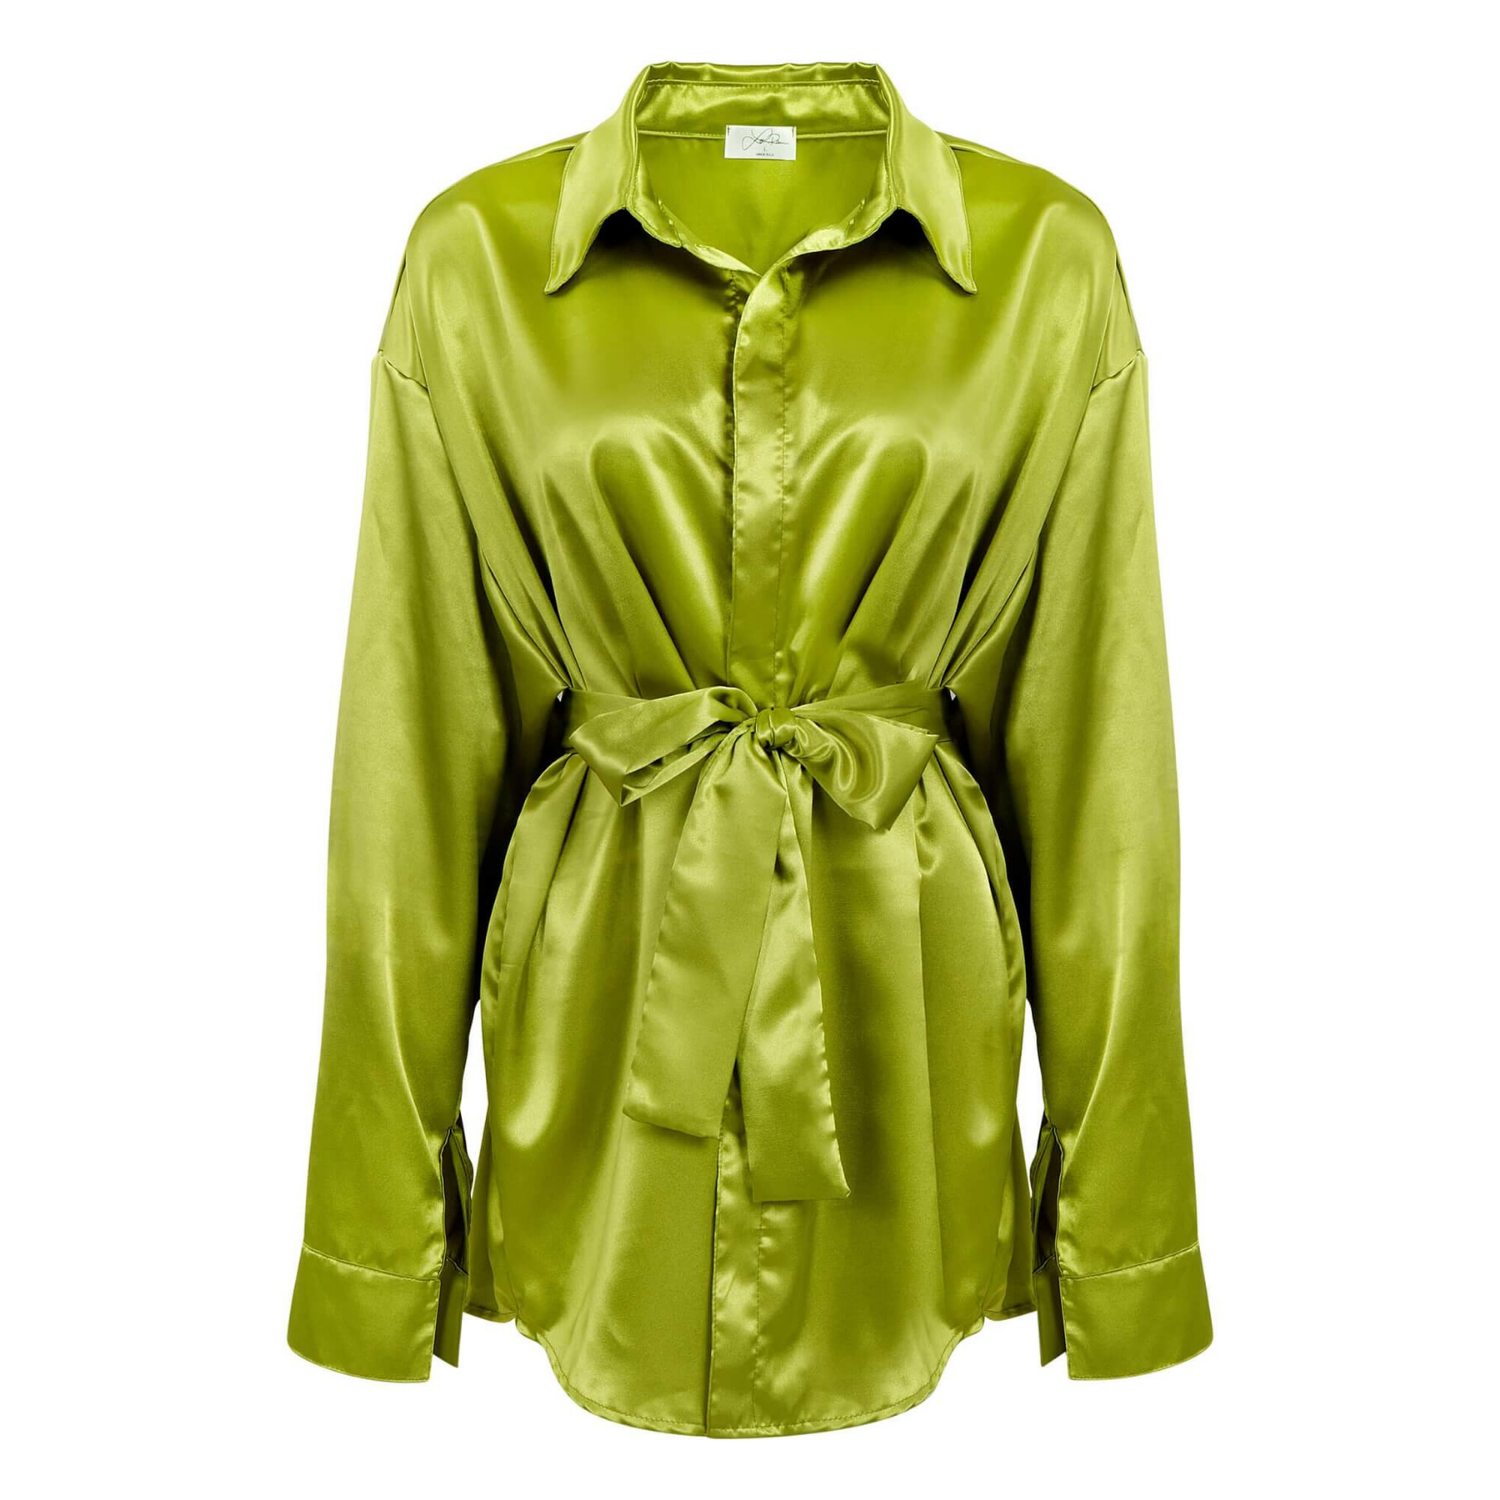
Flat lays work well for T-shirts, activewear, accessories, and casual collections. They are efficient to produce and give the brand control over composition. However, they do not show drape or fit as clearly as a garment photographed on a body or mannequin.
A ghost mannequin, also called an invisible mannequin, is a strong option for ecommerce. It gives clothing shape without distracting shoppers with a model. This style works especially well for shirts, jackets, dresses, and structured garments because buyers can see the neckline, sleeves, silhouette, and interior construction. It also creates a clean, consistent look across a large catalog.
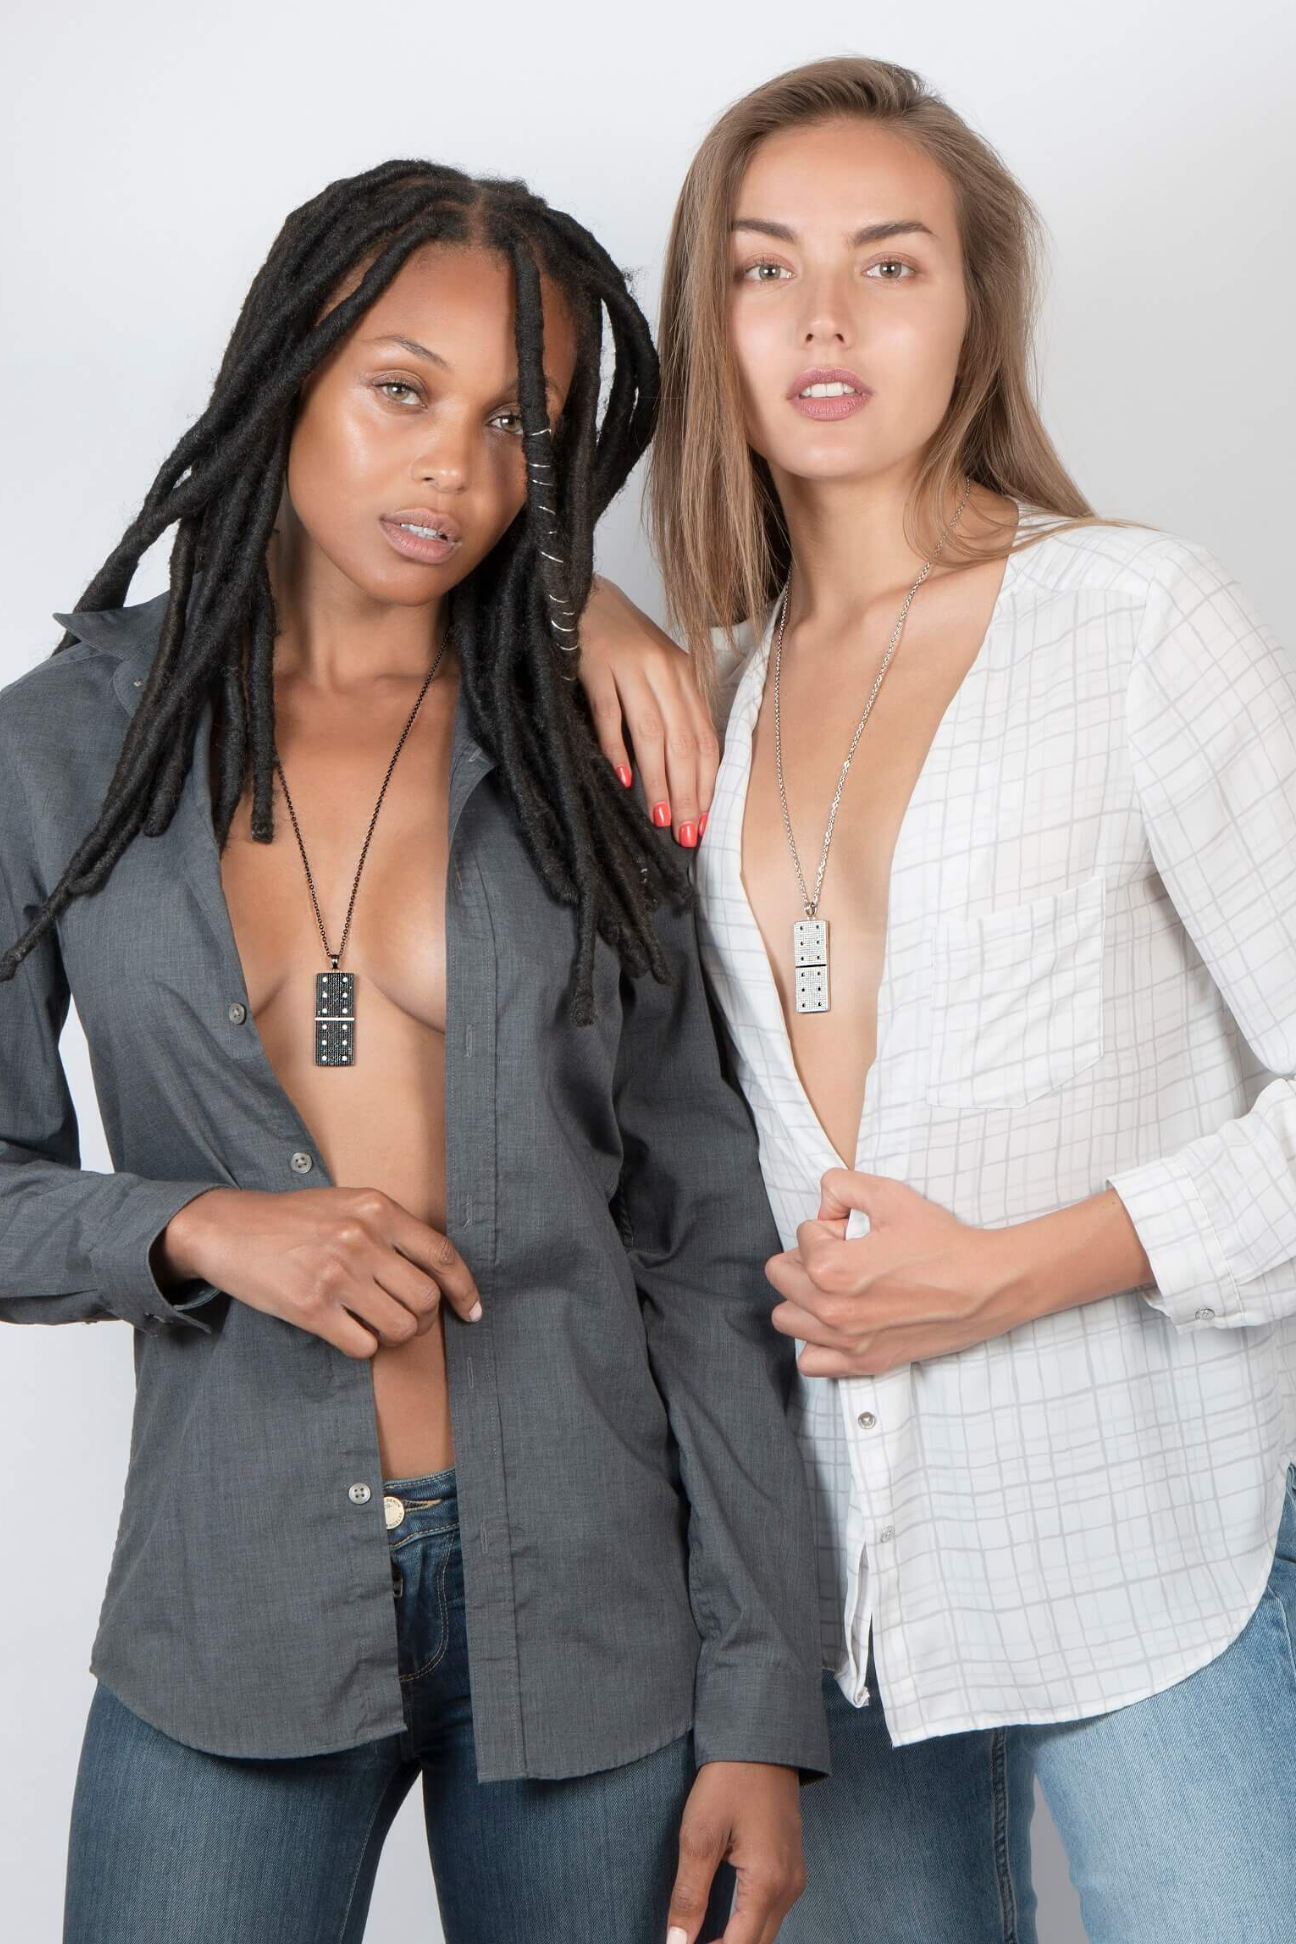
Model photography is often the best choice when fit, movement, lifestyle, or aspirational branding drives the purchase. A flowing dress, tailored blazer, or performance garment usually benefits from being shown in use. The trade-off is higher production complexity, including casting, styling, fitting, hair and makeup, and location or studio time.
Many successful product pages use more than one approach. A white-background ghost mannequin image can serve as the primary listing photo, while model images and detail shots build confidence further down the page.
Prepare Every Garment Before It Reaches the Set
Most clothing-photo problems begin before the camera is turned on. A wrinkle, loose thread, crooked collar, or visible lint can make an otherwise premium product look inexpensive. Retouching can improve an image, but it should refine a well-prepared garment rather than rescue a poorly styled one.
Steam or press each item thoroughly. Check hems, seams, buttons, zippers, pockets, and labels. Remove lint with a roller, and use clips, pins, tissue paper, or foam inserts to shape areas that collapse on a hanger or mannequin. Make sure sleeves fall evenly and that side seams are centered.
If you are shooting multiple colors of the same style, prepare them all to the same standard. Consistency matters when customers compare swatches or browse a collection page. One neatly shaped shirt next to one slouched shirt creates an immediate quality problem, even when the products themselves are identical.
Build Clean, Even Lighting for Apparel
Clothing needs soft, broad lighting. Hard direct light creates harsh shadows, makes wrinkles more obvious, and can distort the perceived texture of fabric. A large softbox, diffused window light, or a light bounced through a white diffusion panel can create a smoother result.
For a straightforward ecommerce setup, position a large soft light slightly above and in front of the garment. Add a reflector or second low-power light on the opposite side to soften shadows. The objective is even illumination while keeping enough subtle contrast to show the garment’s shape.
White garments require particular care. If the background is too bright or the front light is too strong, the product can lose detail and appear as a blank white shape. Dark garments present the opposite challenge: without edge separation, black or navy fabric can disappear into shadow. Adjust the light angle and use gentle side or rim light when needed to preserve contours.
Avoid mixed color temperatures. Daylight from a window combined with warm household bulbs often produces inaccurate color that is difficult to correct later. Use lights with matching color temperature, set a custom white balance, and include a gray card or color target at the start of each setup. This is especially important for apparel, where a small shift can turn a true beige into a yellow cast or a deep blue into something that reads almost black.
Use a Background That Supports the Sales Channel
For marketplace listings, a pure white background is often the safest primary-image choice. It keeps attention on the garment, meets common marketplace requirements, and creates a consistent shopping experience. The background should look clean, but the clothing still needs visible edges, natural shadows, and clear texture.
For your own ecommerce store, editorial backgrounds can help communicate a collection’s personality. A textured wall, colored paper sweep, or simple lifestyle setting may work well for secondary images. Keep the product clear and avoid backgrounds that compete with the garment’s color, print, or silhouette.
Whatever background you select, standardize it. Consistent cropping, product scale, and image treatment make a storefront feel organized and established. That consistency can be more valuable than a complicated set design.
How to Take Product Shots of Clothing From the Right Angles
A single front image rarely gives a shopper enough information. Photograph the views that help someone assess construction and fit without guessing. For most garments, that means a front view, back view, side view, and close-ups of the features that justify the price.
Detail images should be purposeful. Show fabric texture when it is a selling point, such as knitwear, linen, denim, leather, or technical material. Capture stitching, embroidery, pockets, buttons, zippers, waistbands, lining, labels, and any special closures. If a garment has a distinctive cuff, adjustable strap, or hidden interior feature, make it visible.
Keep the camera at a consistent height and use the same focal length across the collection. Shooting too close with a wide-angle lens can stretch sleeves, distort hems, and make proportions look inaccurate. A moderate focal length and enough distance from the product will produce a more natural shape.
Frame each product consistently. If every dress fills the image area differently, shoppers cannot compare length, volume, or overall silhouette quickly. Build a simple shot guide that defines crop boundaries, angle, orientation, and required detail images for each category.
Retouch for Accuracy, Not Fantasy
Professional retouching is where a good capture becomes a reliable commercial image. The work should remove dust, stray threads, minor wrinkles, background distractions, and mannequin edges while preserving the actual garment. Over-editing can create a misleading product and increase returns when buyers receive something that looks different from the listing.
Color correction deserves special attention. Compare edited files with the physical sample under controlled light, particularly for subtle tones such as cream, blush, olive, charcoal, and heather gray. If the brand uses approved color standards, use them during review. Accurate color is not a cosmetic detail. It affects customer confidence and reduces avoidable disappointment.
For ghost mannequin photography, retouching also combines separate captures to create a natural interior neckline and clean garment shape. Done well, the final image looks polished but believable. Done poorly, it can create floating seams, uneven edges, or an unnatural hollow appearance.
Know When DIY Stops Being Cost-Effective
A small brand can produce usable apparel images in-house with a controlled setup, careful steaming, repeatable lighting, and a disciplined workflow. This can make sense for limited launches or frequent social content. But high-volume catalogs, complex fabrics, fitted garments, and marketplace-ready image requirements often demand more time than teams anticipate.
The real cost is not only equipment. It is sample handling, styling, setup, shooting, file organization, retouching, color review, revisions, and the delay caused when images are not ready for a launch date. If inconsistent imagery is costing your listings clicks or forcing repeat shoots, professional production can be the more affordable decision.
Product Photography Studio helps brands create high-resolution, color-accurate apparel images with professional retouching and scalable pricing. The best workflow is the one that gets your garments online quickly, presents them honestly, and gives shoppers a clear reason to add them to the cart.