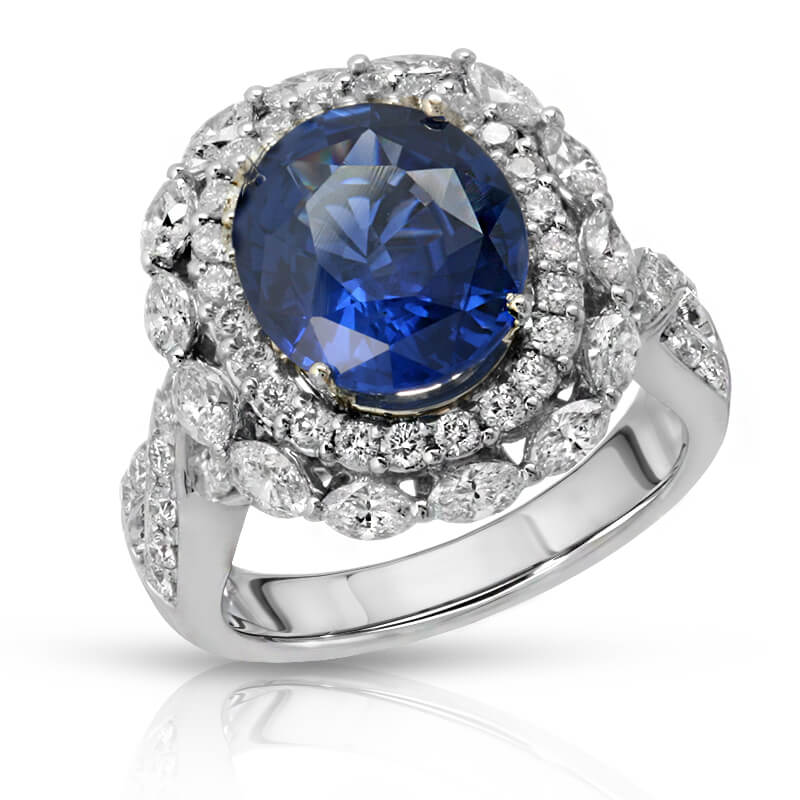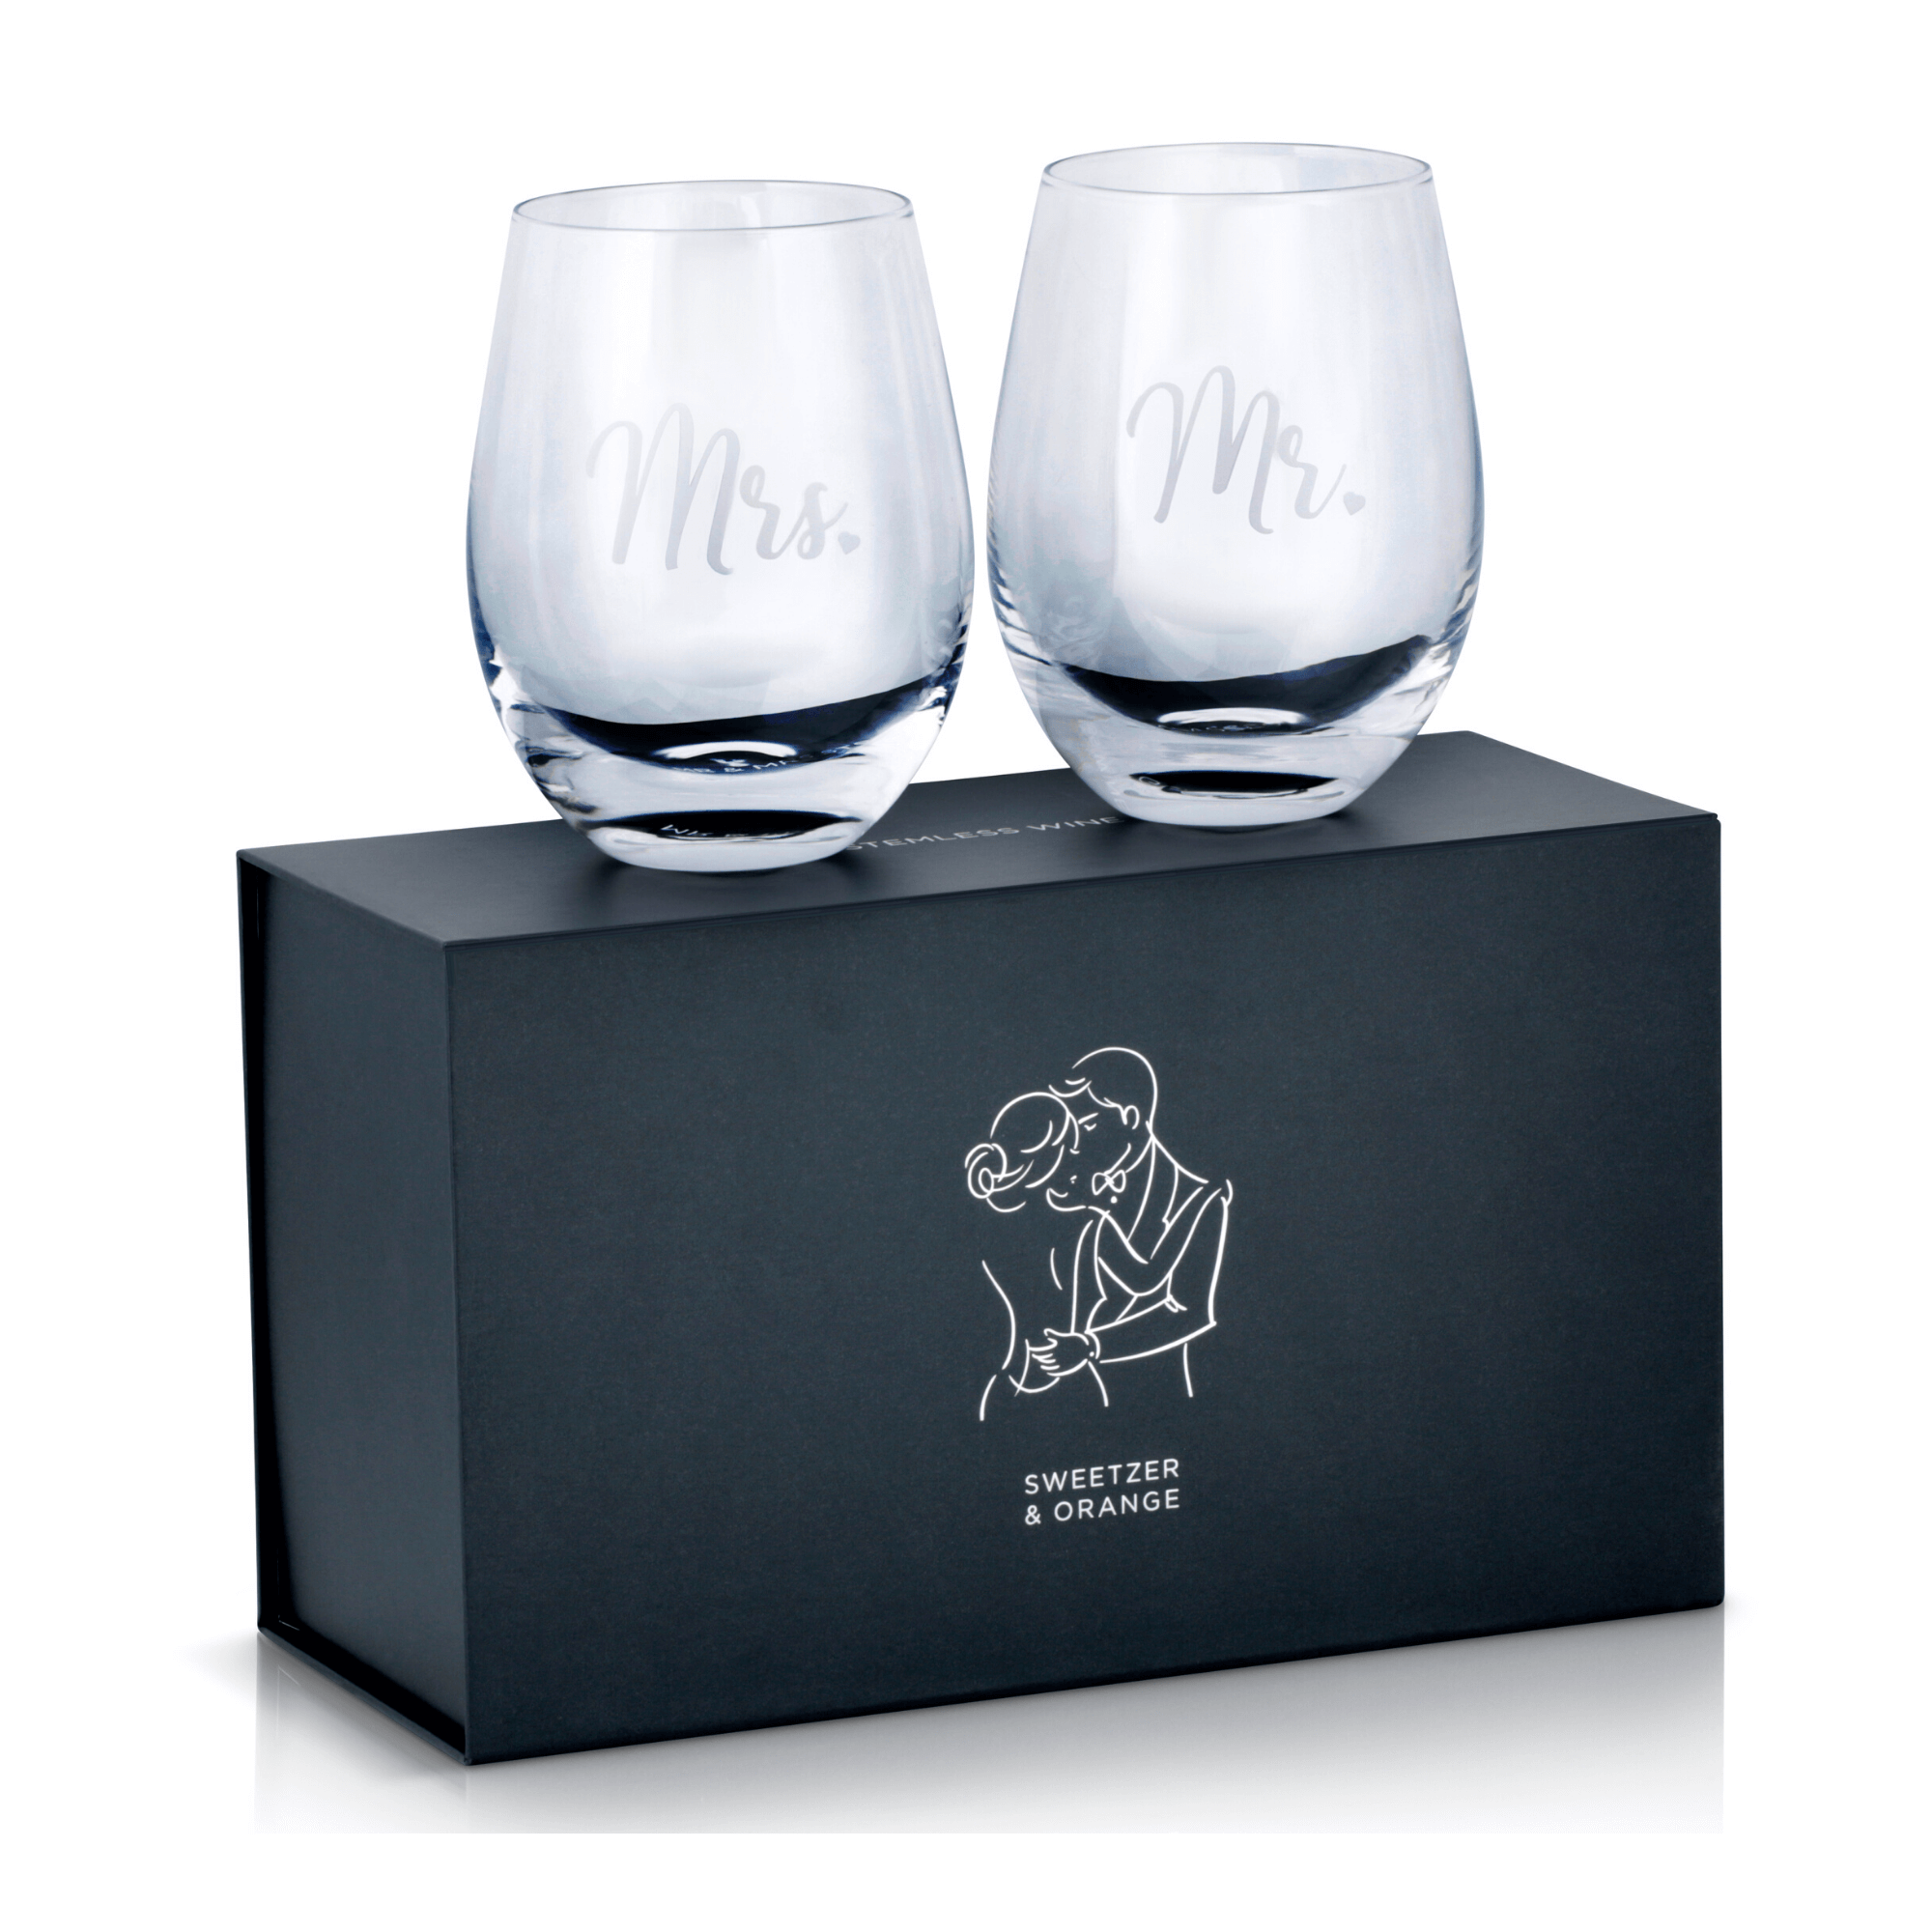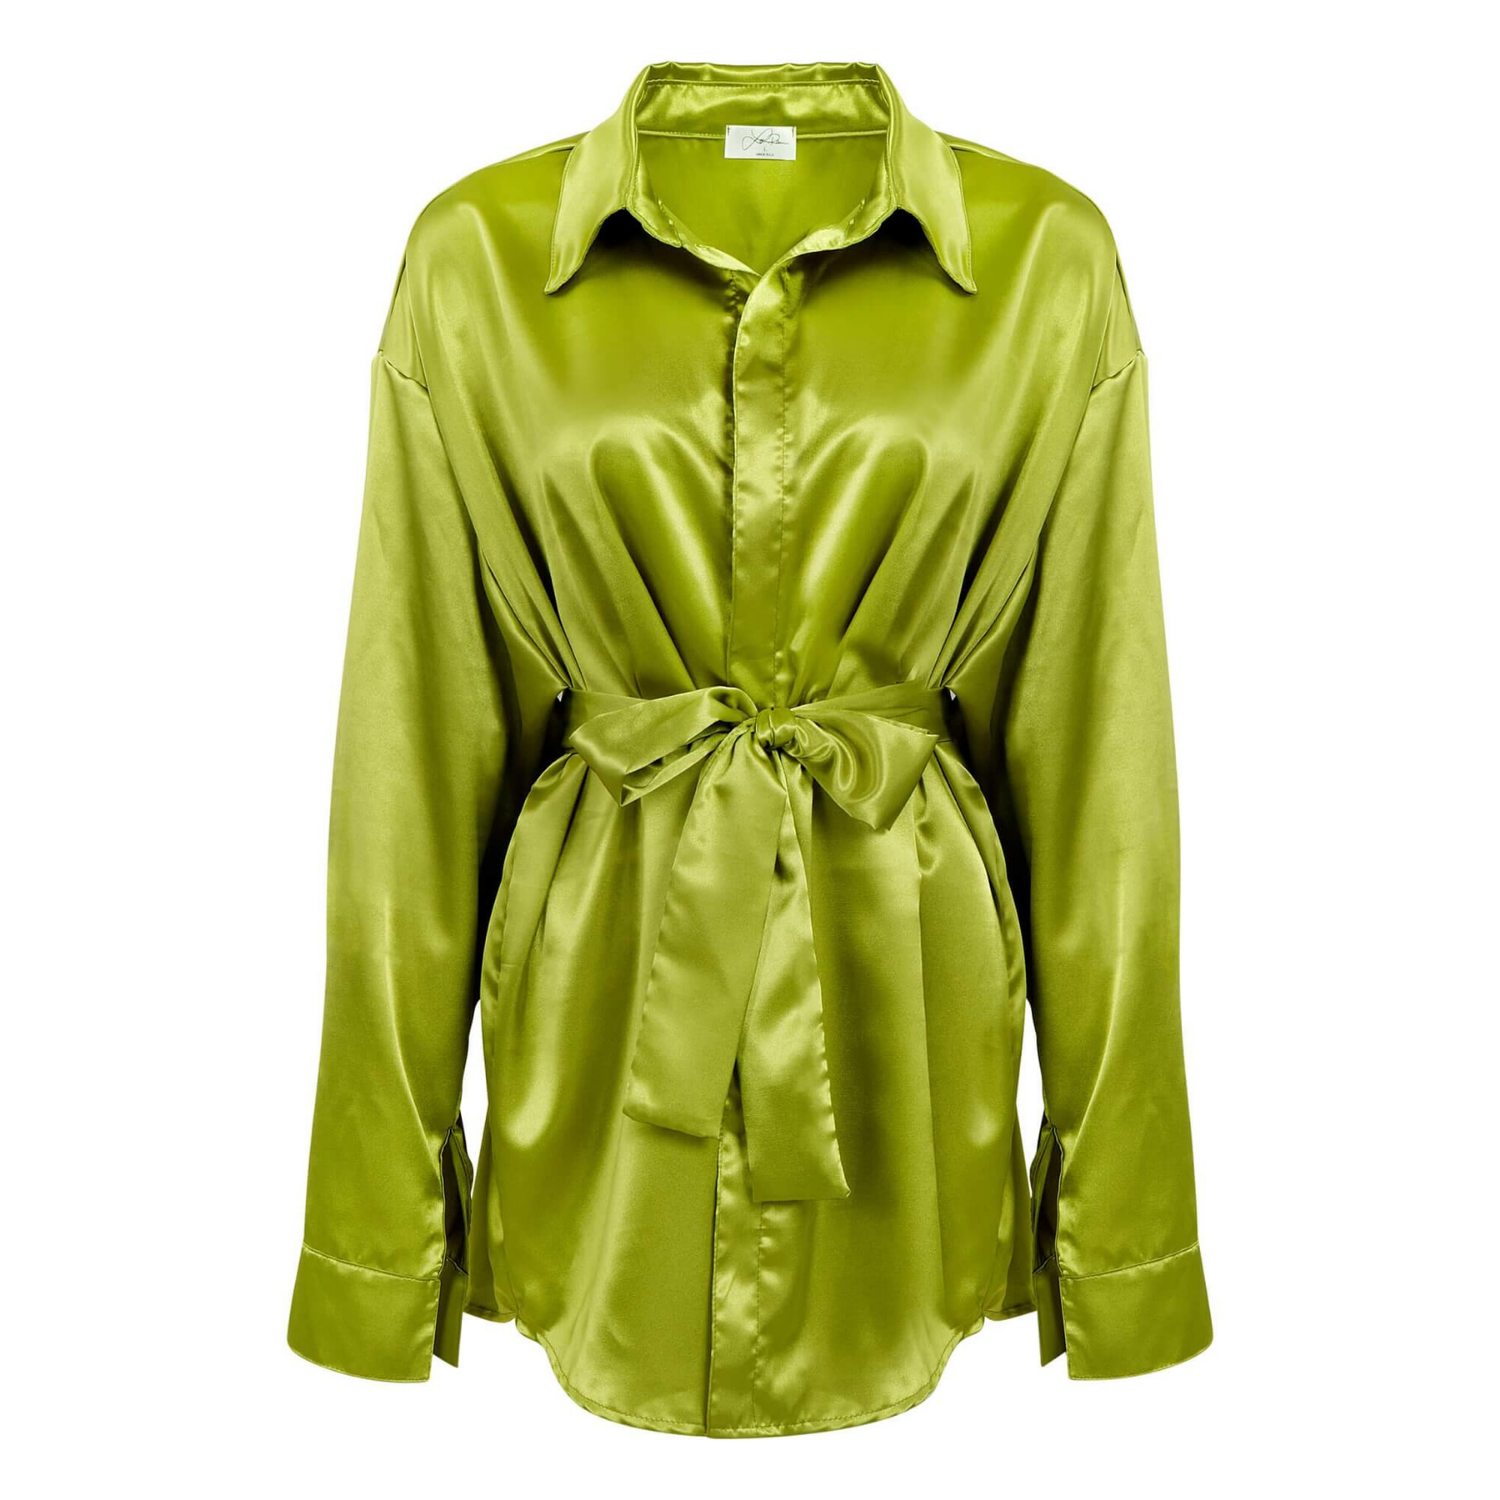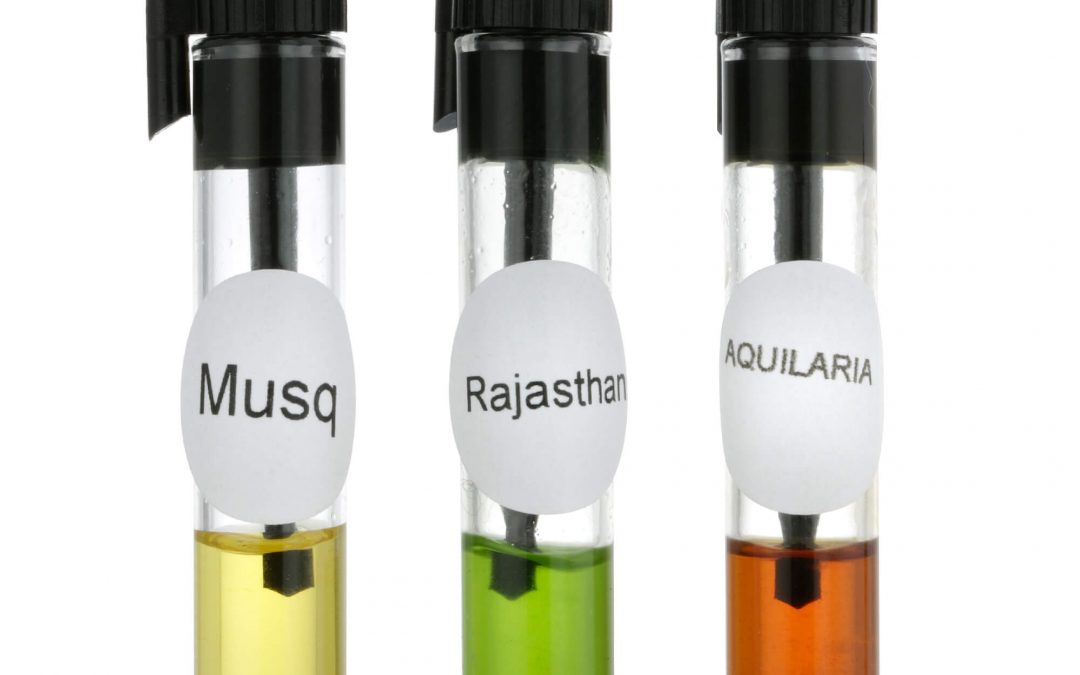
A polished chrome watch, a clear fragrance bottle, or a glossy black appliance can look premium in person and disappointing on a product page. The reason is simple: when learning how to photograph reflective products, you are not just lighting the item. You are controlling everything the product reflects, including the camera, studio walls, light stands, and every bright or dark surface nearby.
For ecommerce brands, those reflections directly affect perceived quality. Harsh hotspots can hide a logo. A dark room can turn stainless steel nearly black. Poorly managed glass can disappear into a white background. The goal is to create clean, intentional reflections that show the product’s shape, finish, color, and important selling details.
Start by Photographing the Reflection, Not Just the Product
Reflective products behave differently from matte products. A matte surface reflects light in many directions, so placing a softbox near the item often produces predictable, even illumination. A reflective surface acts more like a mirror. Its appearance depends on what is positioned in front of it and at the angle visible to the camera.
This is why moving a light a few inches can completely change the image. If a white softbox appears as a bright rectangle in polished metal, the product is doing exactly what it should. The task is to decide whether that rectangle helps define the product or distracts from it.
Before setting up the camera, look at the item from the intended shooting angle. Notice where the room, ceiling, windows, camera, and crew appear in its surface. Then build the scene the product needs to reflect. This shift in approach saves time and produces cleaner files for retouching.
Build a Controlled Set for Reflective Product Photography
A controlled studio setup matters more than expensive gear. Start with a clean shooting area where outside reflections can be blocked. White foam boards, black foam boards, diffusion material, and large soft light sources are the basic tools for shaping most reflective products.
White cards create bright edge highlights and help define dark products. Black cards create contrast and prevent metal, glass, or glossy plastic from looking flat and washed out. Diffusion softens harsh reflections, while flags block unwanted light from reaching a particular area.
For a dependable starting point, use a large diffused light source rather than a small bare light. Large sources create broad, smooth reflections that look intentional on packaging, cookware, watches, cosmetics, and electronics. Place the product far enough from the background that you can control its edges separately.
A light tent can be useful for smaller items such as jewelry, sunglasses, bottles, and polished accessories. It reduces the amount of surrounding clutter visible in the surface. However, tents can also create overly flat images with weak shape definition. They work best as a starting point, not as a replacement for deliberate lighting and flag placement.
Use Light and Dark Cards to Create Product Shape
A reflective product needs contrast to look dimensional. If you surround a silver object with nothing but white, it may blend into the background and lose its contours. If you surround it with too much black, it can look heavy, underexposed, or inconsistent with a bright ecommerce catalog.
The most effective solution is often a controlled mix. Position white cards where you need clean highlights along edges, curves, or metallic trim. Add narrow black cards where you need a darker line to separate surfaces and reveal form. On a stainless steel bottle, for example, a vertical black reflection can define the cylinder while a soft white reflection gives the body a premium shine.
The size of each card matters as much as its position. A larger card produces a broader reflection. A narrow strip produces a precise line. Make small adjustments and review the image at full size. What looks subtle to the eye may become distracting once the product image is viewed on a marketplace zoom tool.
Keep the Camera Out of the Reflection
The camera is one of the most common unwanted reflections. On a glossy coffee maker, a dark phone case, or a mirror-finish cosmetic compact, it can appear as a black shape in the center of the product.
Move the camera slightly higher, lower, or off center before changing the lighting. A small angle adjustment may remove the reflection without altering the product’s most important view. If the camera must remain in a visible reflection path, place a white or black card around the lens area so it becomes part of the planned reflection rather than an obvious dark silhouette.
For highly reflective curved surfaces, use a longer focal length and position the camera farther back when possible. This narrows the camera’s apparent reflection and can make retouching more efficient. Avoid extreme wide-angle lenses, which can distort products and reveal more of the studio environment.
Choose Angles That Sell the Product
The best angle is not always the one that eliminates every reflection. It is the one that shows the product clearly and supports the way customers make purchase decisions.
For Amazon main images and standard ecommerce listings, brands often need a clean front or three-quarter view on white. The product should occupy the frame appropriately, show its primary features, and remain visually consistent across the catalog. Secondary images can take more creative latitude, showing a beverage bottle’s label texture, the face of a watch, or the polished trim on an appliance.
Glass requires special attention because it can disappear against a white background. A dark edge behind or beside the glass often creates enough definition to reveal its outline. With clear bottles, the label, cap, liquid level, and glass edges should all remain readable. Sometimes a pure white background is correct for the listing requirement; other times, a light gray or carefully retouched white background gives the product a stronger visual presence.
Camera Settings That Protect Detail
Reflective product photography rewards consistency. Use a tripod, manual exposure, and a low ISO to keep files clean and repeatable. For many tabletop products, an aperture around f/8 to f/11 provides useful depth of field while maintaining lens sharpness. The right setting depends on product size, lens choice, and angle, especially with jewelry or products shot close-up.
Focus precisely on the most important selling area. For a skincare bottle, that may be the brand name and product type. For a watch, it is usually the dial and bezel. For an electronic device, it may be the logo, screen, ports, or control layout. If depth of field cannot cover the entire product in one frame, focus stacking can produce a sharper final image, though it adds time in post-production.
Shoot tethered when possible. Reviewing files on a larger screen makes it easier to spot fingerprints, crooked labels, dust, clipped highlights, and distracting reflections before the set is dismantled. This is especially valuable with glass, polished metal, gemstones, and glossy black packaging, where small flaws are immediately visible.
Retouching Is Part of the Process, Not a Rescue Plan
Even a well-lit image usually needs professional finishing. Dust removal, scratch cleanup, label alignment, color correction, background cleanup, and controlled highlight adjustments all contribute to a retail-ready result. Reflective surfaces show every imperfection, including marks that are barely visible in person.
Retouching should preserve the product’s real materials and color. Over-editing can make metal look like gray plastic, remove necessary glass edges, or create reflections that do not match the product’s geometry. For beauty, jewelry, consumer electronics, and premium packaging, realistic polish is more persuasive than a heavily processed look.
It is also worth planning photography around final image requirements. Marketplace main images, website thumbnails, high-resolution catalog files, lifestyle assets, and print-ready files may need different crops, backgrounds, or retouching standards. Capturing the right source image from the start reduces revisions and helps maintain visual consistency across sales channels.
When Professional Product Photography Makes Business Sense
A quick in-house setup can work for simple, low-reflection products or early samples. But reflective products demand more testing, more controlled equipment, and more detailed post-production than most teams expect. If listings need to launch quickly or images must match an established brand standard, outsourcing can be more efficient than repeatedly troubleshooting glare and reflections.
Product Photography Studio handles reflective products with controlled lighting, high-resolution capture, and professional retouching designed for ecommerce, catalogs, Amazon listings, and print. The right final image does more than make a product look attractive. It gives customers a clear, credible view of what they are buying.
A reflection should never look accidental. When every highlight, shadow, and edge is placed with purpose, reflective products look more premium on the page and more convincing at the moment a customer decides to click buy.