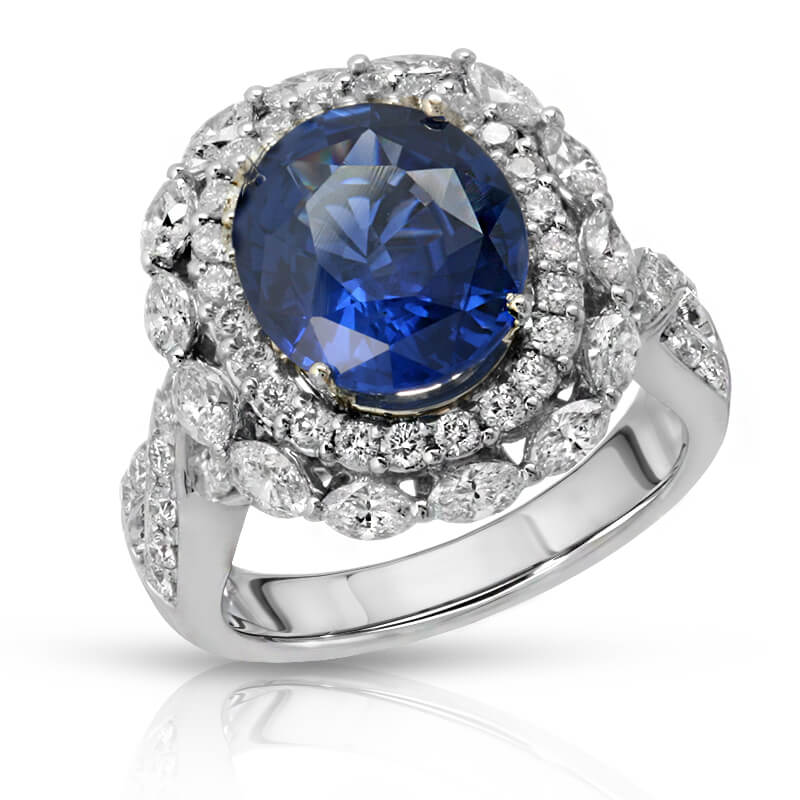
A jewelry listing has only a few seconds to answer a buyer’s first question: does this piece look worth the price? The best jewelry photography setup does more than make metal shine. It reveals craftsmanship, preserves accurate color, shows scale, and gives shoppers the confidence to click Add to Cart.
Jewelry is one of the least forgiving product categories to photograph. Highly polished gold, silver, and gemstones reflect everything around them, including the camera, room, and photographer. Small details such as prongs, chain links, engraving, and stone clarity can disappear quickly under poor lighting. A controlled setup turns those challenges into images that look consistent across ecommerce listings, Amazon storefronts, catalogs, and paid campaigns.
What the Best Jewelry Photography Setup Needs
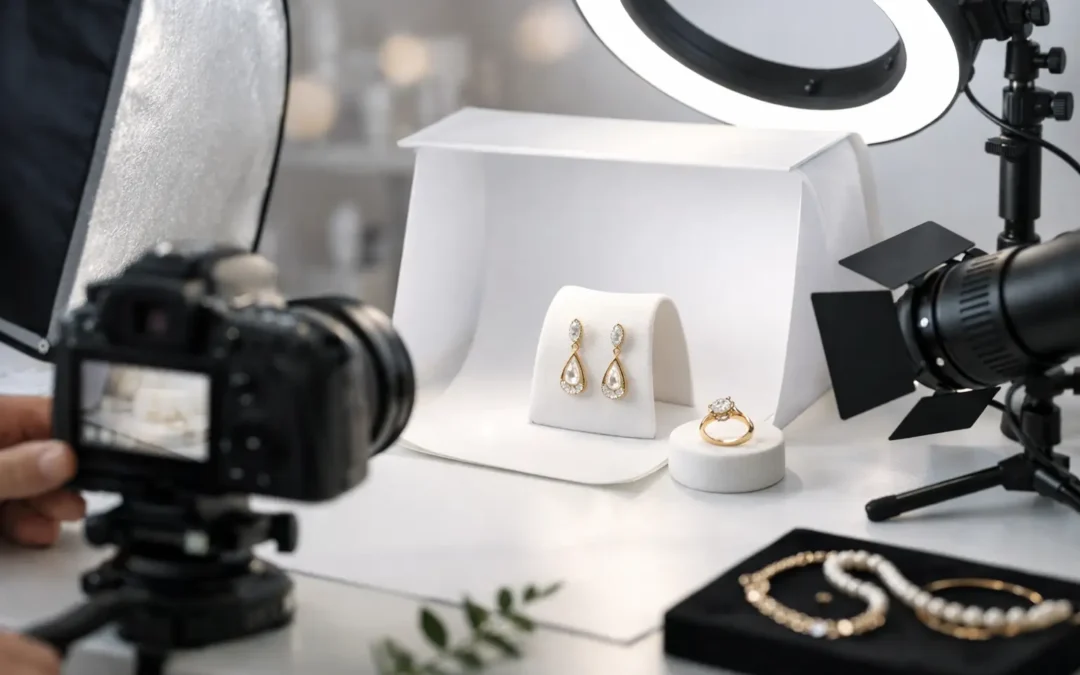
You do not need a large studio full of expensive gear to begin producing credible jewelry images. You do need control. The goal is to create soft, directional light, eliminate distracting reflections, stabilize the camera, and build a repeatable process that can be used across an entire collection.
For a commercial-ready setup, start with a camera capable of manual exposure, a true macro or close-focusing lens, a sturdy tripod, diffused lighting, a clean background, and a few small positioning tools. The exact equipment depends on the volume of products and the final use of the images. A handmade jewelry brand photographing ten pieces a month has different needs than a retailer adding hundreds of SKUs to an online catalog.
The common mistake is buying a camera first and treating lighting as an afterthought. For jewelry, lighting usually has a greater effect on perceived quality than the camera body. Even a high-end camera will capture dull metal, harsh glare, and poor stone color if the light is uncontrolled.
Use a Camera and Lens That Show Fine Detail
A mirrorless camera or DSLR with manual controls provides the most flexibility. Shoot at a low ISO, usually ISO 100 or 200, to keep images clean and preserve detail for retouching and print. Use a tripod and a timer or remote release so the camera stays perfectly still during longer exposures.
A dedicated macro lens is the strongest choice for rings, pendants, earrings, and gemstone close-ups. It allows you to fill the frame without moving too close or distorting the piece. A 90mm, 100mm, or 105mm macro lens is often useful because it gives comfortable working distance between the camera and the product.
For small jewelry, depth of field is a real limitation. At close range, only a narrow area stays sharp. Stopping down to around f/8 through f/16 can help, but very small apertures may soften an image through diffraction. For premium detail shots, focus stacking can be worth the extra time. This process combines multiple images focused at different points, producing a final image that is sharp from the front edge of a ring to the rear setting.
Build Soft Light, Then Add Shape
A light tent or diffusion box is a practical starting point for reflective items. The translucent fabric surrounds the jewelry with broad, soft illumination and reduces harsh reflections. It works particularly well for polished silver, gold, and simple product angles on white.
However, a tent alone can make jewelry look flat. A controlled setup often uses one large diffused key light from above or the side, then small white cards to lift shadows and black cards to add definition. The black cards may seem counterintuitive, but they create clean dark edges in reflective metal. Those edges give a gold bracelet, watch case, or polished pendant a more dimensional, premium appearance.
Continuous LED lights make setup easier because you can see the reflection pattern before taking the picture. Strobes offer stronger output and can be useful for large production days, especially when shooting at low ISO and smaller apertures. Either option can work. What matters is that the light is diffused, repeatable, and adjusted for the material in front of the lens.
Diamonds, faceted gemstones, and high-polish metals rarely look their best under identical lighting. Soft light shows form and true color, while a small, carefully placed harder light can introduce controlled sparkle. Too much sparkle becomes random white clipping and can make stones look artificial. The objective is believable brilliance, not visual noise.
A Jewelry Photography Setup for White Background Images
White-background images remain the standard for many ecommerce stores and marketplace main images. They keep the focus on the product, maintain consistency across category pages, and simplify layout design. But a white background should not mean a rushed image with gray shadows, uneven exposure, or clipped highlights.
Place the jewelry on a clean sweep of white acrylic, matte white paper, or a small styling surface. For rings, clear acrylic risers, wax, museum putty, or fishing line can help hold the item at the correct angle. Keep support tools outside the intended crop whenever possible. If they cannot be hidden during capture, they should be removed during professional retouching.
Expose for the product, not only the background. Bright silver can lose detail quickly, while yellow gold can shift too orange under warm lights. Check the histogram and inspect the image at high magnification. If the reflective areas are pure white with no visible texture, reduce the light or change the angle of reflection rather than relying on heavy editing later.
A pure white final background is often created through careful clipping and retouching, not by overexposing the original capture. This preserves the jewelry’s edges, texture, and realistic shadows. That distinction matters when a customer zooms in on a product page.
Control Color Accuracy From Capture Through Retouching
Color accuracy is a sales issue. A rose gold ring that appears copper, or a sapphire that looks much darker online than it does in person, can lead to disappointment, returns, and weakened trust in the brand.
Use daylight-balanced lights when possible and set a custom white balance. Include a gray card or color target at the beginning of a session, especially when shooting multiple metal types or products with colored stones. Calibrate your monitor before making final color decisions. A good image can still fail commercially if it is edited on an uncalibrated display and exported with inconsistent color.
Retouching should clean up dust, fingerprints, scratches, glue residue, and distracting reflections while keeping the product honest. Jewelry buyers expect a polished image, but they should still receive the piece they saw online. Avoid changing gemstone color, altering metal tone dramatically, or creating a level of shine that the physical item cannot deliver.
Composition That Helps Shoppers Buy
The hero image should make the product immediately legible. Center the jewelry, use a consistent crop, and leave enough space around the item for marketplace requirements and mobile viewing. A ring may need a three-quarter angle to show its setting, while a necklace may need a straight-on view that makes the chain length and pendant shape easy to understand.
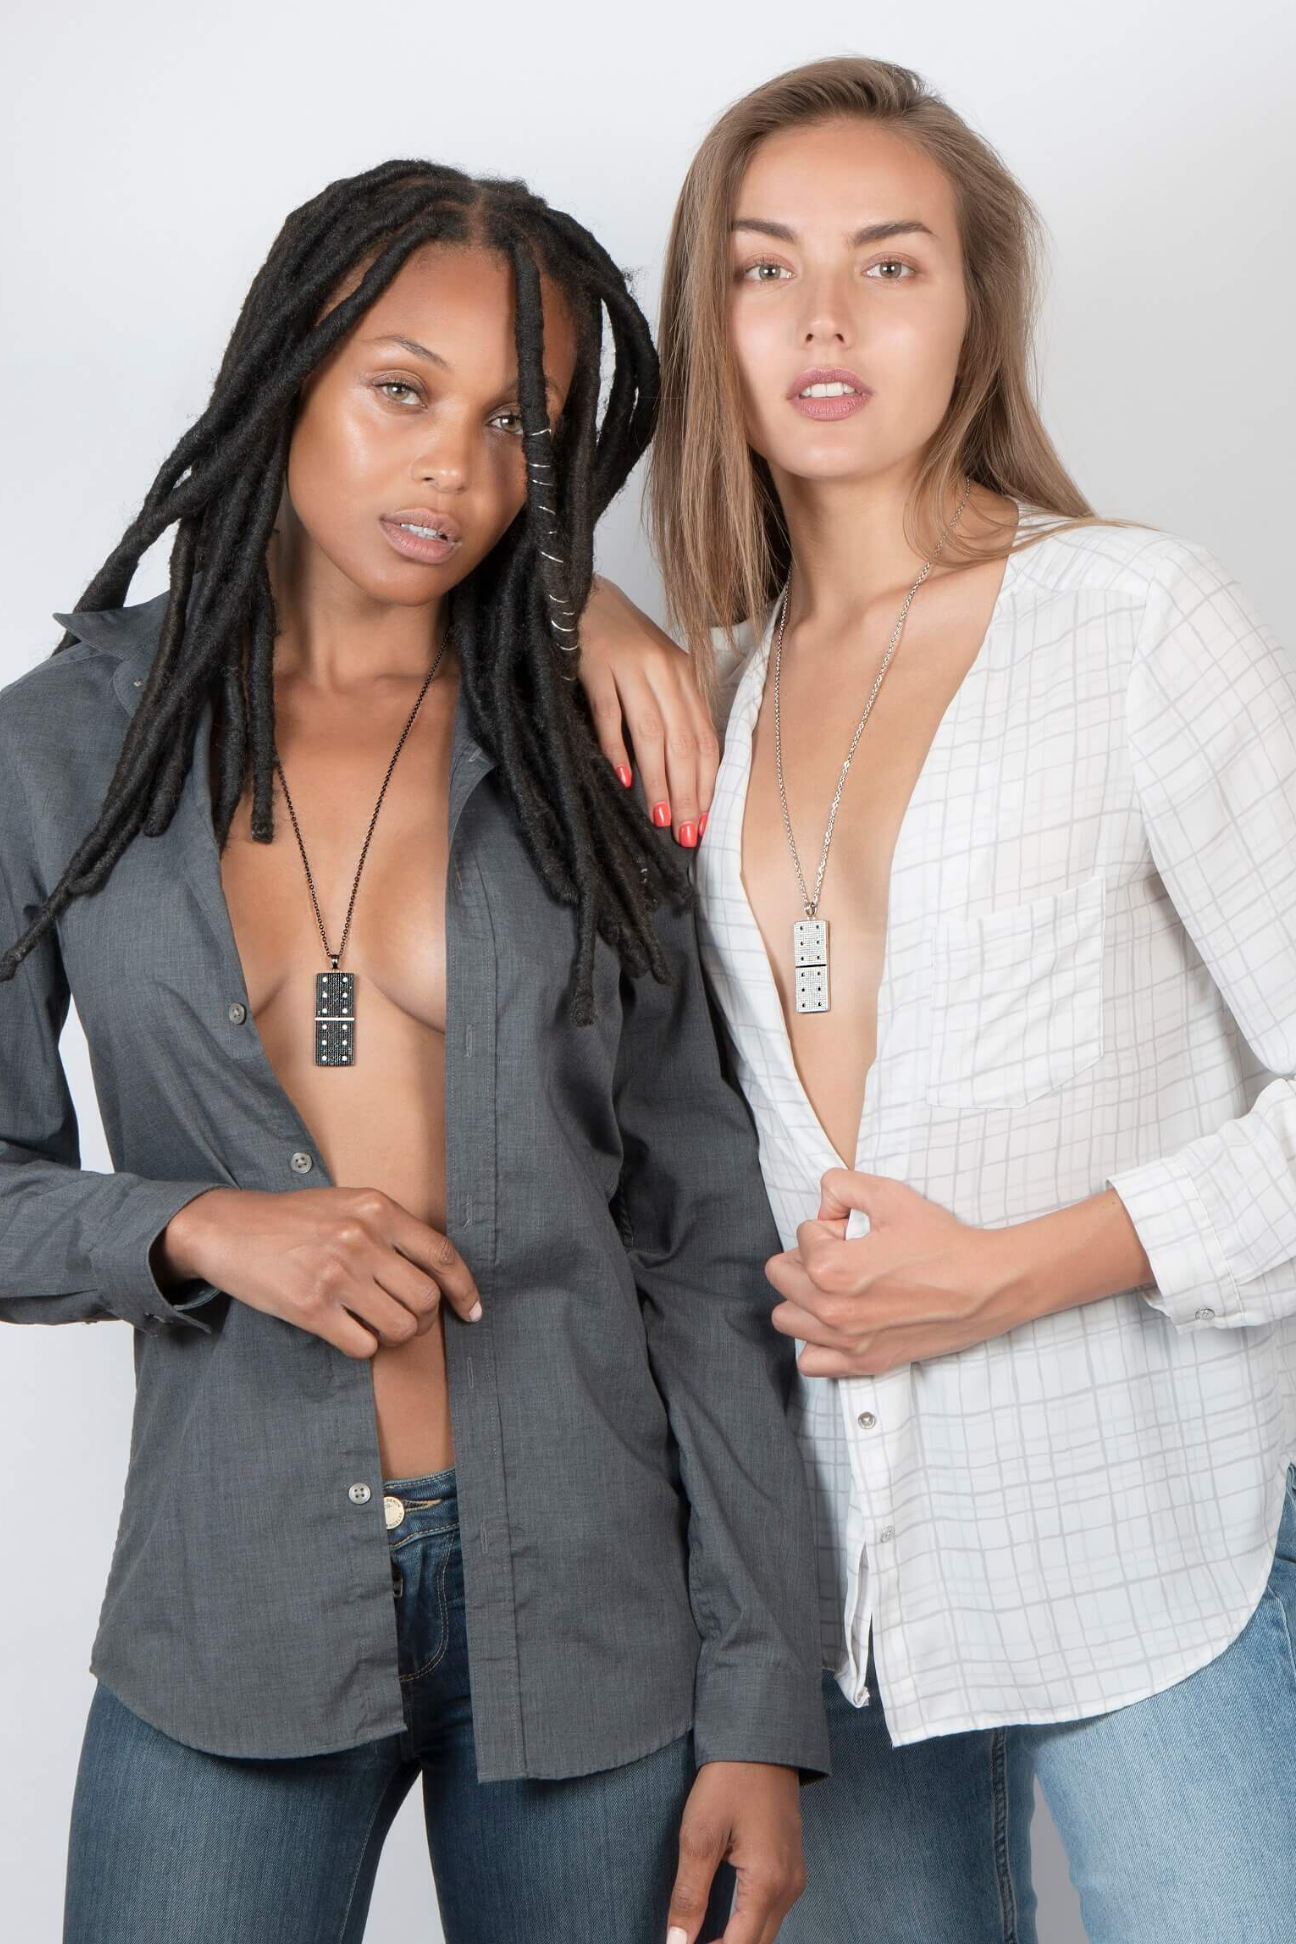
One image is rarely enough for a product page. A complete set should include the primary white-background image, additional angles, a close-up of critical craftsmanship, and an in-context image when appropriate. Lifestyle images can communicate scale and aspiration, but they should support rather than replace clear product views.
For earrings, show the pair as well as an individual detail shot if the design warrants it. For chains and bracelets, avoid tangled or overly stylized arrangements that hide clasp quality and link structure. For gemstones, include angles that show both color and cut. Every frame should answer a likely buying question.
When an In-House Setup Stops Making Business Sense
An internal jewelry setup can be efficient for routine content, product intake, and fast social posts. It becomes more difficult when your team needs consistent high-resolution imagery across a growing catalog, multiple metal finishes, complex gemstones, or strict marketplace specifications.
The hidden cost is not only equipment. It is the time required to style each piece, manage reflections, capture enough sharp frames, retouch at a high standard, name files correctly, and maintain visual consistency from one collection to the next. If product launches are delayed because photography is backed up, the apparent savings of an in-house process disappear quickly.
For brands that need scalable production, Product Photography Studio provides detail-focused jewelry imagery with professional retouching, high-resolution delivery, and royalty-free usage rights. The right service partner should be able to match your required background, crop, color standards, and turnaround schedule without making the collection look generic.
A well-built jewelry setup is not about adding more equipment to the table. It is about making every reflection, highlight, angle, and retouched detail work toward one commercial result: a product image that makes the buyer feel certain about what they are purchasing.