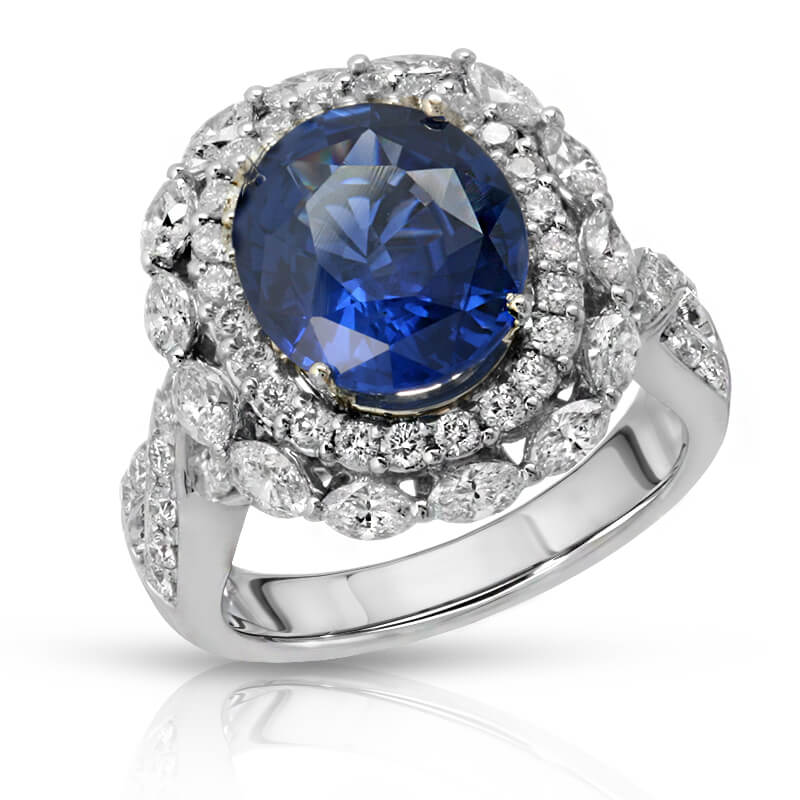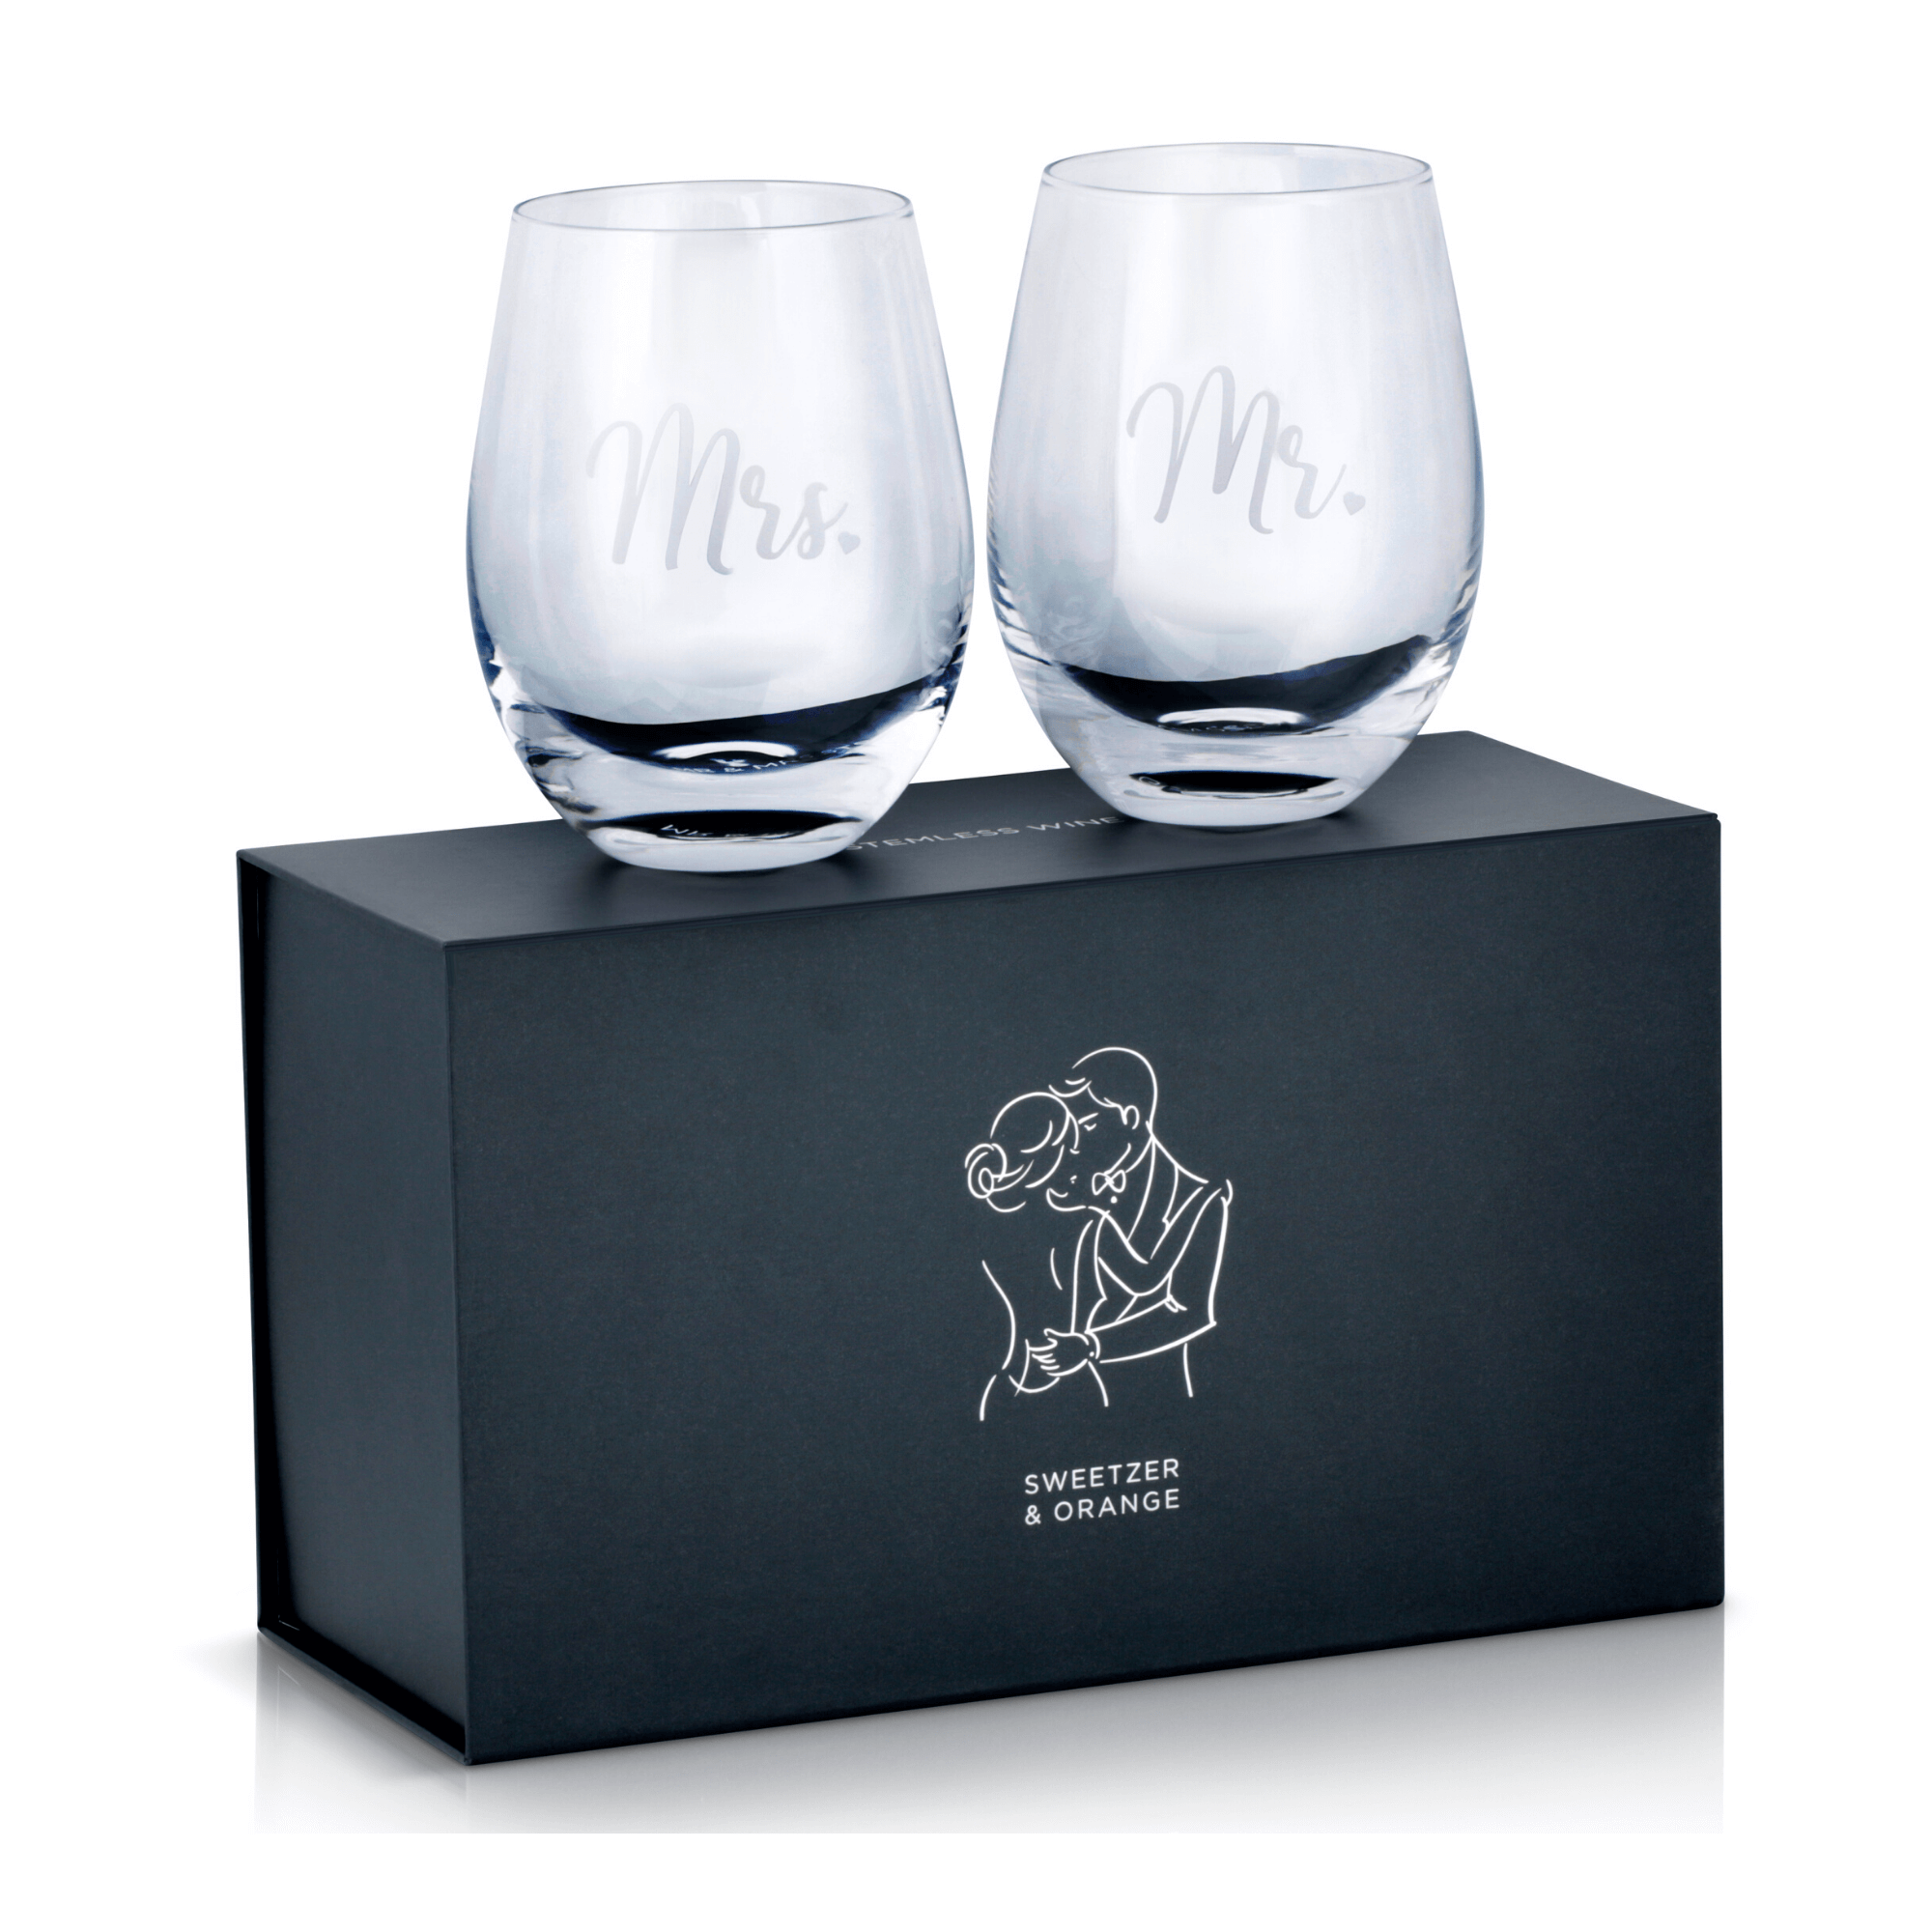
A jewelry listing can lose a sale in seconds when metal looks dull, gemstones lose their sparkle, or a necklace is impossible to judge for scale. Learning how to photograph jewelry for online store listings means controlling light, reflections, color, and detail so shoppers can buy with confidence. The goal is not simply a pretty image. It is a clear, consistent product presentation that earns clicks and supports conversion.
Start With the Product, Not the Camera
Jewelry photography begins before the first frame. Every fingerprint, loose fiber, scratch, and crooked clasp becomes more visible under close-up lighting. Inspect each piece under bright light, then clean it with the correct materials for its metal and stones. A microfiber cloth works well for many pieces, but delicate finishes, pearls, and plated jewelry may need more careful handling.
Check clasps, chain direction, earring backs, prongs, and stone alignment. If a ring is photographed upright, make sure the setting is level. If a bracelet is styled in a curve, keep that curve intentional and balanced. Small presentation errors can make an otherwise premium product appear inexpensive.
Plan the shot list before styling. Most ecommerce listings need a clean primary image, multiple angle views, close-ups of significant details, and at least one scale or worn image when appropriate. Amazon, marketplaces, and brand storefronts may have different image rules, so build the required format into the production plan rather than cropping around it later.
How to Photograph Jewelry for Online Store Listings With Clean Lighting
Light is the deciding factor in jewelry photography. Polished silver, gold, diamonds, colored gemstones, and glossy enamel all reflect their surroundings. Direct, uncovered light often creates harsh hotspots and dark reflections that hide the shape of the product. Soft, controlled light reveals form while keeping reflections manageable.
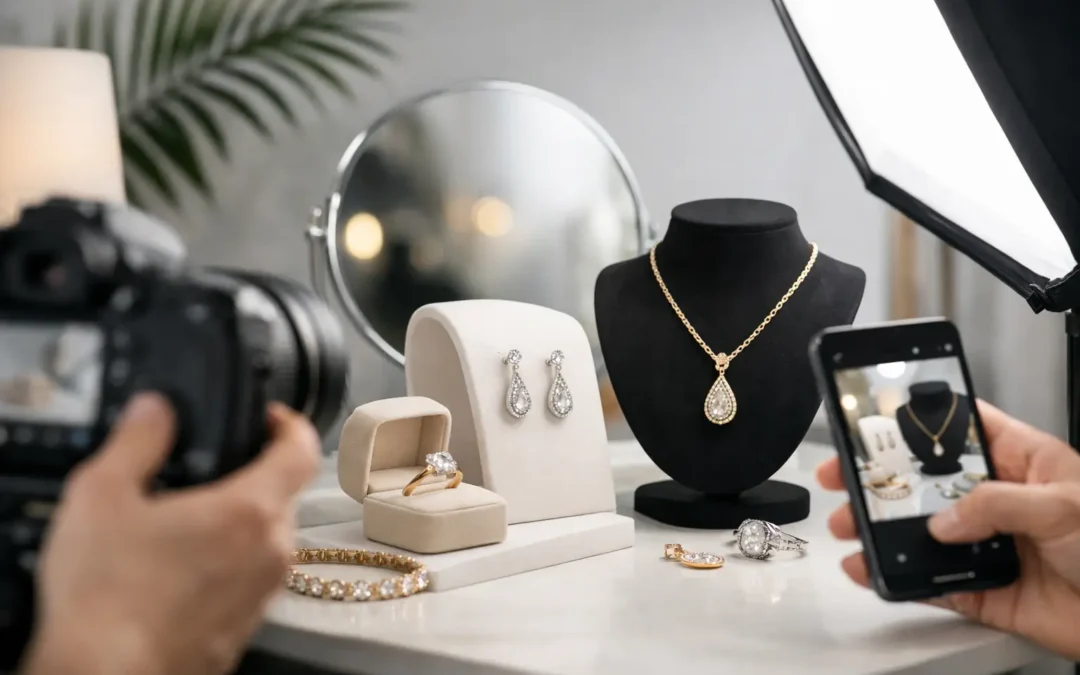
A light tent, diffusion panel, or large softbox provides a reliable starting point. Place the jewelry inside a controlled setup and use broad, diffused light from above and slightly forward. White cards can bounce light into shadowed areas, while black cards can add controlled edge definition to highly reflective metal. This may seem counterintuitive, but dark reflections often help a polished ring or watch edge look more dimensional.
The right lighting setup depends on the item. A faceted gemstone may need a small, controlled accent light to show fire and internal depth. A highly polished gold chain may need broad diffusion to prevent distracting bright streaks. Pearls generally benefit from soft, low-contrast light that preserves their subtle surface glow.
Avoid relying on room lights or mixed light sources. A window, overhead LED fixture, and desk lamp can each have a different color temperature. The result is metal that looks yellow in one area, blue in another, and inaccurate across the full catalog. Use one controlled lighting source or match your sources carefully.
Choose Equipment That Produces Repeatable Results
You do not need the most expensive camera body to create sales-ready product photos, but you do need a setup that can reproduce sharp, consistent images. A camera with manual controls, a quality macro or close-focusing lens, a sturdy tripod, and controlled lighting will outperform a handheld, auto-mode setup every time.
Use a tripod for nearly every jewelry shot. It keeps framing consistent across a collection and lets you use slower shutter speeds without introducing motion blur. Set a low ISO whenever possible to reduce noise, especially for close-ups where texture and edges matter. Use an aperture that keeps the key product areas sharp, typically around f/8 to f/11, then test for the depth of field your piece requires.
Very small products often create a depth-of-field challenge. At close range, a ring’s front edge may look sharp while its stone or band falls out of focus. Focus stacking can solve this by combining several images focused at different points. It adds production time, but it can be worthwhile for hero images, luxury pieces, and detailed gemstone work.
A phone can be useful for social content or quick behind-the-scenes images. For primary ecommerce photography, however, dedicated camera equipment and professional retouching provide more control over sharpness, reflections, file quality, and consistency.
Style Each Piece for Fast Visual Understanding
The primary image should make the product easy to recognize immediately. For many online stores, that means jewelry centered on a clean white, light gray, or brand-appropriate neutral background. Keep the product large enough to inspect on mobile without cropping important details.
Rings, earrings, pendants, and bracelets each require different support methods. Clear acrylic stands, museum wax, fishing line, foam forms, and styling putty can hold pieces in place without distracting from the product. Make supports as invisible as possible during capture, then remove any remaining traces in post-production.
Use styled images selectively. A simple prop or textured surface can communicate a brand mood, but it should never compete with the jewelry. For a fashion-forward direct-to-consumer brand, a few editorial images may add value. For a marketplace listing, a clean product-first image is often the stronger commercial choice. It depends on the sales channel and how shoppers make decisions there.
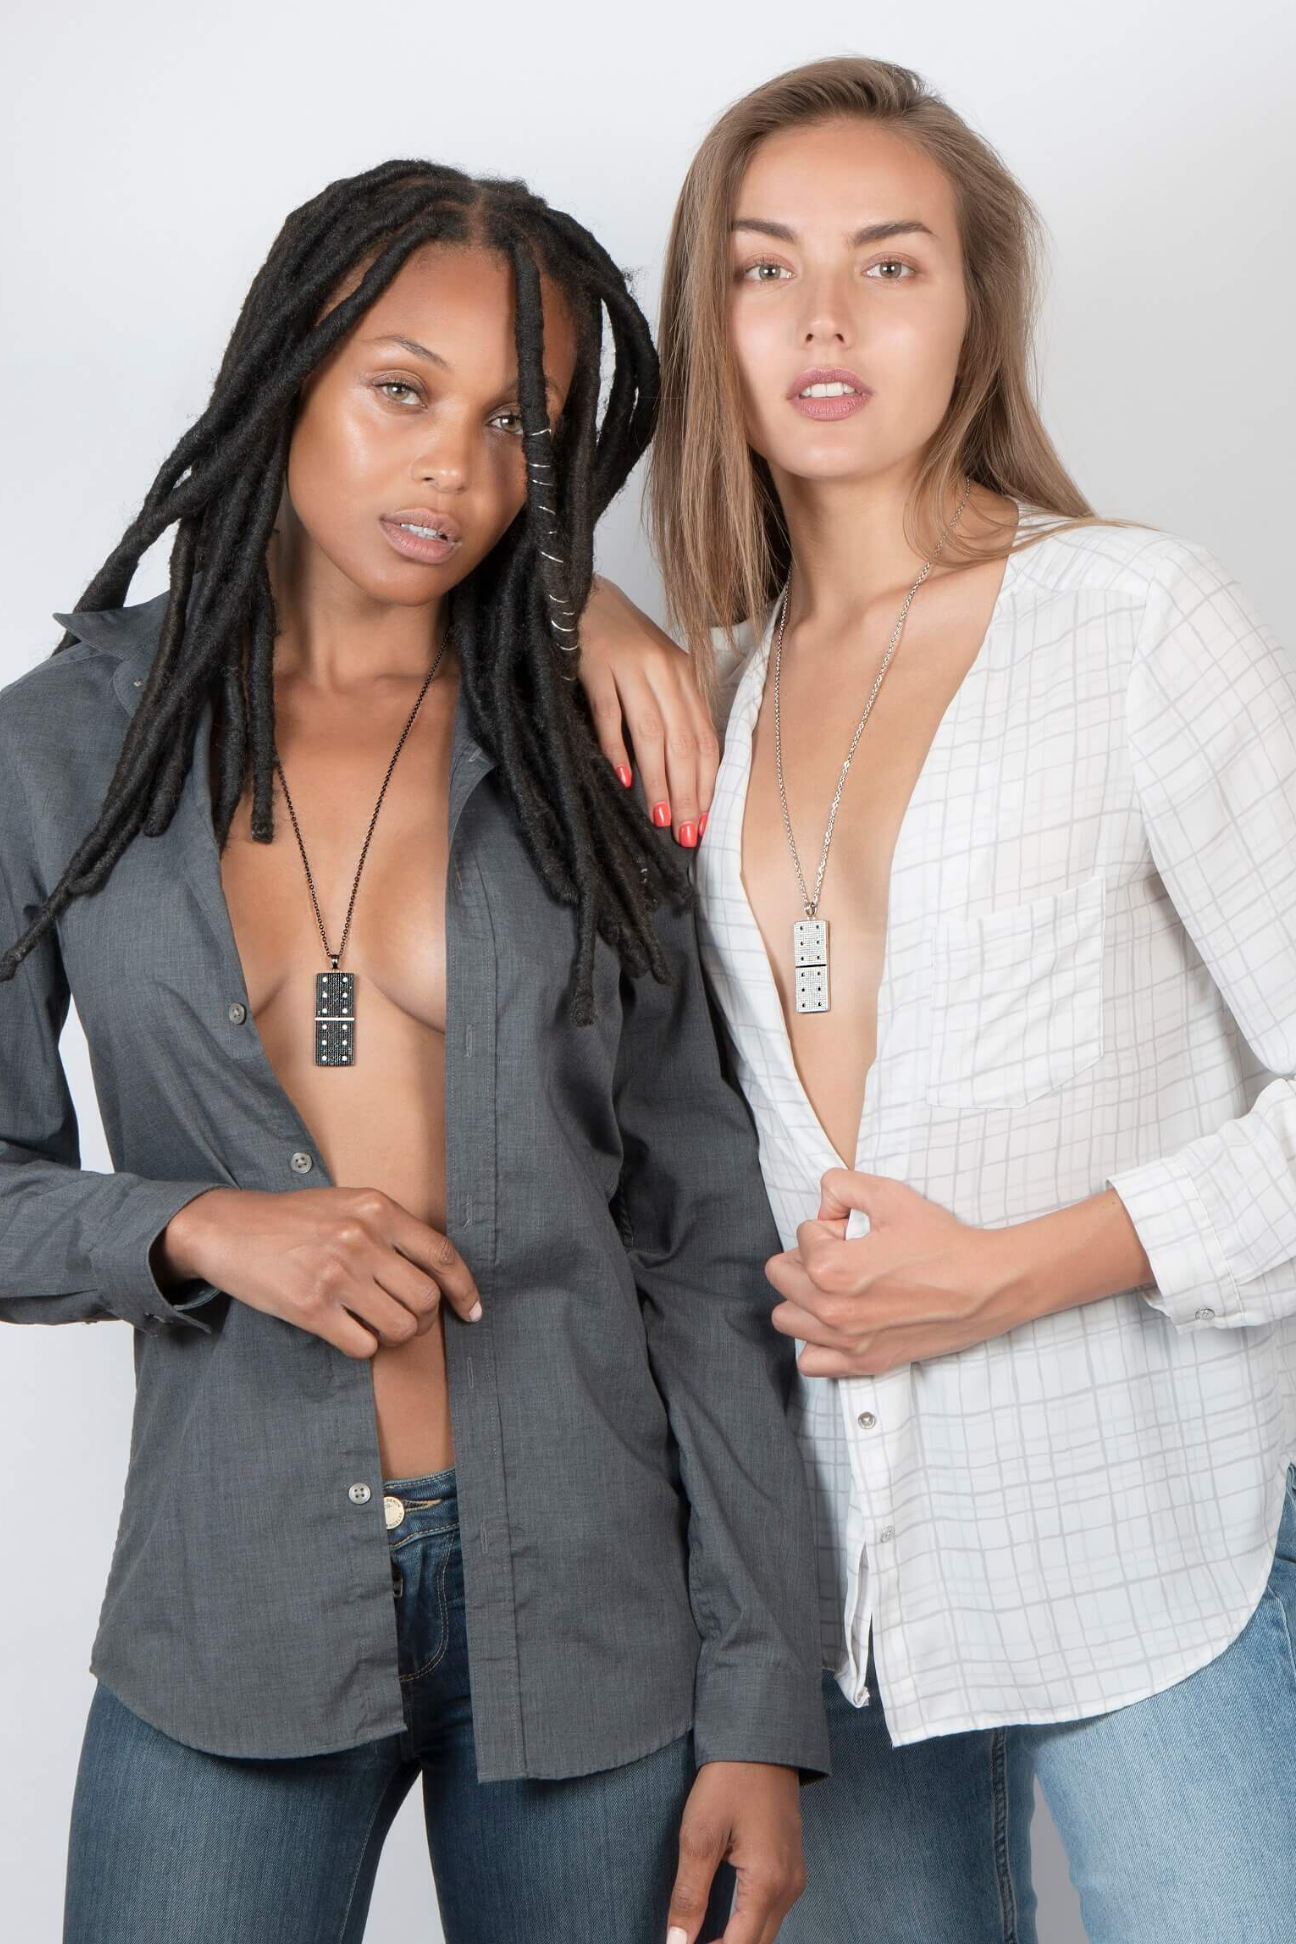
Include scale when size is not obvious. A worn image, hand shot, model image, or reference frame can reduce uncertainty about chain length, hoop diameter, or ring presence. Keep these images accurate. Styling should make the product more understandable, not make it appear larger or more substantial than it is.
Capture Color, Metal, and Gemstones Honestly
Online buyers cannot pick up the item, turn it in their hands, or view it under different lighting. Your images must reduce that gap. Accurate color is especially important for colored gemstones, enamel, rose gold, yellow gold, and mixed-metal designs.
Set a custom white balance using a gray card or a controlled reference target. Do not trust automatic white balance from frame to frame, particularly when shooting different metals. Photograph a color reference at the beginning of each setup, and keep lighting placement consistent throughout the session.
Shoot in RAW format when available. RAW files retain more image information than compressed formats, giving the retoucher better control over exposure, highlight recovery, and color correction. This matters when a bright diamond or polished metal surface pushes close to pure white.
Do not over-edit gemstones to create a color or brilliance the piece does not have. Strong photography should highlight the product’s best qualities while remaining truthful. Over-saturated stones and artificially bright metal may attract an initial click, but inaccurate images drive returns, complaints, and weaker customer trust.
Retouch for Polish Without Making the Product Unreal
Professional retouching is where a good capture becomes a clean ecommerce asset. Typical jewelry retouching includes dust and fingerprint removal, background cleanup, minor reflection control, color correction, sharpening, and removal of support materials. The work should look invisible. Buyers should see a flawless presentation, not obvious digital manipulation.
Keep retouching standards consistent across every SKU. If one ring is photographed on bright white with crisp edges and another has a warm gray background with soft contrast, the collection will feel disorganized. Consistency strengthens perceived brand quality and makes storefront browsing easier.
Save files in the correct dimensions and formats for each destination. Your storefront may need high-resolution product pages, while marketplaces may require a specific square crop, white background, or pixel minimum. Maintain a master high-resolution file and create optimized exports from it. That approach protects quality when a product is later used in a catalog, ad campaign, email, or print piece.
Build a Scalable Jewelry Image Workflow
The most profitable jewelry photography process is repeatable. Document the camera height, lens choice, lighting positions, background, product placement, and retouching standards for each product category. When new designs arrive, the team can match the established look without rebuilding the process from scratch.
Batch similar pieces together. Photograph all yellow gold rings in one setup, then move to silver earrings or gemstone pendants. This reduces lighting changes and keeps color more consistent. Name files carefully from the beginning, using SKU-based conventions that make images easy to find after delivery.
For brands with frequent launches or large inventories, outsourcing can be more efficient than maintaining an in-house setup. Product Photography Studio provides detail-focused jewelry photography, high-resolution files, professional retouching, and fast turnaround for brands that need polished visuals at scale. The right partner should understand both the technical demands of reflective products and the image requirements of the channels where they sell.
Great jewelry photography gives shoppers the next best thing to holding the piece themselves: a clear view of its craftsmanship, color, finish, and scale. When every image answers a buyer’s question before they ask it, your product page has a far better chance of turning interest into an order.