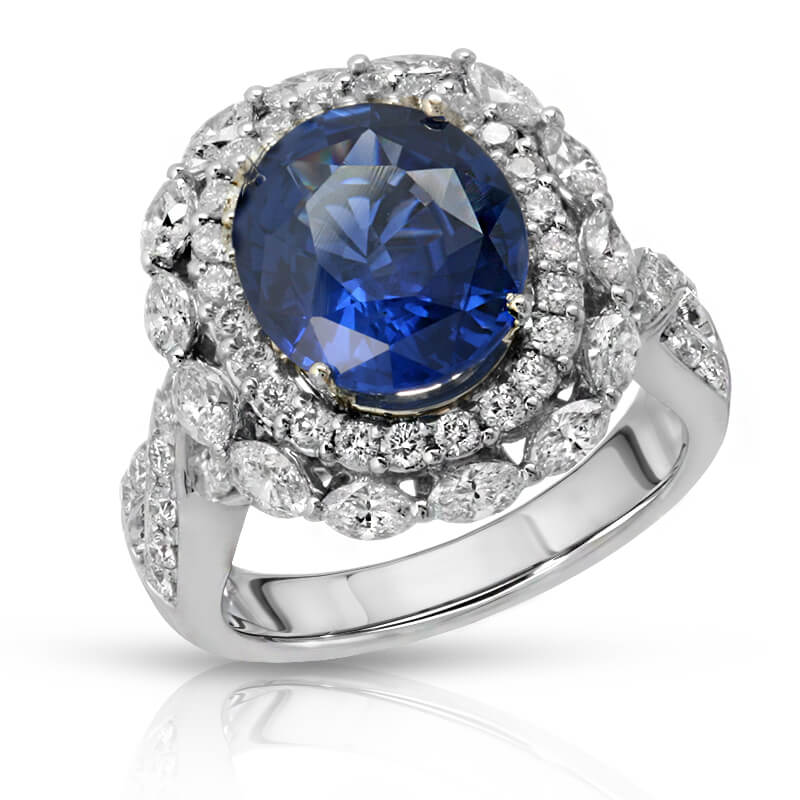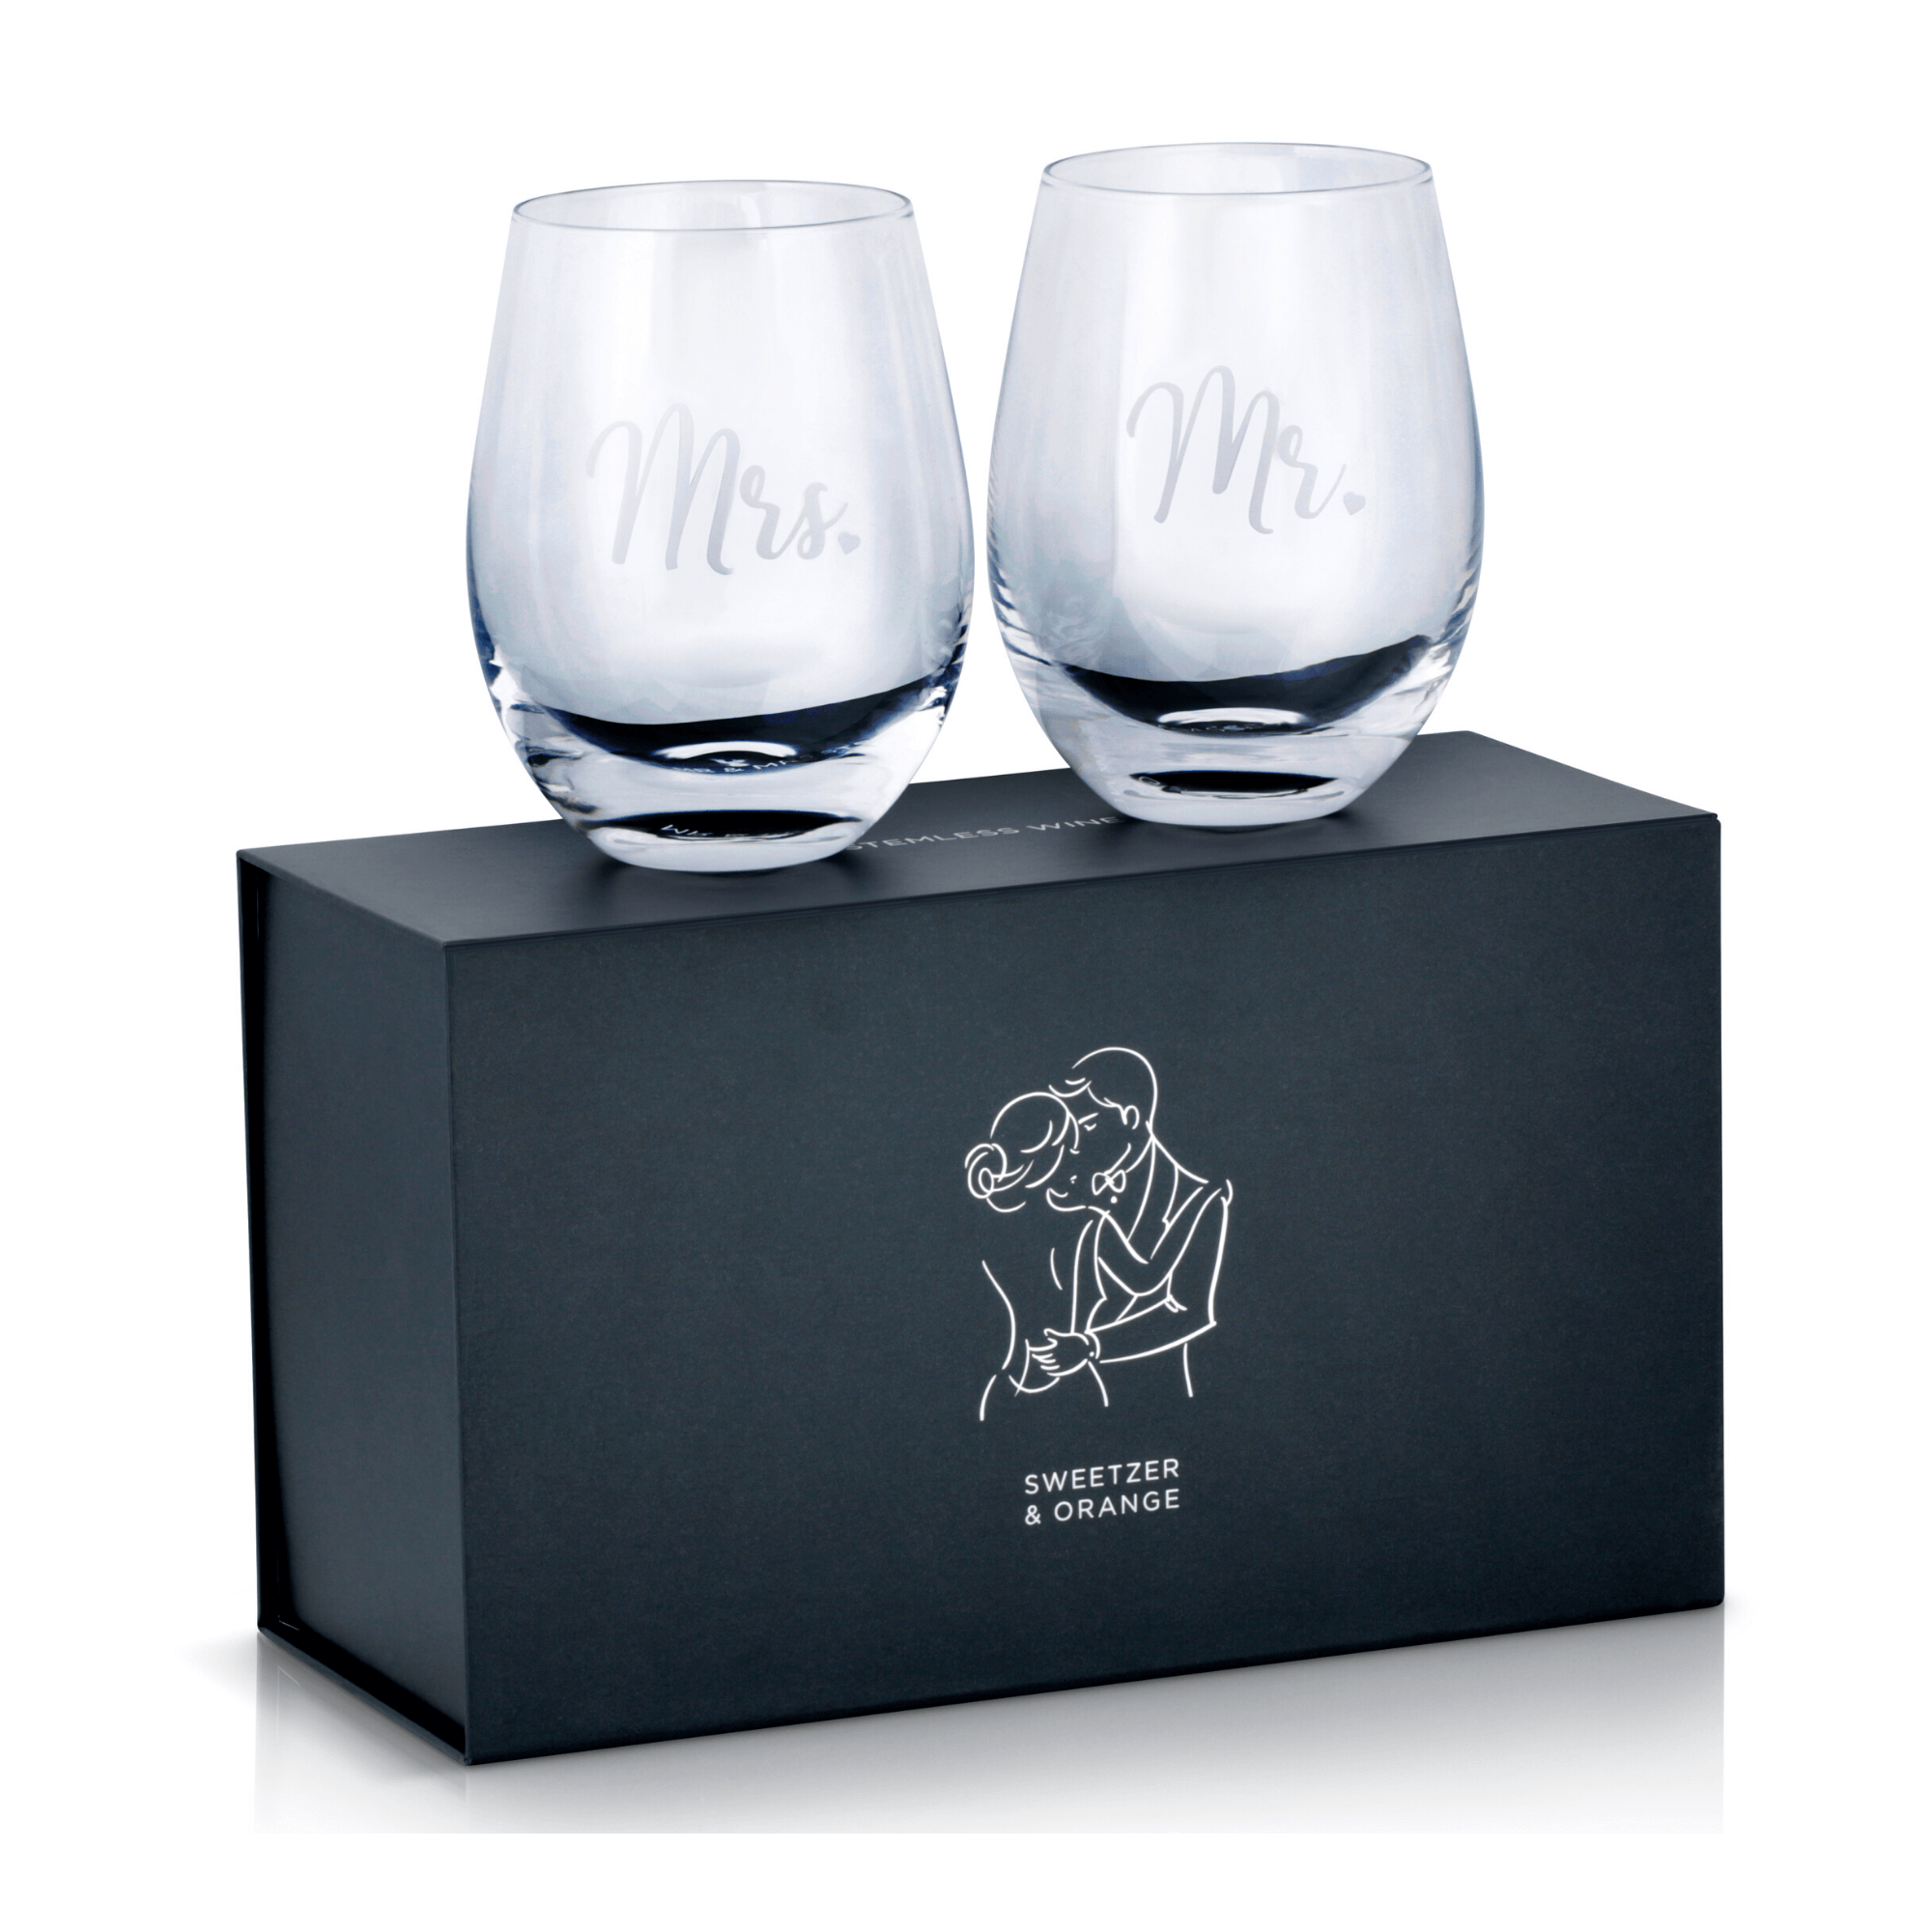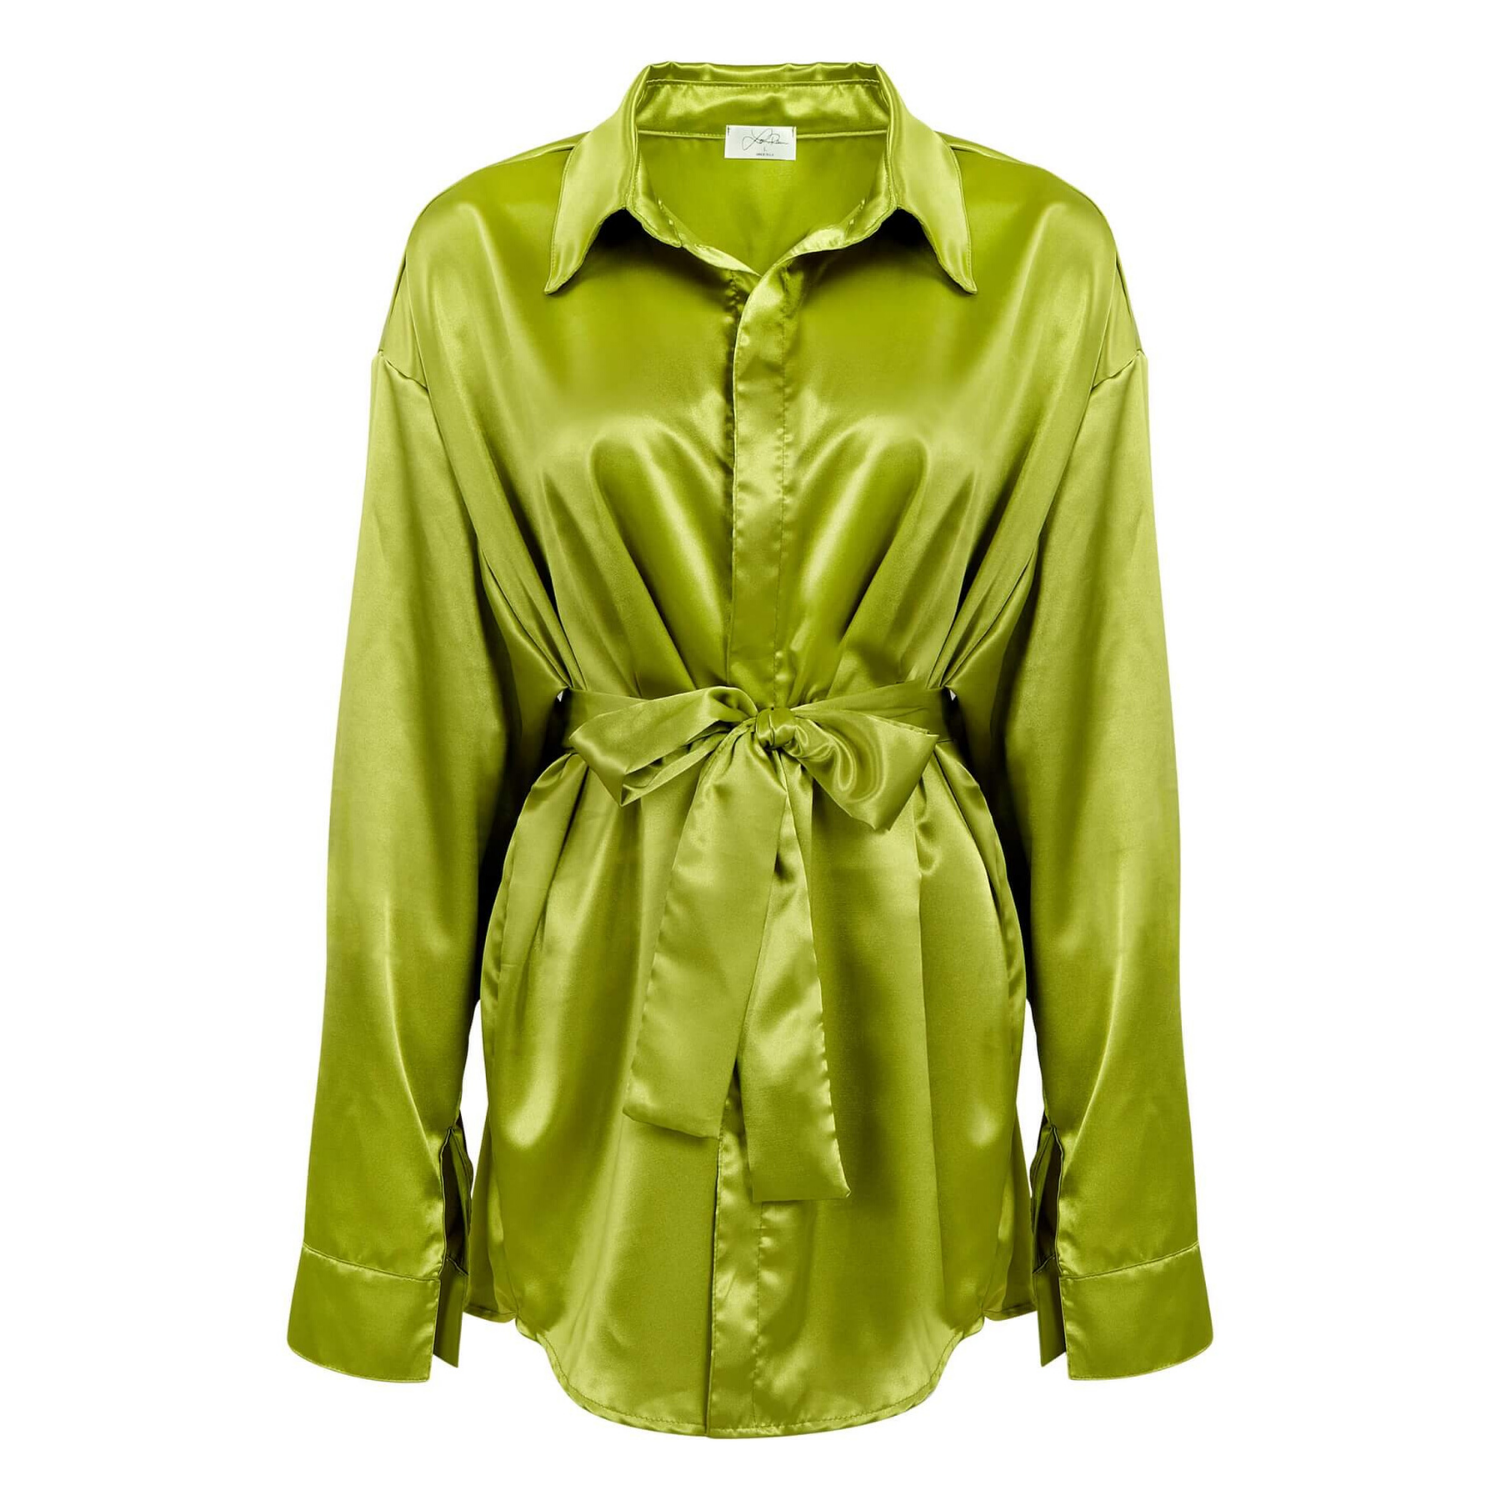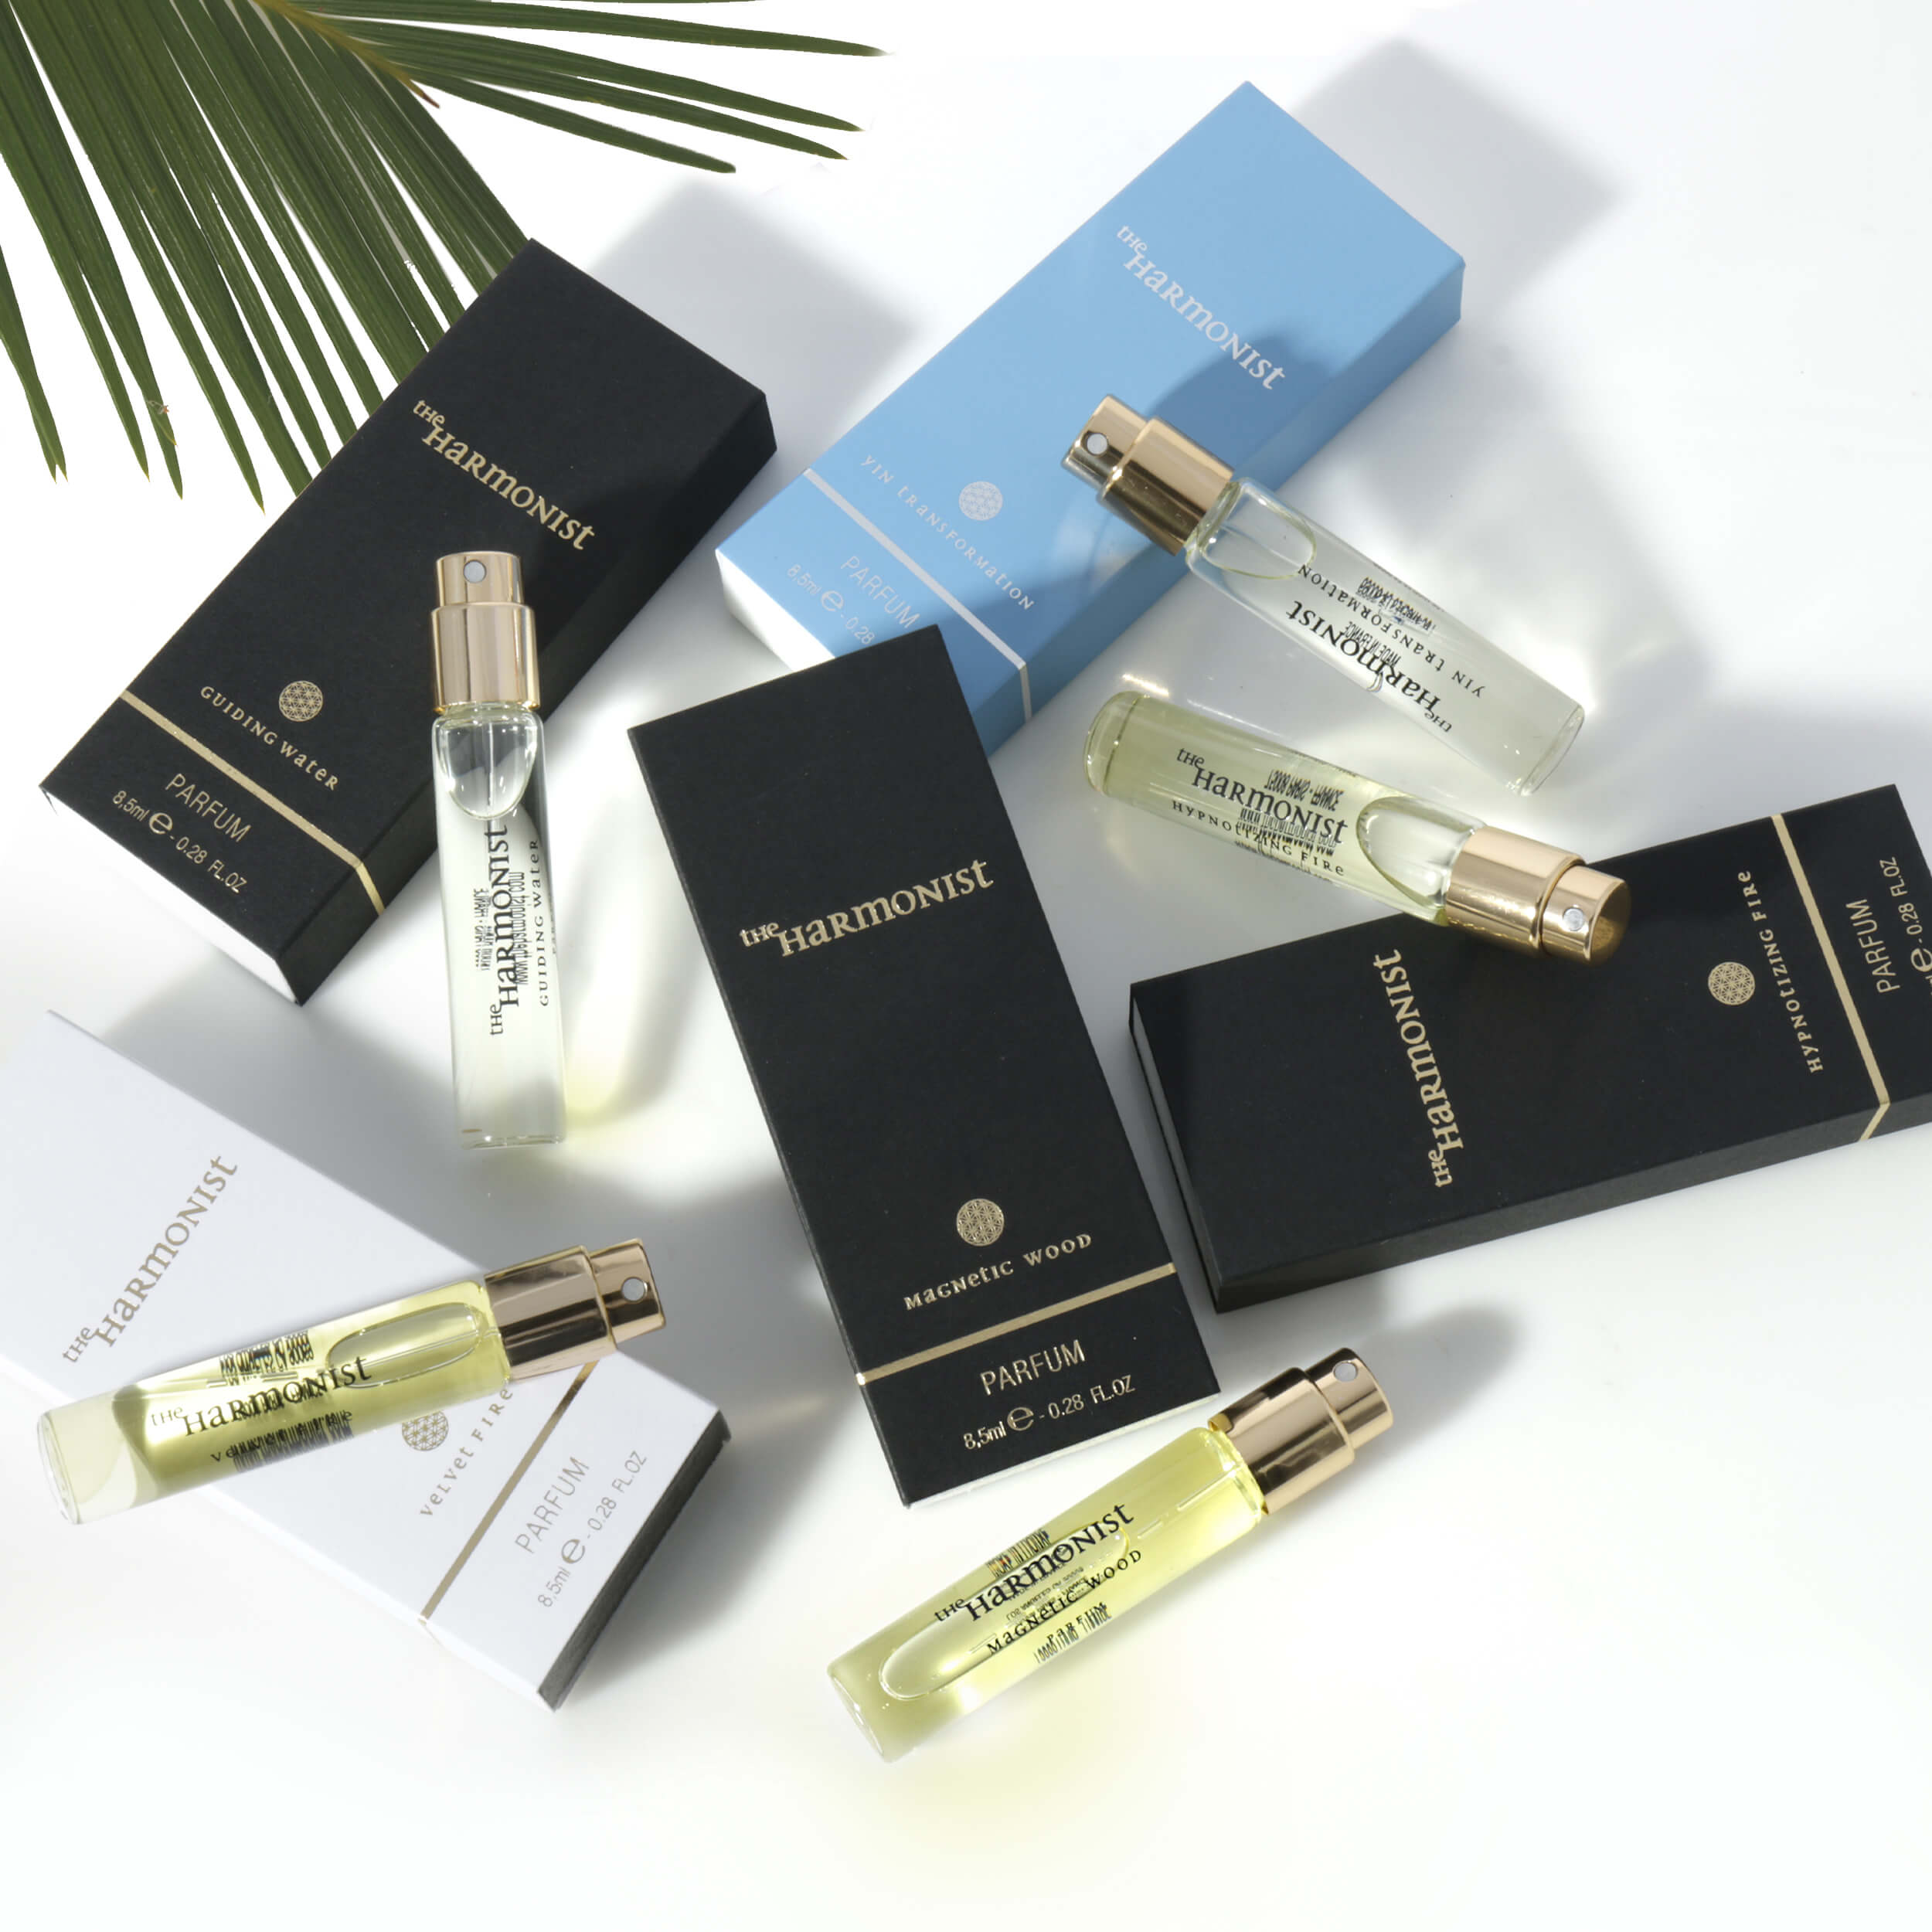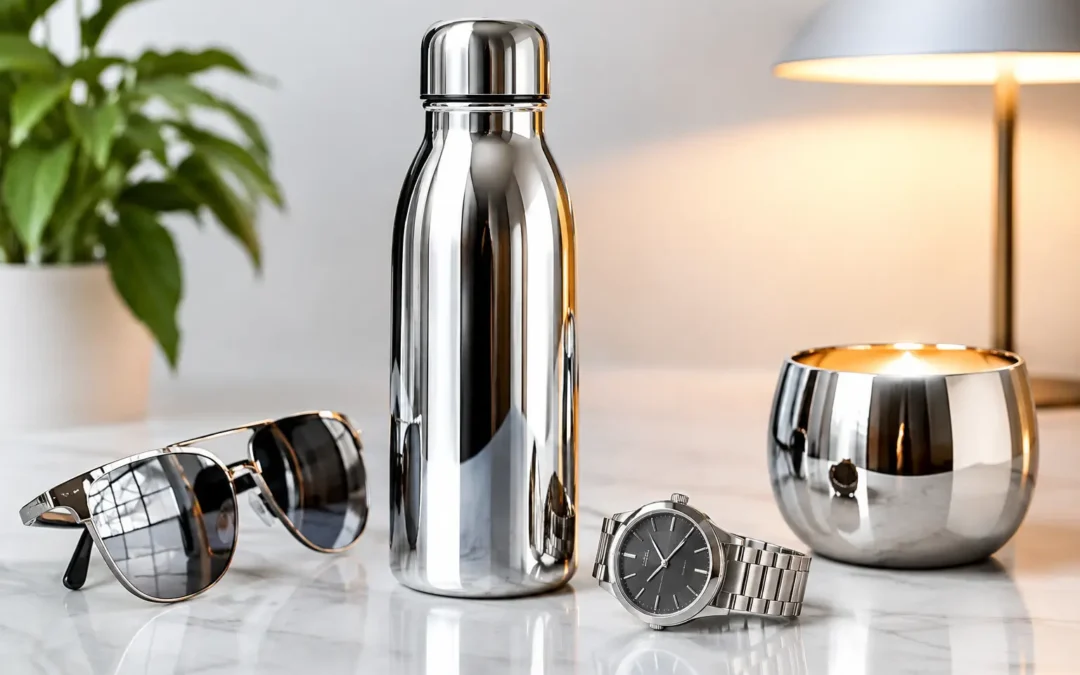
A polished bottle, watch, chrome appliance, or glossy cosmetic compact can look premium in person and surprisingly cheap in a product photo. The difference usually comes down to the best lighting for reflective products: not more light, but larger, softer, and more controlled light. Reflective surfaces show everything around them, including harsh hotspots, dark room shapes, camera reflections, and uneven backgrounds.
For ecommerce, the goal is not to remove every reflection. Reflections help shoppers understand shape, material, and finish. The goal is to create intentional reflections that make the product look clean, dimensional, and worth buying.
Why reflective products are difficult to photograph
A matte product scatters light in many directions, which makes it fairly forgiving. A reflective product behaves more like a mirror. Metal, glass, glossy plastic, lacquer, polished stone, and liquid surfaces reflect the light source and the studio environment directly back toward the camera.
That is why a small bare light often creates a bright, distracting dot on a watch face or glass bottle. It is also why placing lights at random can produce black bands along a shiny package or reveal the silhouette of the photographer. The product is not the problem. The visible reflections are simply uncontrolled.
This matters commercially. Marketplace shoppers cannot pick up the product, feel its texture, or inspect its finish. Clean lighting gives them a faster read on quality. Harsh glare, muddy shadows, and inaccurate color can reduce confidence before they ever read the description.
Best lighting for reflective products: use large, soft sources
The most reliable approach is to make the light source large relative to the product. A large softbox, diffusion panel, or scrim produces broad, smooth reflections instead of sharp points of glare. When a reflective item shows a soft white strip along its edge, that strip is often the reflection of a large diffused light source.
Size matters more than raw output. A powerful small light can still create an ugly highlight. A modest strobe or continuous light placed behind a large diffusion surface can create a much cleaner result. Position the diffusion close to the product when possible, then move the light farther behind it to illuminate the panel evenly.
For smaller items such as jewelry, sunglasses, cosmetics, and electronics, a tabletop shooting tent or a curved diffusion sweep can provide an effective starting point. For larger products, photographers often build diffusion walls with translucent material so the item reflects a clean, controlled field rather than the room.
Control the reflection, not just the exposure
A common mistake is increasing or decreasing light power until a reflection appears less distracting. Exposure changes can help, but the placement and shape of the light are usually more important.
If a bright highlight is sitting in the wrong spot, move the light or diffuser until its reflection moves. If a product looks flat, narrow the visible reflection or introduce a darker edge. A shiny object gets its definition from the contrast between bright and dark areas. Without that contrast, chrome can look gray and glass can disappear into a white background.
This is why professional product photography frequently uses black cards, flags, or foam board around reflective products. These surfaces are not always lighting the object. They are creating a controlled dark reflection that defines its outline.
Build a simple lighting setup that works
For many ecommerce products, start with the item on a clean sweep or acrylic surface. Place one large diffuser above and slightly in front of the product. Add a second diffused source to one side if the shadows are too heavy. Then use white cards to fill overly dark areas and black cards to create edge definition where the product needs more shape.
The camera should be positioned where it captures the product without appearing as a visible reflection. With highly polished surfaces, even a camera body can become a distracting dark block. A small opening in a diffusion panel, sometimes called a lens port, allows the camera to shoot through the controlled environment while keeping surrounding reflections clean.
For transparent glassware and bottles, backlighting is often useful. A large diffused light placed behind the product can illuminate liquid, label edges, and the contour of the glass. Front fill should be restrained. Too much frontal light can remove the crisp dark edges that make clear glass readable against a light background.
For metal products, side lighting and carefully placed dark flags usually create stronger definition. Jewelry often needs small adjustments at the millimeter level because a tiny change in angle can transform a distracting hotspot into a clean highlight that follows the curve of a ring or pendant.
Match the setup to the material
Reflective products are not all reflective in the same way. The best setup depends on the surface, the desired brand look, and the sales channel where the image will appear.
Glass, beverages, and clear packaging
Glass needs separation from its background. Use broad backlight or side-backlight to reveal its silhouette, then shape the edges with black cards. Labels should receive their own controlled light so text remains readable without blowing out the glass. When photographing beverages, condensation and liquid color also require close attention because highlights can quickly overpower detail.
Jewelry, watches, and gemstones
These products need crisp detail, accurate metal color, and controlled sparkle. Large diffusion prevents blown highlights on polished metal, while smaller directional accents can bring out facets and stone brilliance. Too much sparkle can look artificial or hide the product’s actual cut and finish, so the final image must balance luxury with accuracy.
Glossy cosmetics and beauty packaging
Beauty products often combine multiple challenging surfaces: reflective caps, metallic printing, translucent bottles, and glossy labels. The priority is usually clean branding and accurate packaging color. Diffused front light can support label readability, while side flags help define curves and prevent the package from looking flat.
Electronics and appliances
Screens, chrome trim, and piano-black plastic show fingerprints, dust, and camera reflections immediately. Careful cleaning is essential before photography begins. Broad light sources create clean gradients across the surface, while angled flags can keep displays dark and premium-looking when that is the intended product presentation.
Avoid the most common lighting mistakes
The first mistake is using a direct flash or bare LED aimed straight at the product. This often creates a hard white spot, especially on bottles, plastic, and metal. Diffuse the source before it reaches the item.
The second is lighting only for brightness. A properly exposed image can still look poor if the reflections do not describe the product’s form. Look for smooth highlight transitions, intentional dark edges, and clear separation between the product and background.
The third is trying to solve every issue in editing. Professional retouching can remove dust, minor glare, and unwanted reflections, but it cannot fully replace well-shaped light. Starting with a clean capture reduces post-production time and preserves natural material detail.
Finally, do not overlook color accuracy. A reflective surface can pick up color casts from nearby walls, clothing, props, or colored light modifiers. Neutral studio surroundings and calibrated color workflow help ensure that silver looks silver, white packaging looks white, and a product arrives looking like shoppers expect.
When a professional studio is the more efficient option
A basic DIY setup can work for a few simple listings, particularly when the product is small and the required image style is straightforward. The trade-off is time. Reflective products often demand repeated adjustments, specialized diffusion, precise styling, cleaning, and retouching before every angle meets a retailer’s standards.
For a product launch, Amazon catalog, print piece, or brand refresh, consistency matters as much as one successful hero shot. Product Photography Studio creates controlled lighting setups and high-resolution, retouched product images for brands that need clean results without building an in-house production process. This is especially valuable when a collection includes mixed materials such as glass, metal, glossy packaging, and gemstones.
The right reflection should make a shopper notice the product, not the lighting setup behind it. When highlights are smooth, edges are defined, and color is true, a reflective product looks tangible, premium, and ready to earn the click.