A shopper cannot hold your product, test its texture, or inspect its finish before buying. Your photos have to do that work. Learning how to photograph products for ecommerce means creating images that answer buying questions quickly, look consistent across your catalog, and make the item feel worth its price.
A polished image is not just a design detail. On an Amazon listing, Shopify product page, retail catalog, or marketplace feed, it can determine whether a customer clicks, keeps scrolling, or adds to cart. The goal is not simply to make a product look attractive. The goal is to make it easy to understand, trust, and purchase.
Start With the Requirements of the Sales Channel
Before setting up a camera or light, check the image requirements for the platform where the product will appear. Marketplace main images often require a pure white background, a product that fills most of the frame, and no added graphics or props. Your own ecommerce site gives you more room for lifestyle images, close-ups, comparison shots, and branded creative.
This distinction matters because one image set rarely does every job. A white-background image can satisfy a marketplace requirement and clearly show the product. It may not communicate scale, texture, or real-world use. A strong ecommerce gallery usually includes a compliant primary image, alternate angles, detail shots, scale references, and lifestyle photos where they genuinely help the customer picture ownership.
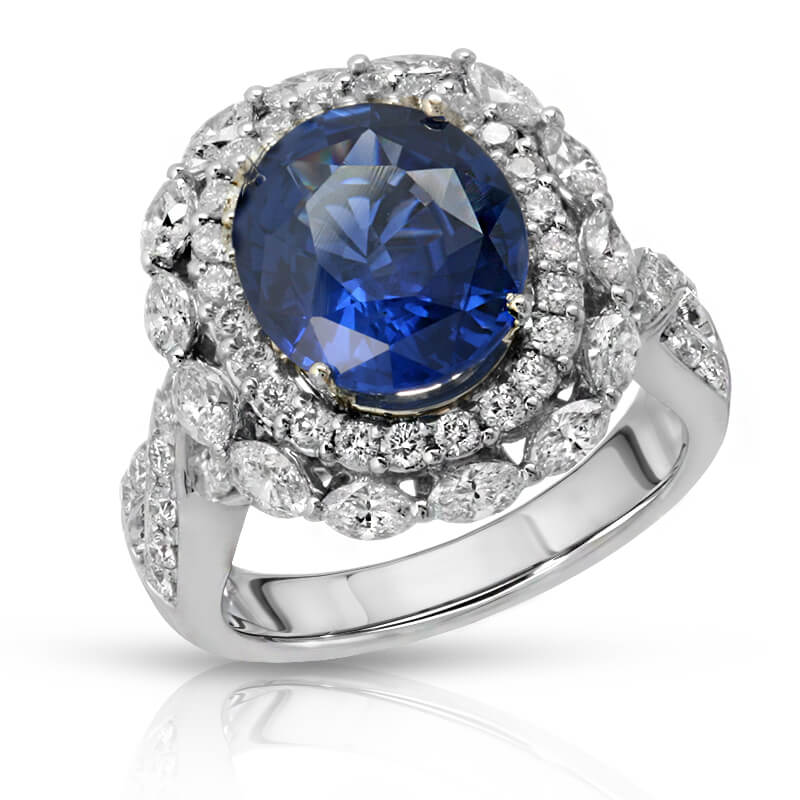
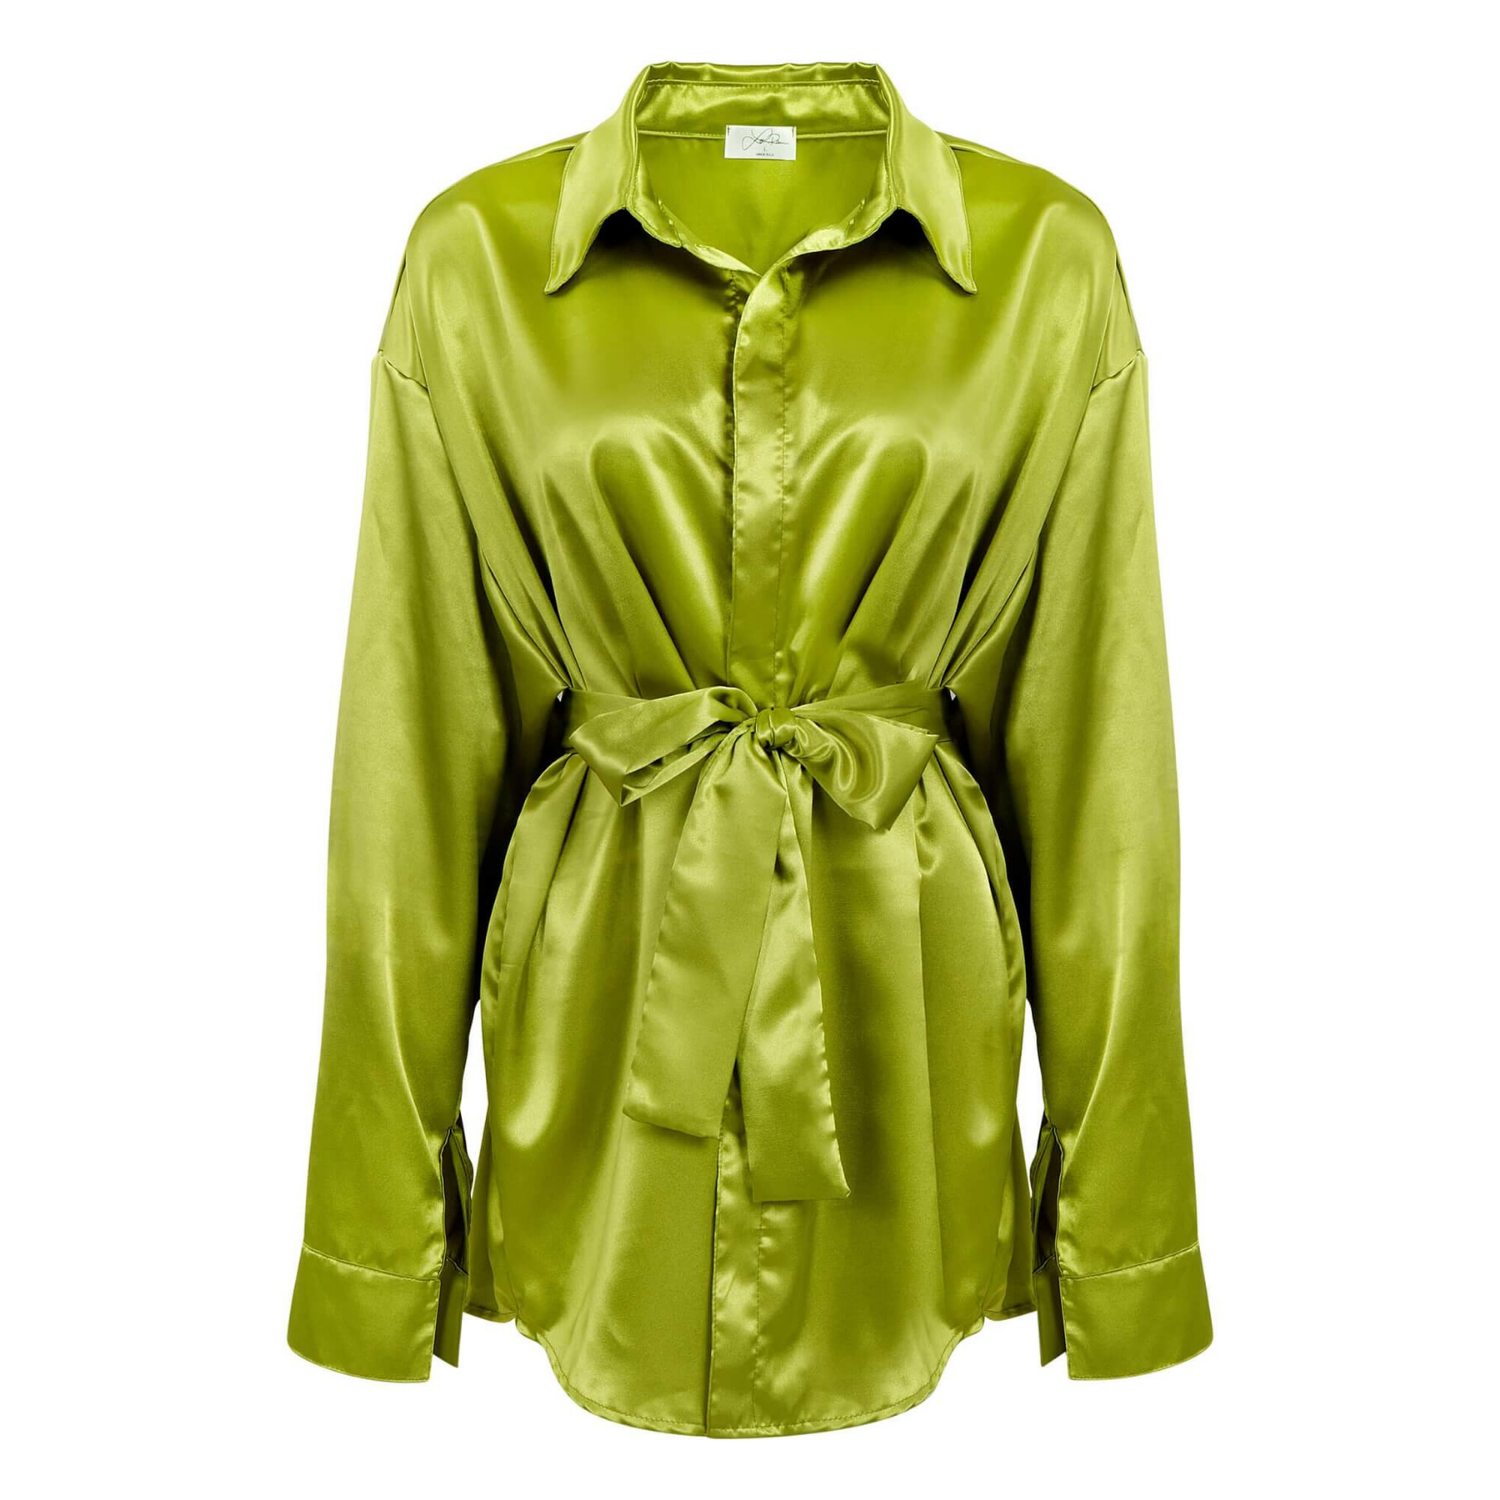
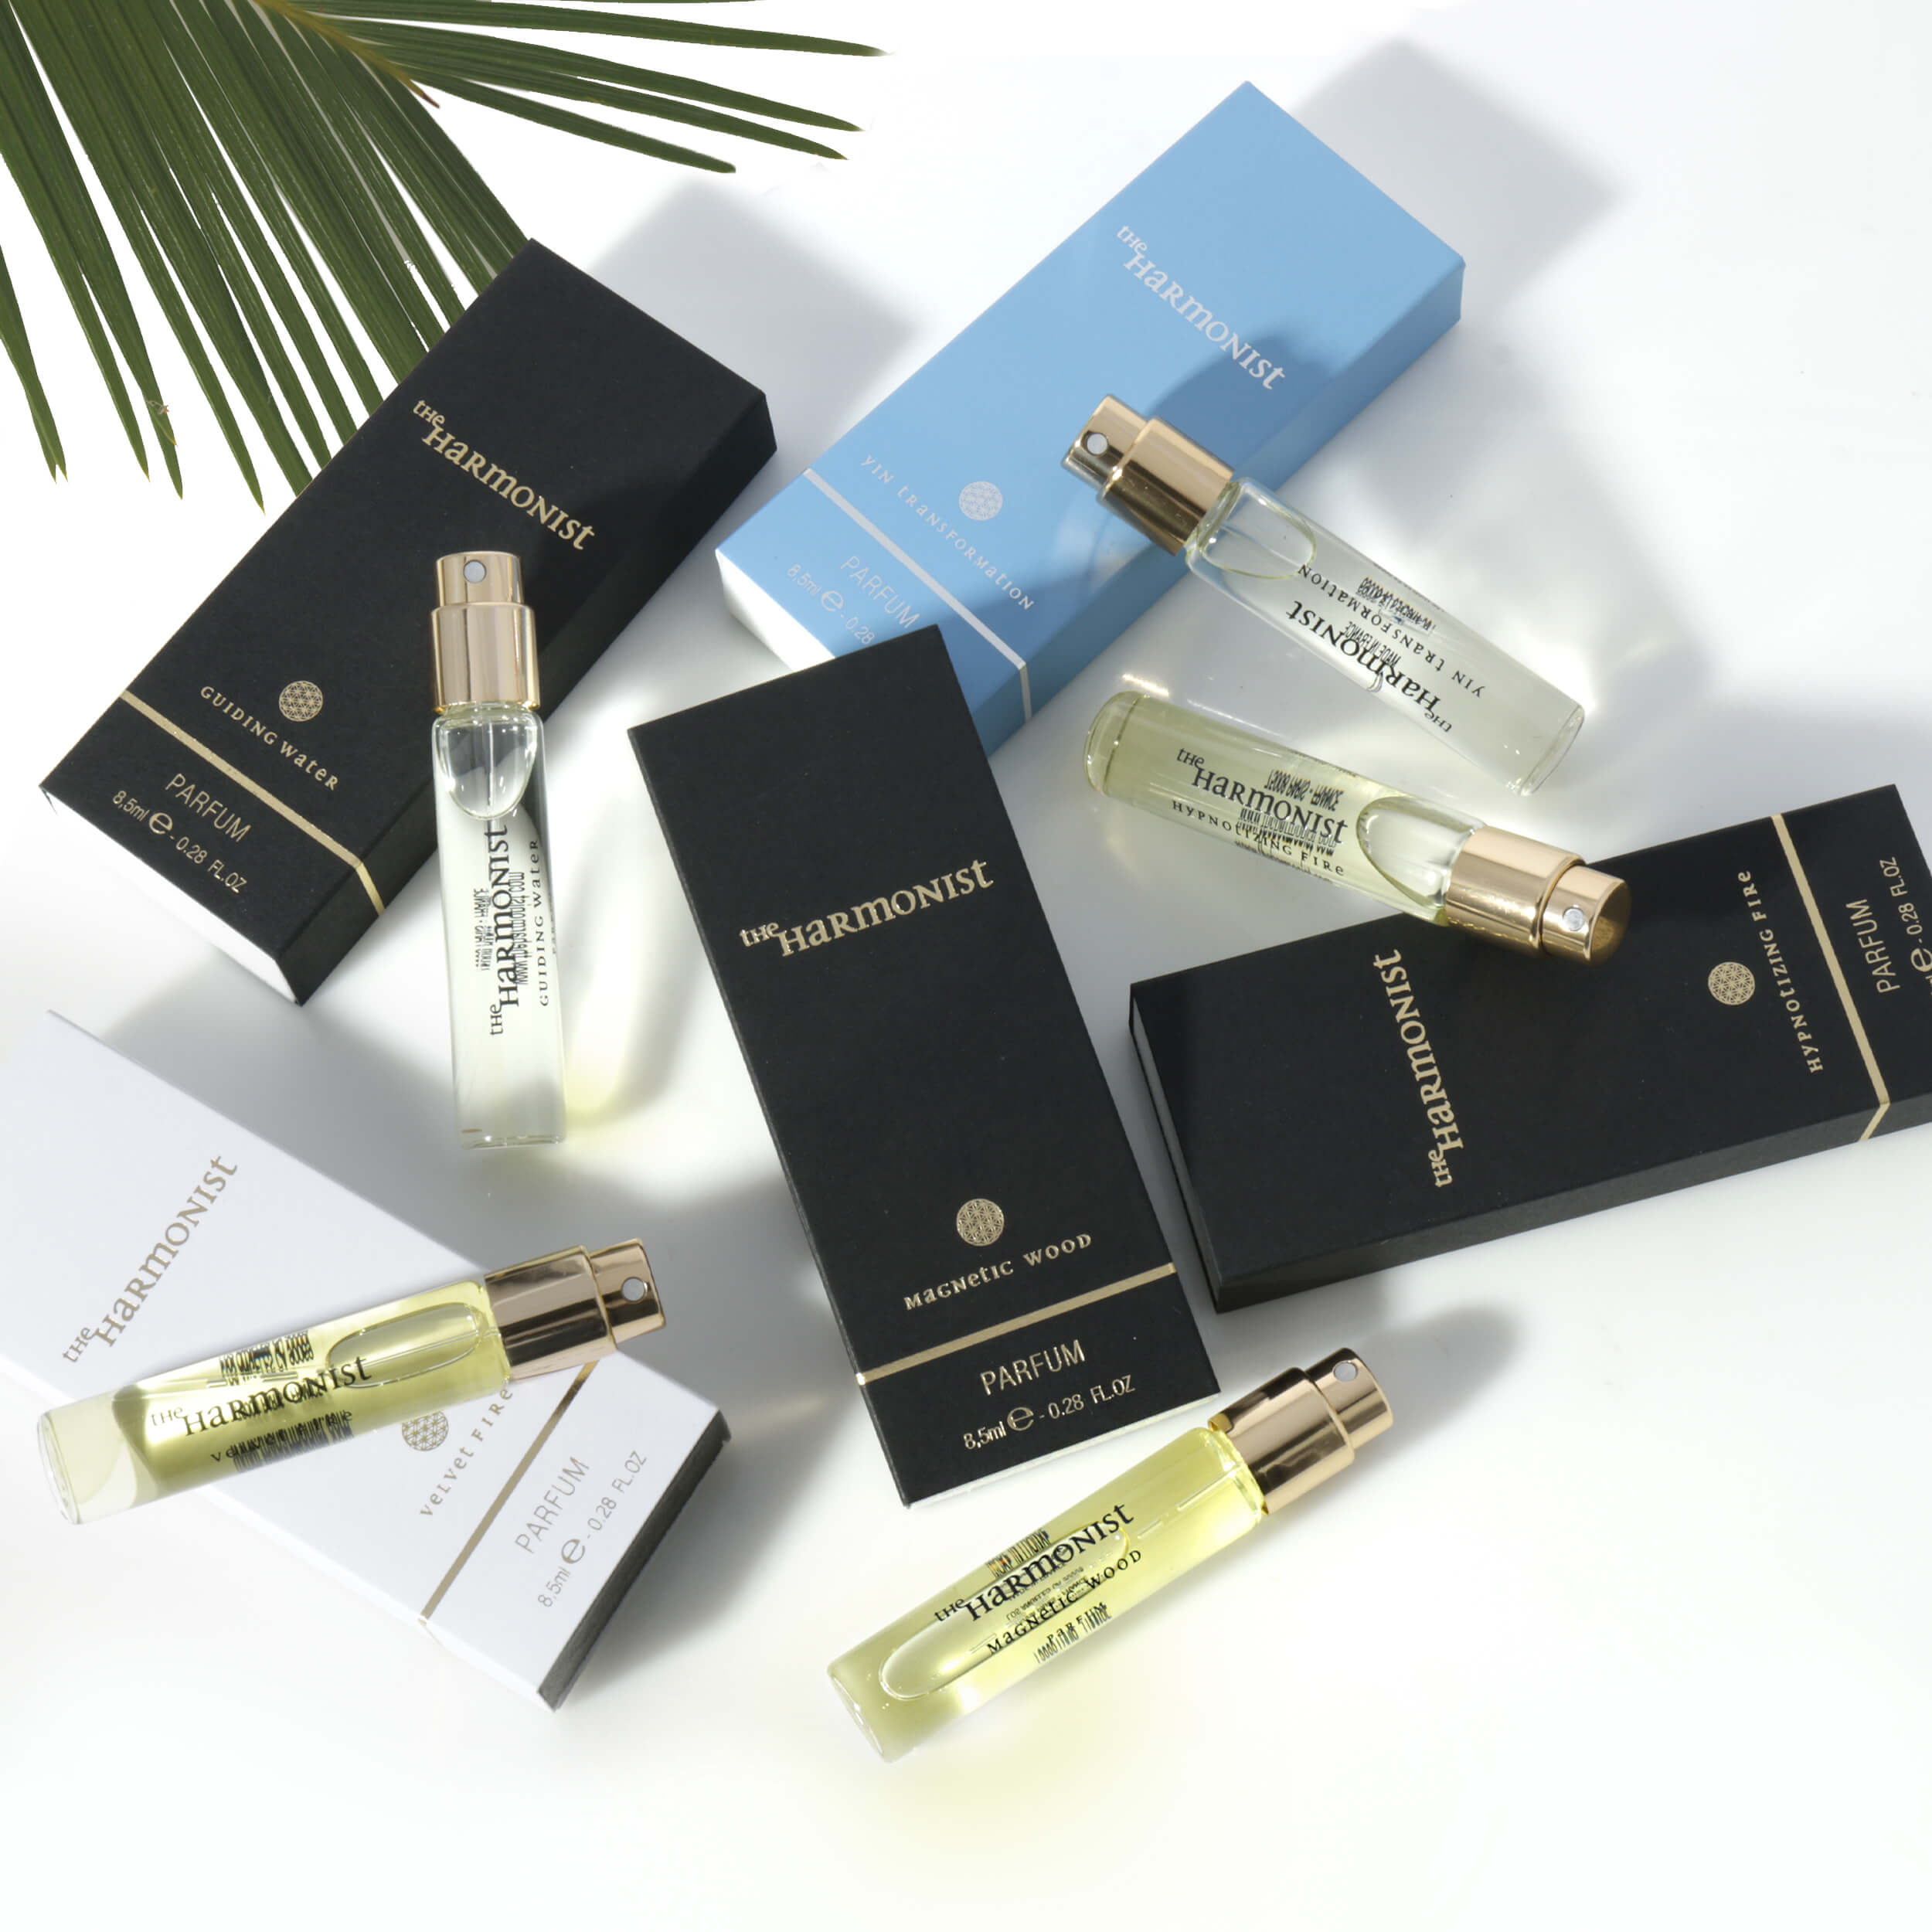
Build the shot list before the product arrives on set. For apparel, that may include front, back, side, fabric detail, and color-accurate flat lay or on-model views. For jewelry, prioritize metal finish, stone clarity, clasp details, and close-ups that show craftsmanship. For beauty products, capture label readability, packaging finish, product texture, and any relevant applicator or swatch.
Use Lighting That Shows the Product Clearly
Lighting is the foundation of commercial product photography. Even an expensive camera cannot correct hard shadows, glare, or inaccurate color created by a poor lighting setup.
For many ecommerce products, soft and even light is the safest starting point. A large softbox, diffused window light, or light tent creates broad illumination and reduces distracting shadows. Position the main light above and slightly to one side of the product, then use a white foam board or reflector on the opposite side to lift dark areas. This simple setup works well for household goods, toys, books, office supplies, cosmetics, and many packaged products.
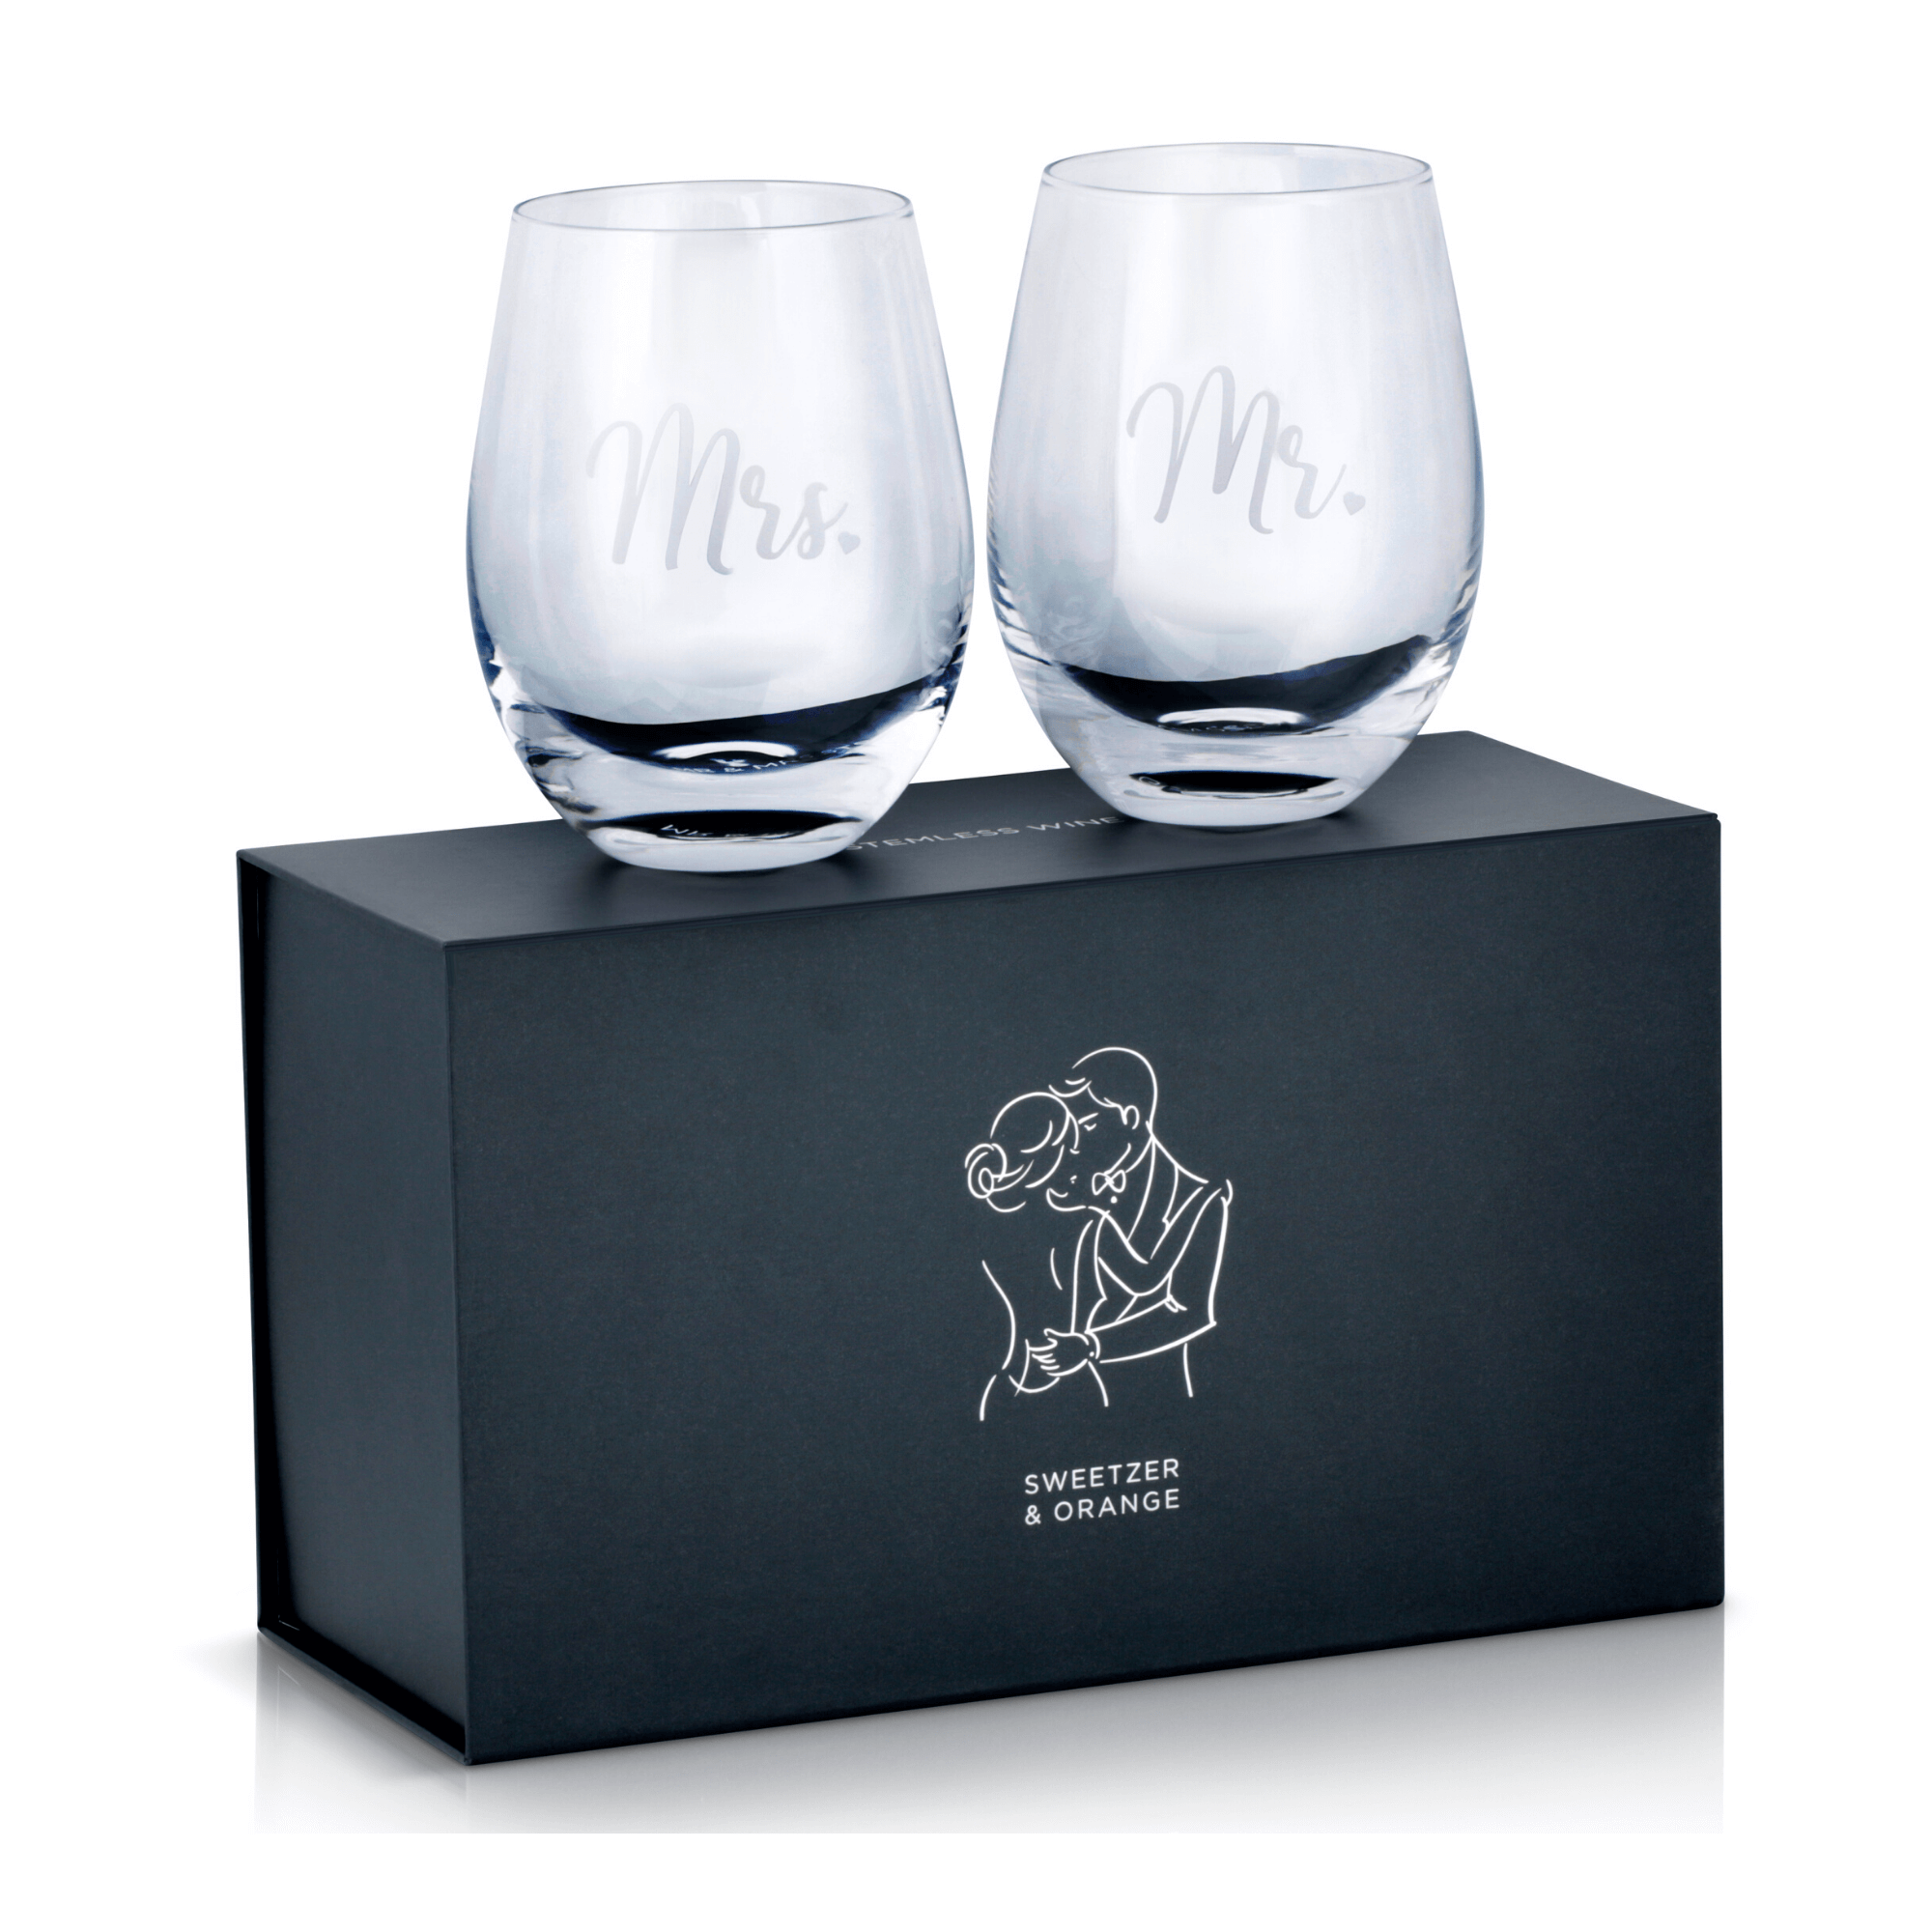
Some categories need more controlled lighting. Jewelry, watches, glassware, and polished electronics reflect everything around them, including the camera, room, and photographer. These products often require flags, diffusion material, carefully placed strip lights, and multiple exposures to control reflections while retaining edge definition. A completely flat image can make a reflective product look dull, but uncontrolled highlights can hide details customers need to see.
Color accuracy deserves the same attention. Apparel, cosmetics, gemstones, and finishes such as brushed gold or matte black are especially sensitive. Use consistent lighting, set a custom white balance when possible, and photograph a color reference card for the editing process. If the product color differs from the delivered image, returns and disappointed buyers can follow.
Choose Camera Settings for Sharp, Consistent Images
You do not need the most expensive camera to create useful ecommerce photography, but you do need control. A DSLR or mirrorless camera with a standard or short telephoto lens is a reliable option. A smartphone can work for simple social content, but it is harder to maintain consistent perspective, resolution, color, and detail across a full product catalog.
Use a tripod whenever possible. It keeps framing consistent across variations, allows slower shutter speeds in controlled lighting, and makes it easier to focus-stack or blend images during retouching. For standard product work, begin with a low ISO, a mid-range aperture such as f/8 to f/11, and a shutter speed that matches your lighting setup. The exact setting depends on product size, lens, available light, and desired depth of field.
Focus on the most important selling detail, not just the center of the frame. For a watch, that may be the dial and bezel. For a skin care bottle, it is usually the front label. For a shoe, the toe shape, material texture, or logo may matter most. Review images at full size before moving to the next angle. A photo that looks sharp on a camera screen can reveal soft edges or unreadable text on a product page.
Style the Product Without Hiding It
Styling should support the sale, not compete with the item. Start by cleaning and preparing every product. Remove dust, fingerprints, loose threads, sticker residue, wrinkled packaging, and visible manufacturing marks where appropriate. These details are easy to miss during a shoot and expensive to correct later.
On white-background shots, keep styling minimal. The product should be centered, fully visible, and presented at an angle that best explains its shape. Use museum putty, fishing line, stands, clips, and supports when needed, then remove them in post-production. For apparel, steaming and shaping are not optional. Wrinkles and uneven hems can make a quality garment look inexpensive.
Lifestyle photography is where props and surfaces can add context. A beverage bottle may look stronger in a picnic setting. A desk accessory may make more sense in a workspace. A beauty product may benefit from a clean surface and ingredients that reinforce the brand story. However, every prop should earn its place. If it confuses scale, obscures the product, or makes the image feel dated, remove it.
Photograph More Than One Angle
Customers look for reassurance. They want to know what is on the back, how thick the material is, where the ports are located, whether the closure is secure, and what the product looks like in use. One attractive hero image cannot answer all of that.
For most products, a practical image set includes a front view, back view, side view, detail close-up, scale or use image, and an angle that shows depth. The right number depends on the category. A simple notebook may only need a few views. A premium handbag, medical device, or multi-feature electronic product may need a fuller gallery to reduce uncertainty.
Do not use alternate photos merely to fill image slots. Each frame should communicate something different: size, material, function, included components, fit, finish, or use case. This is especially valuable for products with a higher price point or technical features.
Retouch for Accuracy, Not Fiction
Professional retouching turns a well-shot image into a sales-ready asset. Typical work includes background cleanup, dust removal, wrinkle reduction, color correction, edge refinement, reflection control, and compositing when a product needs supports removed. For marketplaces, clean clipping paths and true white backgrounds may be required.
Retouching has limits. Removing a speck of dust is good visual merchandising. Changing the actual color, hiding a functional limitation, or making a product appear larger than it is can damage trust and create returns. The standard should be polished and accurate.
Keep retouching consistent across the catalog. Products should have matching background values, shadow treatment, crop ratios, and color handling. Consistency makes a brand look established, even when customers are comparing products across multiple categories.
Know When to Bring in a Product Photography Team
A do-it-yourself setup is practical when you have a small number of simple products, stable lighting conditions, and time to learn the workflow. It becomes less efficient when inventory grows, launches have deadlines, products are reflective or highly detailed, or your team is spending more time troubleshooting images than selling merchandise.
Professional product photography can be a cost-effective production choice when it replaces inconsistent listings with high-resolution, retouched images designed for ecommerce use. The value is especially clear for brands that need repeatable results across many SKUs, accurate apparel color, detailed jewelry imagery, or a mix of marketplace-ready and creative assets.
Before approving final files, use this quick quality check:
- Is the product sharp, clean, and accurately colored?
- Can a shopper understand its size, materials, and key features?
- Does the main image meet the sales channel’s requirements?
- Are the crops, backgrounds, and lighting consistent with the rest of the catalog?
- Does every additional image answer a real buying question?
The best time to improve product imagery is before your next launch, not after a listing underperforms. Treat each photograph as part of the sales process, and give customers the visual proof they need to choose your product with confidence.